Last updated November 17, 2026


Free written scope consultation - allowances, timeline, and change-order rules on paper before a single trade is scheduled
Driveway & Pavers Troubleshooting: Common Problems and How to Fix Them
A sunken section of pavers that looks like a $300 re-leveling job is often a $4,000 base replacement in disguise. The difference is visible before anyone quotes you, if you know where to probe. In Lancaster, we see this pattern constantly: a homeowner calls about a dip near the garage apron, and the actual failure is two feet lower, in a base that was never compacted to spec. This guide teaches you to diagnose four root causes – base failure, drainage design error, joint sand loss, and the wrong product for the load – so you can tell a $200 fix from an $8,000 one before you spend a dollar.
Quick Answer
Most driveway paver problems trace to one of four root causes: a failed or under-compacted base, bad drainage and slope, lost polymeric joint sand, or a paver type that can’t handle the load. Surface settling is cheap to fix; base failure and re-grading are not. Probe with a straightedge and a rod first – which cause you find determines whether the repair runs $200 or $8,000.
Styles & brands we work with
- Kitchen remodeling
- Bathroom remodeling
- Home additions & ADU
- Roofing
- Windows & doors
- Driveway & pavers
- Fence
Table of Contents
- How to Diagnose a Paver Problem Before You Call Anyone
- Base Failure: The Most Expensive Problem and How to Spot It
- Drainage and Slope: Why Water Is Usually the Real Culprit
- Joint Sand Loss in Lancaster Heat: The Failure Everyone Misreads
- Reading Crack Patterns: Tree Roots vs. Thermal Movement vs. Overload
- How to Document a Problem So It Holds Up
- Which Repairs Are Safe DIY Experiments and Which Are Not
How to Diagnose a Paver Problem Before You Call Anyone
Before a contractor walks onto your driveway, you can narrow the problem to one of the four root causes using two cheap tools: a 6-foot straightedge (a level or a straight board works) and a thin probe rod, like a long screwdriver or a piece of rebar. The straightedge tells you how far the surface has moved. The probe tells you why.
Set the straightedge across the dip or hump. A dip under about 3/8 inch across six feet is usually surface settling – the pavers moved slightly in the joint sand, and the base underneath is intact. A dip deeper than that, or one that has grown over a season, points downward into the base.
Now probe. Push the rod through the joint sand at several points around the affected area and measure how far it sinks before it hits something solid. Sound base compacts hard within an inch or two. If the rod sinks four, six, eight inches with little resistance, the base has lost density – that’s base failure, and no amount of re-leveling the surface will fix it.
- Photograph the area with something for scale – a tape measure laid across the dip reads better than a bare photo.
- Run the straightedge across the defect and note the depth in inches.
- Probe the joints at the center and edges of the dip and record how far the rod sinks.
- Check the slope by laying the straightedge from the house toward the street and confirming water would run away, not toward, the foundation.
- Note the season – a dip that appeared after a wet winter reads differently from one that appeared after a summer of 100-degree days.
This five-step check takes fifteen minutes and changes the conversation entirely. When you can tell a contractor the rod sank six inches in the north joint, you’re no longer a homeowner guessing – and the written price you get back will be for the actual problem. The same diagnostic discipline is what lets our crews quote a flat written price before any work starts on any trade, from Rowan Construction Group Lancaster home projects to a single re-level.
Base Failure: The Most Expensive Problem and How to Spot It
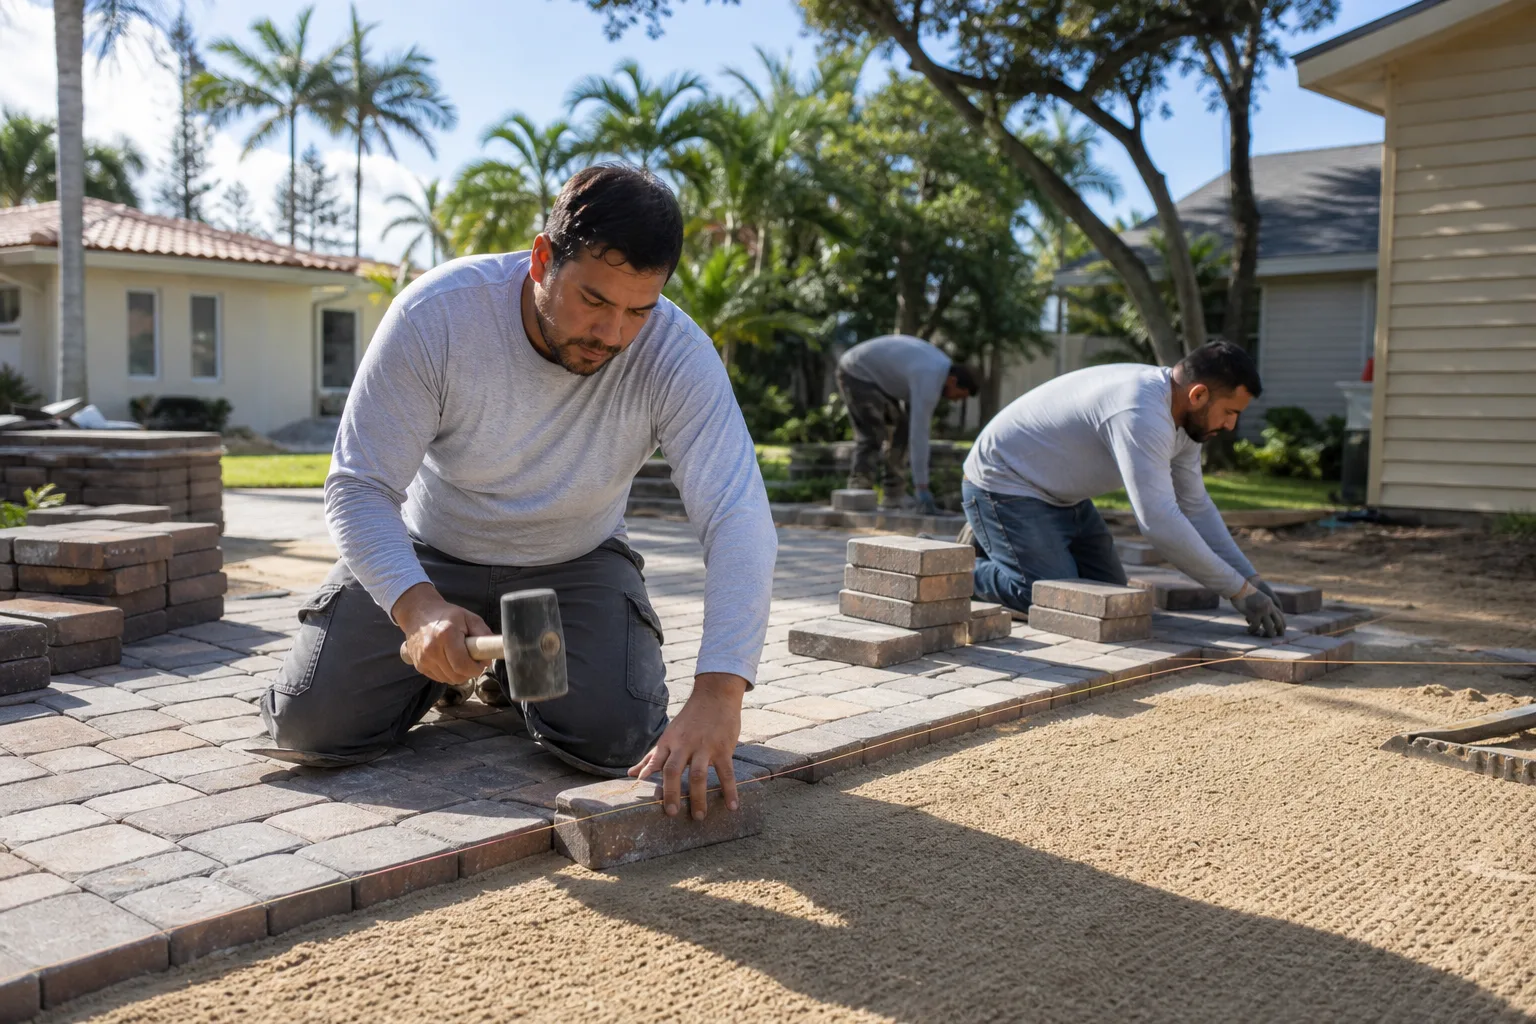
Base failure is what turns a cosmetic-looking job into excavation. Pavers sit on a compacted layer of crushed aggregate – typically 4 to 6 inches for a residential driveway, more for heavy loads – and if that layer was under-compacted, too thin, or laid over organic soil, it will move. The pavers above follow.
The signature of base failure is a dip or ridge that keeps returning after a re-level. If a section was re-sanded and flattened two years ago and the same dip is back, the surface was never the problem. The second signature is edge movement: when the border pavers push outward and the field behind them settles, the restraint (the edge restraint that holds the whole field in tension) has let go, and the base underneath the edge is washing or migrating.
In Lancaster, the specific culprit is often soil movement. Our clay-heavy soils swell when they take on water and shrink hard in the dry months. A base that wasn’t excavated deep enough to sit below the active soil layer will heave and settle with the seasons, and a driveway that looks fine in April can show a two-inch dip by September. That’s not a paver defect – it’s a base-depth decision made years ago.
What base failure looks like in dollar terms:
- Re-level and re-sand a small surface dip: roughly $200 to $500 for a modest area.
- Lift, re-compact base, and reset pavers over a section: roughly $1,500 to $4,000 depending on square footage.
- Full excavation and base replacement: $4,000 into five figures, because it’s essentially a new driveway installation.
The honest rule: if the probe sinks more than a few inches, you’re pricing the middle or bottom line, not the top. Get a written scope that names the base depth and compaction, not just “repair pavers.” More on the full installation sequence lives on our Driveway & Pavers in Lancaster page.
Drainage and Slope: Why Water Is Usually the Real Culprit
Water causes more paver failures than traffic does. A driveway that holds a puddle after a rain is telling you the slope is wrong, and the standing water is working its way into the joints and the base, softening both. In Lancaster’s climate, we get a lot of annual evaporation and long dry spells, but the rain we do get often arrives fast – a single heavy storm on a driveway that drains toward the house can do a season’s worth of damage in an afternoon.
You can check slope yourself. Lay your 6-foot straightedge from the wall of the house out toward the street and set a level on top. A correctly graded driveway falls away from the house at roughly 1 to 2 percent – about 1/8 to 1/4 inch per foot. Flat is not good. Falling toward the house is a problem, full stop.
Drainage problems usually show up in three places:
- At the garage apron, where the driveway meets the slab and water pools against the door.
- At the low point of a crown, where a center high point was built but the sides don’t fall enough to shed water.
- Along the edge restraint, where runoff from a higher surface or a downspout dumps onto the pavers and scours the joint sand.
Fixing slope means lifting and resetting a run of pavers and re-grading the bedding – it’s a real job, and it’s one where getting it wrong matters more than most. That’s why re-grading and cutting drainage channels belong in the “call a professional” column, covered further down. If your drainage issue sits next to a fence line that’s also failing, our Fence Installation in Lancaster guide covers how grading and fence footings interact.
Joint Sand Loss in Lancaster Heat: The Failure Everyone Misreads
Here’s the counterintuitive part: in Lancaster, a lot of “my pavers are falling apart” calls are not paver failures at all. They’re joint sand failures. The polymeric sand that locks the joints – a sand mixed with a binder that sets up when it’s wetted – has a finite life, and our summers are hard on it. Weeks of 100-degree-plus days bake the binder, and the first cool-season rain then washes the loosened sand out of the joints.
When the joint sand goes, three things follow. The pavers lose their interlock and start to shift individually. Water gets straight into the base. And weeds find the empty joints. A homeowner sees loose, wobbling pavers and assumes the pavers themselves are shot – when the pavers are fine and the sand is simply gone.
How to tell the difference:
- Look at the joints, not the pavers. If the joints are empty, cracked, or sitting below the paver surface by more than about 1/8 inch, the sand is the failure point.
- Press a paver. A single paver that rocks in place with intact neighbors usually means lost sand around it. A whole field that rocks together means base.
- Watch a hose test. Run water over the area and see where it disappears. Water vanishing fast into joints means the sand barrier is gone.
Re-sanding is one of the more affordable repairs – often a few hundred dollars for a driveway section – but it only works if the base and slope are sound. Re-sanding over a failed base just hides the problem for a season. In our experience, the Lancaster driveways that hold their joint sand longest are the ones where the sand was topped up on a maintenance rhythm rather than left until it failed.
Reading Crack Patterns: Tree Roots vs. Thermal Movement vs. Overload
Not every crack means the same thing. Where a paver cracks, and how it cracks, tells you what pushed it. Read the pattern before you price the fix.
Tree root intrusion
Root cracks show up at the edge of the driveway nearest a tree, and they lift pavers in a curved or heaving pattern – pavers pushed up and out of plane rather than cracked cleanly. You’ll often see the joint sand displaced and the edge restraint bowed. The fix involves cutting the root (a decision with its own consequences for the tree) and re-setting the affected section. In Lancaster, mature ficus and eucalyptus near a driveway are the usual suspects.
Thermal movement
Thermal cracks appear as a straight line running across the driveway, often at a joint line, and they open and close with the seasons. Our temperature swings – hot days and cool desert nights – make pavers expand and contract, and if the edge restraint or joint spacing doesn’t allow for it, the pavers crack along the weakest line. These tend to be clean, straight breaks rather than the shattered or heaving look of root or overload damage.
Vehicle overload
Overload cracks cluster where heavy vehicles park or turn – the center of the drive, the apron, a spot where a delivery truck or RV sits. They show as crushed or spalled paver edges and a depression under the wheel path, often with the pavers cracked into fragments rather than cleanly split. If a paver type rated for foot traffic was installed on a driveway, overload damage appears fast.
Each pattern points to a different repair. Root work needs excavation and possibly root cutting. Thermal cracks may need only re-setting and joint correction. Overload damage often means the wrong product for the load, and that’s a product-selection conversation. If your project also involves a structure near the drive, Home Additions & ADU in Lancaster covers how grades and foundations get coordinated.
How to Document a Problem So It Holds Up
If you’re in a warranty window, or heading into a conversation with a contractor about who’s responsible, your documentation decides the outcome. A vague memory of “the driveway sank last year” loses to a time-stamped record every time. Build that record before you call anyone.
- Take time-stamped photos. Most phones stamp automatically; if yours doesn’t, shoot a photo of a dated newspaper or a phone screen showing the date in the frame.
- Photograph with scale. Lay a tape measure or a ruler across the dip or crack so the dimensions are in the frame.
- Keep a written log. Note the date, what you observed, the weather in the days before, and any change from the last entry. A single page of dated entries is powerful evidence.
- Save the original paperwork. The installation contract, the written scope, the warranty terms, and any prior repair invoices together tell the whole story.
- Get repairs in writing. Any repair should come with a written scope and a written warranty – the same standard we hold to on every trade.
Homeowners who keep this record get faster, cleaner resolutions because there’s no argument about what happened or when. It’s the same reason we include a documented photo record as standard on every visit – evidence on both sides makes the conversation honest. When a contractor can show you photos of what they found and a signed scope of what they did, nobody has to take anyone’s word for it.
Which Repairs Are Safe DIY Experiments and Which Are Not
Some paver fixes are genuinely reversible weekend projects. Others permanently change the outcome if you get them wrong, and doing them badly can cost more to undo than a professional would have charged in the first place. Here’s the line.
Safe to try yourself
- Re-sanding joints. Sweeping polymeric sand into empty joints and wetting it per the bag instructions is a legitimate homeowner task, provided the base is sound.
- Replacing a single cracked paver. Lifting one paver and swapping a matching replacement is low-risk if you can source the same product.
- Cleaning and weeding joints. Pulling weeds and clearing debris from joints before re-sanding is simple maintenance.
Leave to a professional
- Cutting drainage channels. A channel cut at the wrong depth or slope either doesn’t drain or drains toward the house. Once it’s cut, the base is open and the fix is a re-grade.
- Re-grading slope. Slope is the thing that protects your foundation. Get it wrong and you’ve redirected water into the structure.
- Any base excavation. Compaction is a spec, not a guess. Lifting and re-compacting base by hand without proper equipment usually recreates the failure.
- Anything involving a load-bearing edge or a wall. Retaining edges near a raised patio or steps are structural; treat them as such.
The reason these four are on the “call” list is that they alter the drainage and structural outcome of the whole surface, not just the spot you can see. A driveway is a system – base, bedding, pavers, joints, restraint, slope – and one wrong move in the system shows up somewhere else.
Common Mistakes to Avoid
- Re-leveling over a failed base. If the probe sinks several inches, a surface re-level hides the problem for one season and then the dip returns, usually deeper. Diagnose the base before you pay for a surface fix.
- Re-sanding without checking slope. Sand in the joints won’t stay if water is running across the surface instead of off it. Fix the drainage first or the new sand washes out at the next big storm.
- Assuming a wobbling paver is a bad paver. In Lancaster, it’s usually lost joint sand, not a defective product. Check the joints before you price replacement.
- Ignoring the edge restraint. When the border pavers push outward, the whole field loses interlock. A repair that doesn’t reset the restraint rarely holds.
- Choosing a paver by color instead of load rating. A paver rated for a patio will crack fast under a vehicle. Match the product to the load, not the sample board.
- Skipping the documentation. Time-stamped photos and a written log decide warranty conversations. A memory of what happened does not.
- Accepting a verbal price. A repair quoted by voice leaves you no scope to hold anyone to. Insist on a written price before work starts – it’s the standard we hold to.
See the difference
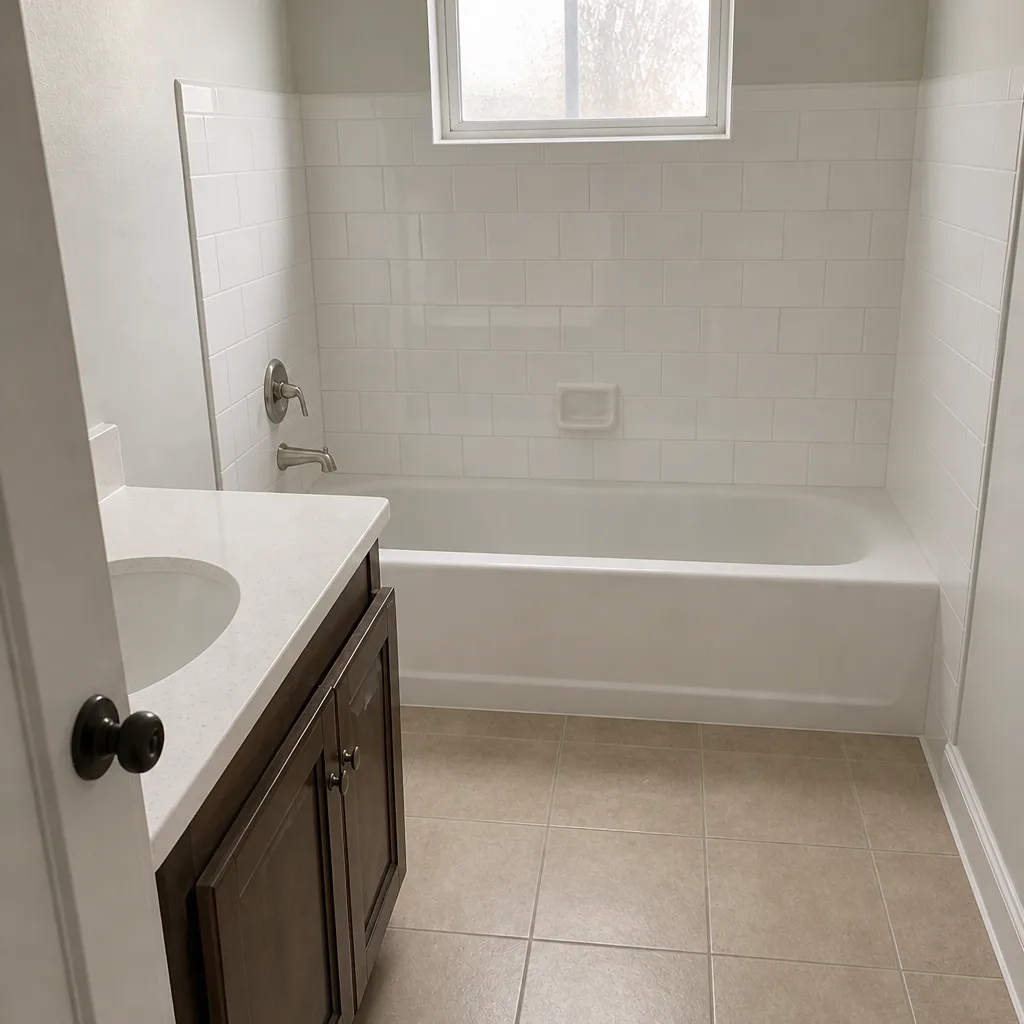
 Before
 After
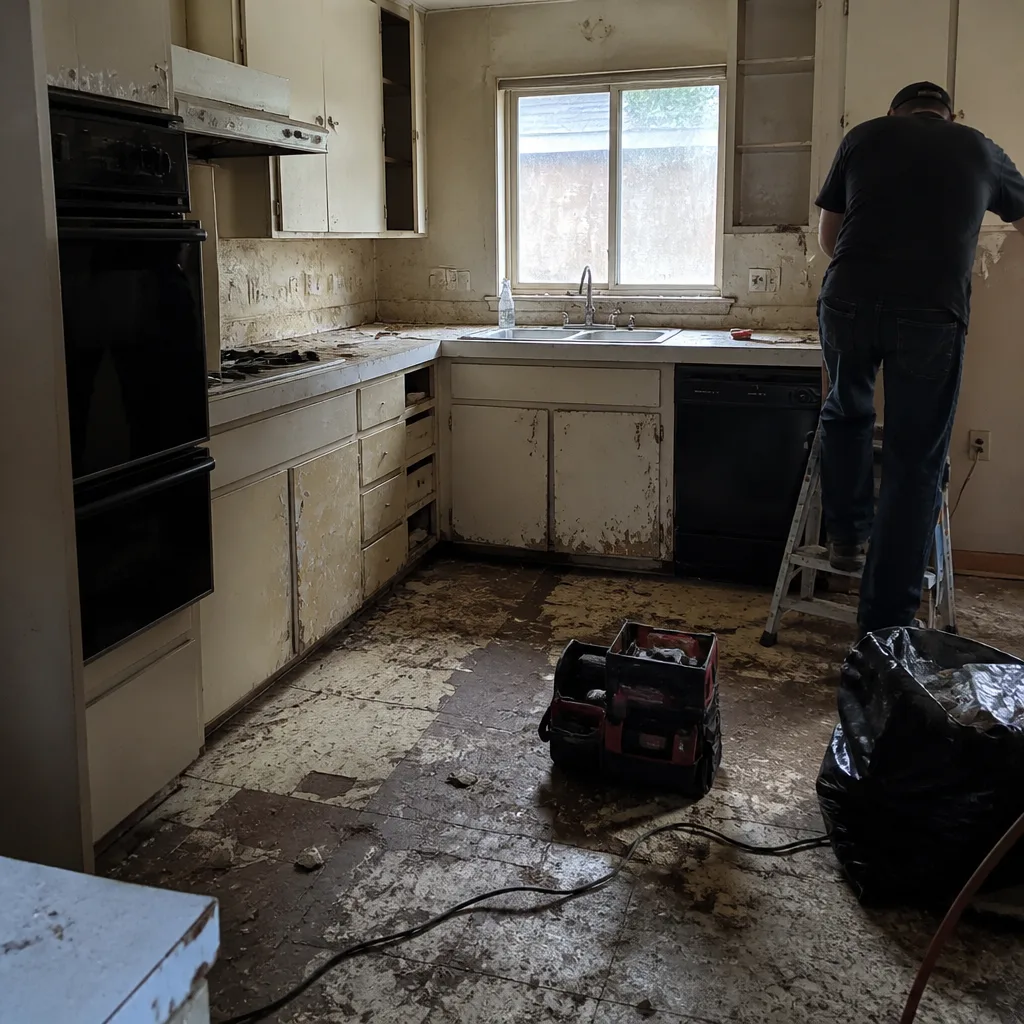
 Before
 After
 Before
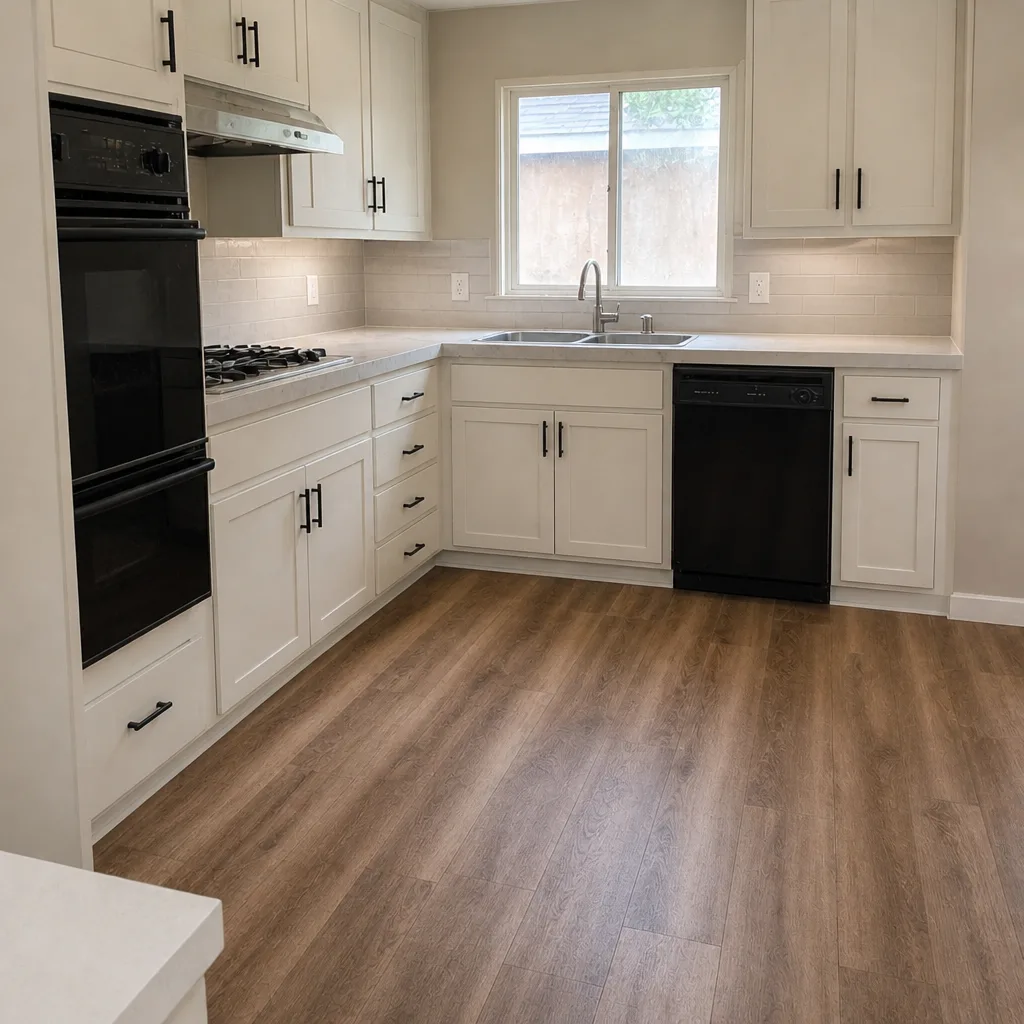 After
When to Call a Professional
Call a professional when the probe sinks more than a couple of inches and you’re looking at base work, when the straightedge shows a slope running toward the house, when cracks run in a heaving or shattering pattern, or when a re-sand you did last season has already failed again. Those are the cases where the repair is structural and the cost of getting it wrong is real. Re-sanding and single-paver swaps stay in your column; base, slope, drainage, and restraint work belong with someone who can verify compaction and grade.
Rowan Construction Group Lancaster offers free estimates in Lancaster – call (844) 797-3312. Every quote is a flat written price with a written scope and a written warranty, and every visit includes a documented photo record of what we found and what we did, so you have the evidence in hand.
Frequently Asked Questions
Small surface repairs like re-sanding or re-leveling a section typically run $200 to $500, while lifting and re-compacting base under a section runs $1,500 to $4,000, and full base replacement can exceed that. The number depends entirely on which of the four root causes you’re dealing with. Call (844) 797-3312 for an exact written price – the estimate is free.
Most sinking and cracking in Lancaster traces to base failure from clay-soil movement, drainage that sends water into the base, or lost polymeric joint sand from the summer heat. Which one it is determines the repair cost. A 6-foot straightedge and a probe rod will tell you which within fifteen minutes.
No – the written price you agree to is the price, and no work proceeds on a change until a signed change order is in place. That discipline is why projects stay within a few percent of the agreed cost. Call (844) 797-3312 to get your written scope.
Yes – replacing polymeric joint sand is one of the cheapest and most effective repairs in our climate, provided the base and slope are sound. Without intact joint sand, water reaches the base and the pavers lose interlock. Re-sanding over a failing base only buys one season.
Only if it’s genuine surface settling confirmed by a shallow probe. Re-sanding or swapping one paver is a reasonable DIY task; re-grading slope, cutting drainage channels, and excavating base are not, because each permanently affects how the driveway drains and performs. When in doubt, get a diagnosis first.
Where a permit is required for driveway or structural paver work, it’s pulled and inspected, and the permit and inspection record are part of your documentation. The exact requirement varies by scope and location. Call (844) 797-3312 and we’ll confirm what applies to your project before any work starts.
The Bottom Line
Nearly every paver problem is one of four root causes: base failure, drainage error, joint sand loss, or the wrong product for the load. Surface settling – shallow, stable, confined – is a few-hundred-dollar fix. Base failure and re-grading are the four-figure repairs, and you can tell them apart with a straightedge and a probe before anyone quotes you. In Lancaster, the heat eats joint sand and the clay soils move the base, so both deserve a look each season. Diagnose first, document what you find, and ask for a written price – that order protects your wallet and your warranty.
Written by the team at Rowan Construction Group Lancaster.
Ready to get the number in writing? Call (844) 797-3312 for a free estimate, and bring a competitor’s quote if you have one – our Free Second Opinion reviews it line by line at no charge.