Last updated November 17, 2026
Free written scope consultation - allowances, timeline, and change-order rules on paper before a single trade is scheduled
DIY vs Professional Driveway & Pavers: What’s Safe to Do Yourself
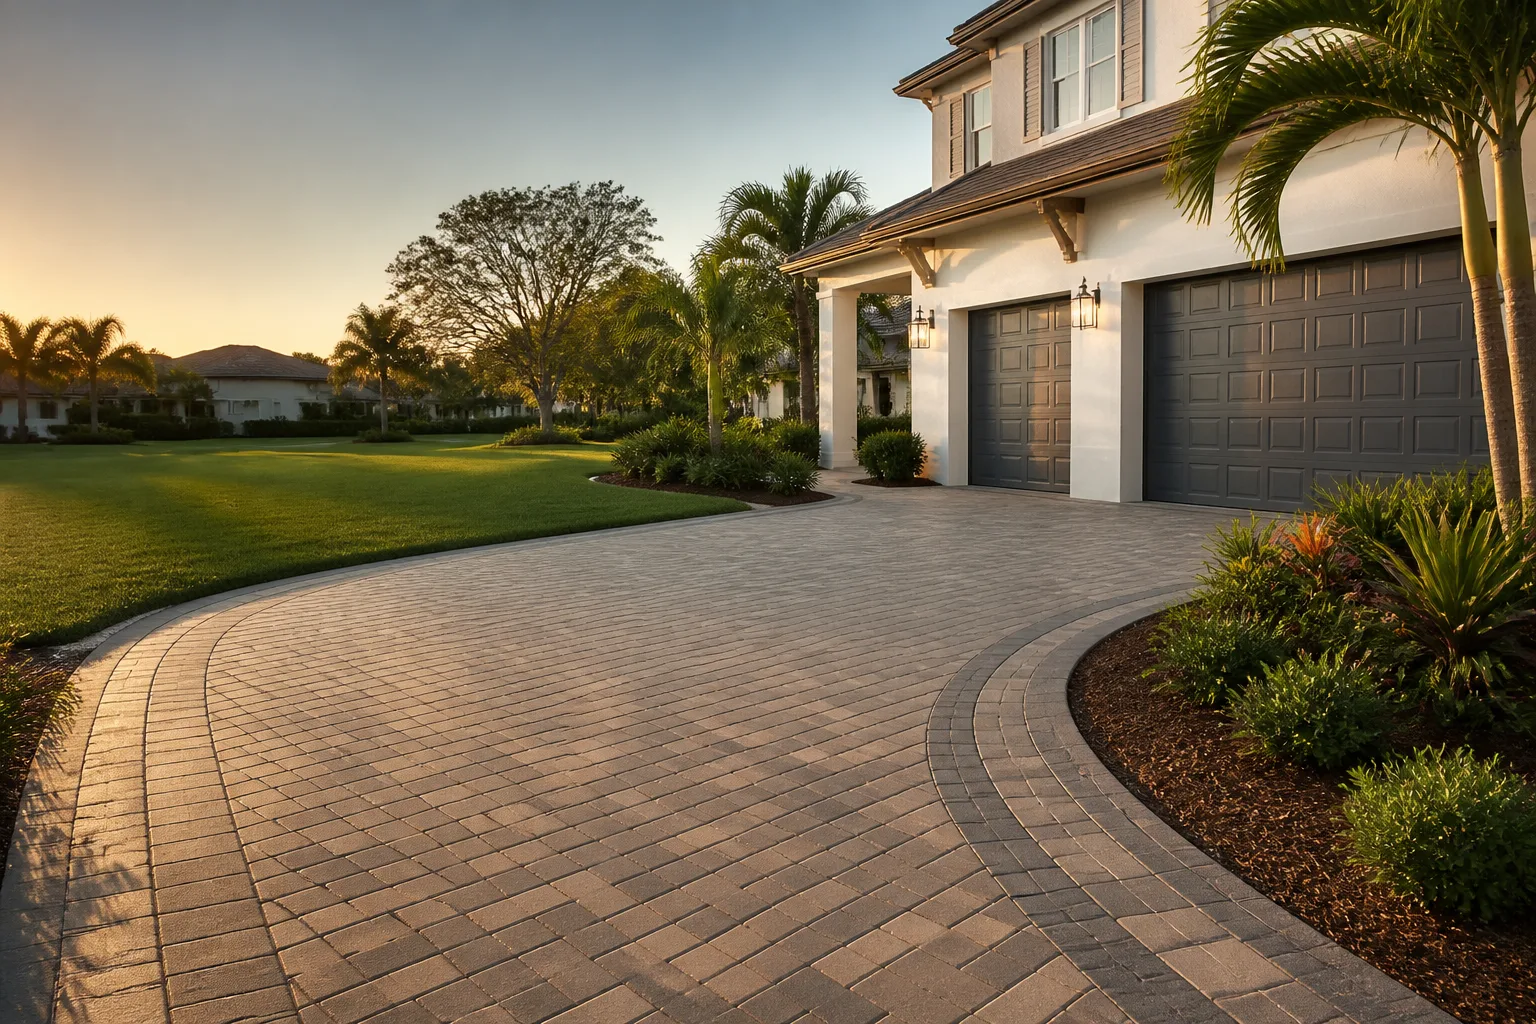
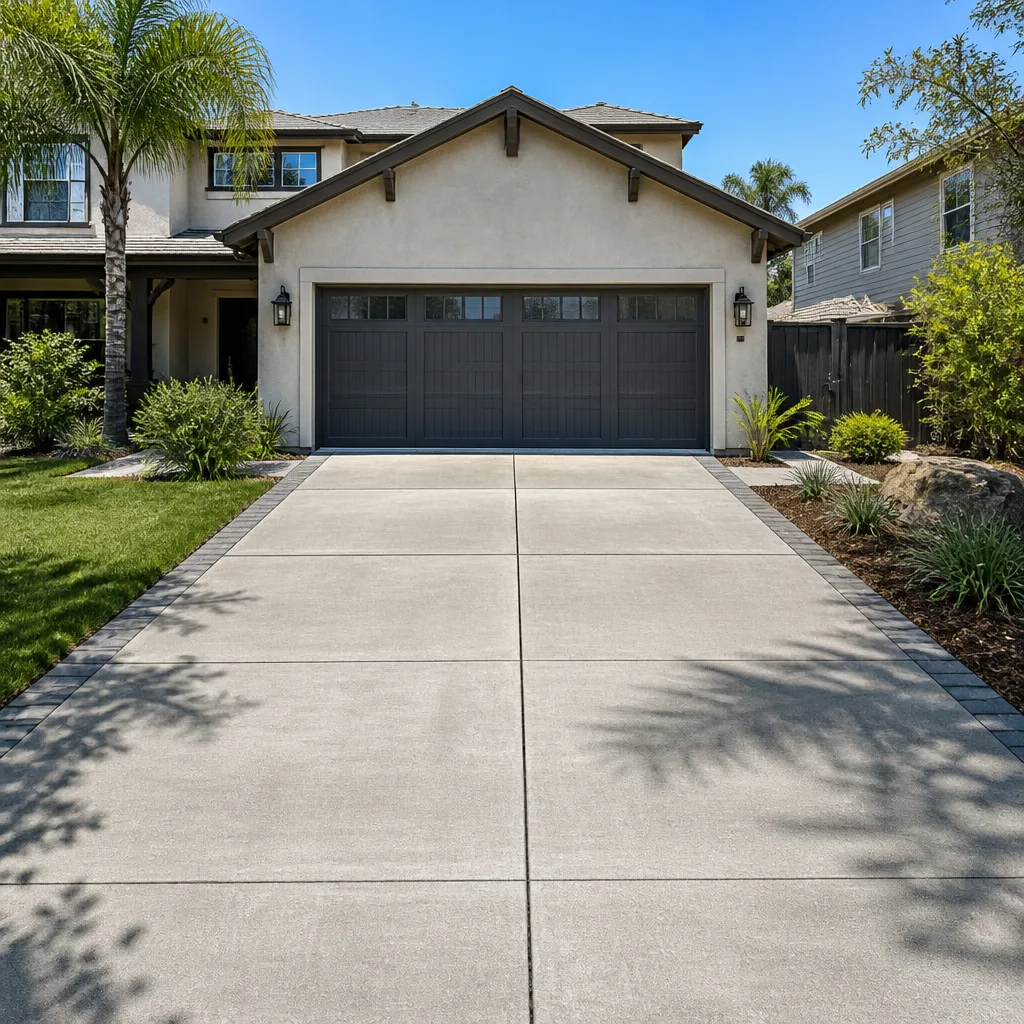
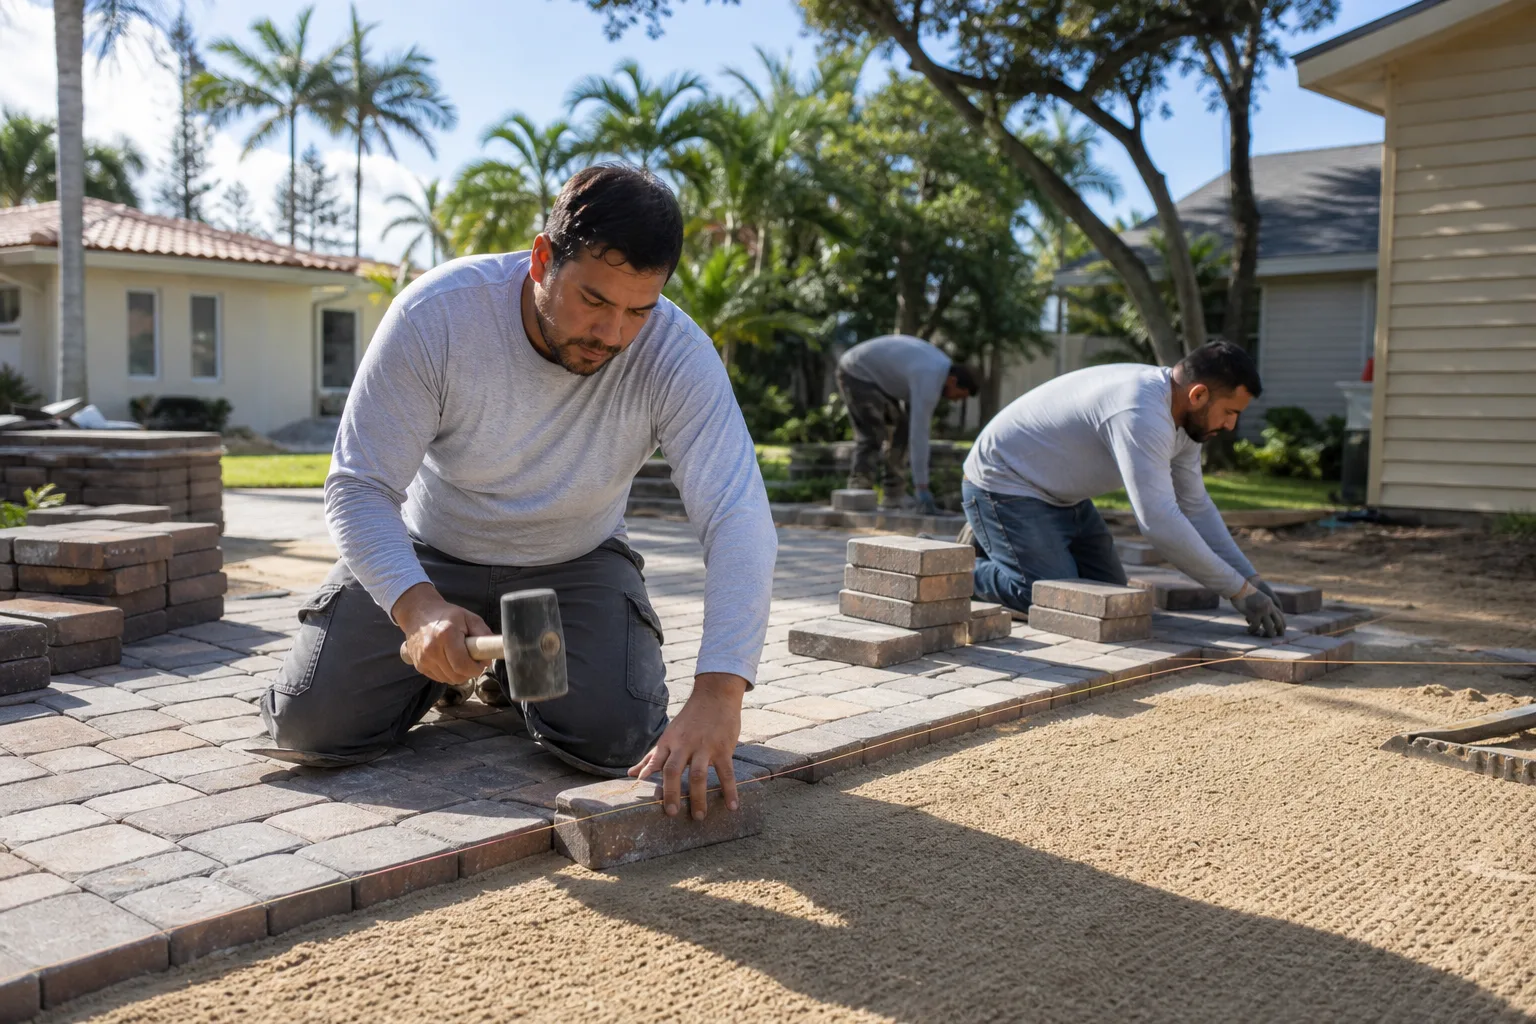
YouTube paver tutorials start at the fun part: placing the stones. They spend about 30 seconds on base compaction, the step that decides whether a driveway lasts 5 years or 30. That omission isn’t an accident. Base work is unglamorous, equipment-intensive, and almost impossible to film in a way that looks satisfying. The truth is that base failure accounts for roughly 80% of paver problems we’ve seen on Lancaster driveways, which means the real DIY question isn’t whether you can set pavers, it’s whether you can build a base that won’t move. This guide draws the line there, at the base, and tells you exactly which surface tasks you can safely handle yourself.
Quick Answer
You can safely DIY the surface work on a paver driveway, including cutting units, setting edge restraints, applying joint sand, and sealing, because a mistake there is cosmetic and fixable. You should not DIY the base, grading, or drainage work, because that’s where roughly 80% of failures begin and where a wrong slope can push water into your foundation. On a 500 sq ft Lancaster driveway, full DIY saves money on paper but usually lands close to professional cost once you price equipment rental and your own hours, and partial DIY (hire the base work, do the surface) is the realistic middle path.
Styles & brands we work with
- Kitchen remodeling
- Bathroom remodeling
- Home additions & ADU
- Roofing
- Windows & doors
- Driveway & pavers
- Fence
Table of Contents
- Why the Base Is the Only Line That Matters
- What’s Actually Safe to Do Yourself
- What Voids Warranties and Risks Permits
- The Plate Compactor Math in Lancaster
- How to Test Your Existing Base Before You Lay a Single Paver
- DIY vs Partial DIY vs Professional: A 500 sq ft Cost Comparison
- Common Mistakes to Avoid
- When to Call a Professional
Why the Base Is the Only Line That Matters
A paver driveway is a layered system. The pavers are the top inch and a half. Below them sits an inch of bedding sand. Below that, the base: 4 to 8 inches of compacted crushed aggregate, usually class II road base in this market. The base is what spreads the load of your vehicle across the soil underneath. When the base is right, the pavers barely move. When it’s wrong, the pavers telegraph every failure through the surface, and you replace the whole driveway rather than the part that failed.
Lancaster makes this harder than most places. The Antelope Valley soil is sandy in stretches and expansive clay in others, and the freeze-thaw swings between January nights in the 30s and July afternoons over 105°F cycle that soil seasonally. Expansive clay pushes. Sandy soil migrates. A base that’s under-compacted in either soil type shows movement within two or three seasons, and once pavers shift, re-leveling means pulling the field, reworking the base, and reinstalling. We’ve seen driveways in west Lancaster where a homeowner saved maybe $1,800 doing the base themselves and spent over $6,000 redoing the whole job after the first winter rains ponded against the garage slab.
That’s the whole argument in one number. The base is roughly a third of the material cost and nearly all of the risk. Read the full scope of what professional Driveway & Pavers in Lancaster involves and you’ll notice where the steps concentrate.
What’s Actually Safe to Do Yourself
A capable homeowner with patience and a weekend can handle these surface tasks without putting the driveway at risk. A mistake in any of them is cosmetic, not structural, and fixable with a follow-up visit.
- Paver cutting. Rent a wet saw with a diamond blade (roughly $90 – $130/day in the Lancaster area) and cut the perimeter and any curves or circles. You’ll want a chalk line and a helper for long runs. This is the task most people get wrong on their first attempt, and the failure mode is an ugly joint line, not a structural problem.
- Edge restraint installation. Aluminum or plastic edge restraint pinned into the base keeps the field from spreading under load. Material cost runs $2 – $4 per linear foot. The one caveat: the restraint must sit on compacted base, not loose soil, so this task depends on the base being finished correctly by someone else if you’ve gone partial DIY.
- Joint sand application. Polymeric joint sand locks the pavers together and keeps weeds out. Material cost is about $25 – $40 per 50 lb bag, and a 500 sq ft driveway needs 8 to 12 bags. Sweep, vibrate in with a plate compactor (low setting, padded plate), sweep again, and mist lightly per the bag instructions.
- Basic sealing. A penetrating or film-forming sealer rolled on with a 3/8″ nap roller, one to two coats depending on the product. Material cost runs $150 – $300 for 500 sq ft. Wait 60 to 90 days after installation before sealing so the pavers finish curing, and don’t seal in the middle of summer when surface temps exceed 90°F or the product will flash and haze.
- Weeding and re-sanding. Maintenance belongs to you. Touch up joints after the first winter and every spring, and no one needs to be licensed to do it.
Each of these is a skill, not a trade. If you’re comfortable with tools and can read a manufacturer’s data sheet, you can handle all five.
What Voids Warranties and Risks Permits
Here’s where the line gets firm. Several tasks are either unsafe to self-perform or trigger issues that come back to you legally and financially.
- Grading and site preparation. Moving soil, establishing the subgrade, and setting the finished grade so water flows away from the house. A wrong grade either ponds water on the driveway or sends it toward the foundation. In Lancaster, the rainy season concentrates between December and March, so a bad grade doesn’t show itself until you’ve forgotten it was a problem.
- Drainage engineering. Trench drains, channel drains, dry wells, and the slope calculations behind them. This is where homeowners most often create a problem that a licensed contractor would have warned them out of in one sentence.
- Any work within 5 feet of the foundation. This is the area where soil movement, changing drainage patterns, and hydration of the foundation slab cross from cosmetic to structural. We won’t touch that zone without an engineer’s eye on it, and neither should you. A foundation repair runs an order of magnitude more than the paver job.
- Base installation and compaction. Covered in the next section, but the summary is: the equipment and the technique matter more than the materials, and there’s no shortcut.
- Anything that requires a permit. Lancaster and LA County require permits for certain driveway alterations, especially when the work changes lot drainage or affects the public right-of-way at the apron. Unpermitted work can create title issues at resale and gives an insurer a clean out on any related water or foundation claim.
- Manufacturer warranty. Belgard, Techo-Bloc, and most paver manufacturers condition their product warranty on installation to published spec. A DIY base that fails the spec void the warranty, and that’s before we get to the fact that most failures look like “settling” and the manufacturer’s inspector will decline the claim without compaction records.
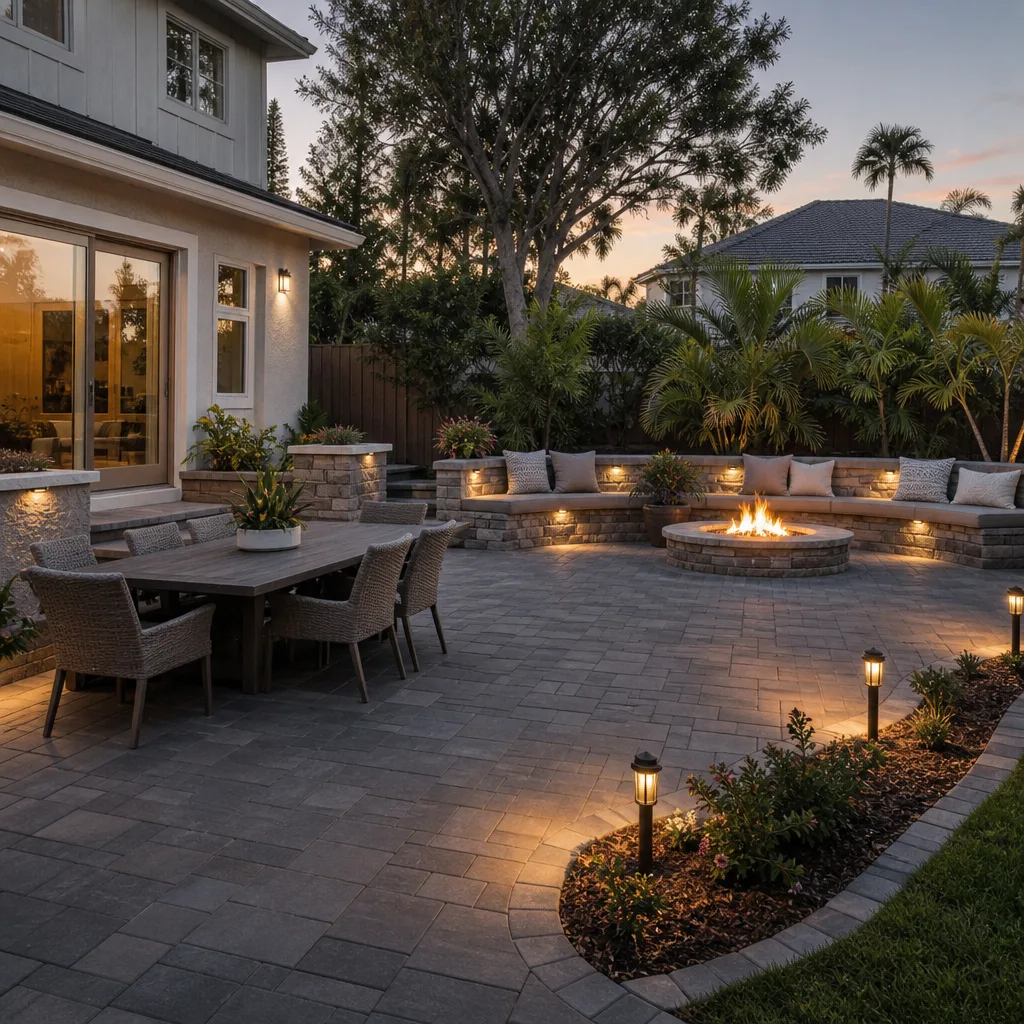
If your priorities include a patio or hardscape tied into other work, budget the whole picture. Kitchen and hardscape costs commonly get planned together in this market, which is why homeowners researching outdoor work also compare Rowan Construction Group Lancaster home for a full picture.
The Plate Compactor Math in Lancaster
A plate compactor rents for about $150 – $200 per day at Lancaster equipment yards, and the unit is a walk-behind plate weighing in around 150 to 250 lbs. That plate produces a compaction force in the range of 3,000 to 5,000 lbs of centrifugal force per vibration cycle, delivered in a footprint roughly 20″ by 24″. It’ll do the job on residential base, but only if you know how many passes and at what lift.
The contractor’s process uses a larger ride-on or a heavier plate with more force, and critically it compacts in lifts of 2 to 4 inches, typically four to six passes per lift, with moisture control all the way through. Two passes with a rented plate, done once, on an 8-inch base, is not the same operation. It’s not even close. That’s precisely why compaction callouts on YouTube are 30 seconds long.
Renting twice to do it right costs you $300 – $400 plus two days. Buying a homeowner-grade plate compactor runs $600 – $1,100 for a unit that will feel underpowered against 8 inches of class II base. If you go full DIY, here’s what the process actually looks like:
- Excavate to depth. Finished paver height (2 3/8″ plus 1″ bedding sand plus 6″ base) means digging 9 to 10 inches below the finished grade, plus the edge restraint margin.
- Proof-roll the subgrade. Walk a heavy plate over the excavated soil before any base goes down; soft spots show up as ruts or visible deflection.
- Lay base in 2-inch lifts. Not 4, not 6. Each lift gets moisture to near-optimum (a handful squeezed should hold shape without weeping water) and compacted until the plate stops leaving track marks.
- Test compaction. A dynamic cone penetrometer test or a simple hand-probe refusal test next to a known-good reference is how you know the base is done. Most DIYers skip this and so do the tutorials.
- Screed the bedding sand. Use 1″ steel pipe screed rails and a straightedge; overscreed to account for sand consolidation.
- Set pavers, cut perimeter, install restraint, apply joint sand, compact lightly, seal after cure.
That’s the full sequence. Steps 1 through 4 are the base, and that’s where the difference between a 5-year driveway and a 30-year driveway gets decided.
How to Test Your Existing Base Before You Lay a Single Paver
If you’re laying pavers over a previous installation, or if your driveway has a concrete or asphalt base in decent condition, you may not need to rebuild from scratch. You do need to test the base first. Two tools do the whole job: a 6-foot steel straightedge (a 6-foot level works) and a 3/8″ steel rod or a #4 rebar.
- The probe test. Push the rod into the base at 20 to 30 points across the driveway, both near the house and near the street. Healthy base resists. If the rod sinks 2 inches or more without hard resistance, that area is loose base or soft subgrade, and it needs rework before anything goes on top.
- The straightedge test. Lay the straightedge across the field in a grid pattern (every 4 feet in both directions). Segments that rock on the surface, or show daylight under the straightedge beyond 1/8″, indicate settlement or heaving. More than one settled segment in a 500 sq ft driveway is a sign of a broader base problem.
- The slope test. A 2% slope is roughly 1/8″ per foot on the straightedge. Check three or four runs from house to street; anything flatter than 1% risks ponding, anything steeper than 4% risks water finding the edges.
- The visual probe. Peel back a paver or two at the perimeter and look at the base directly. Base that’s greying at the top and losing aggregate isn’t breaking down, but visible pumping or sediment under the pavers from water flow is a red flag that the drainage failed.
If the driveway passes, you can lay new pavers over the existing field on a fresh bedding layer, though the existing pavers and edge restraint must come out carefully so the base surface isn’t disturbed. If it fails, plan for the base.
DIY vs Partial DIY vs Professional: A 500 sq ft Cost Comparison
Here’s the side-by-side most guides won’t put in writing. The numbers are for a 500 sq ft driveway, 8-inch base, mid-grade paver (Belgard or Techo-Bloc 60mm), labor priced at $25/hr as a notional value of your own time, and Lancaster-area material pricing as of early 2026. Local pricing at this level is flat, not aggressive, so the total for a professional job lands in the $7,500 to $12,500 range depending on paver selection and site conditions.
- Full DIY: pavers $2,400 – $3,600; class II base $650 – $900; bedding sand $150 – $250; edge restraint $250 – $450; joint sand $200 – $350; plate compactor rental $300 – $400 (two days); wet saw rental $90 – $130; hand tools and consumables $200 – $300; permit $0 – $400 if triggered; your labor at 60 – 80 hours × $25/hr = $1,500 – $2,000. Total: $5,740 to $8,380.
- Partial DIY (hire base + grading, DIY surface): contracted base and grading $2,400 – $3,800 (that’s base material, excavation, drainage, compaction, and permit if needed); pavers, sand, edge restraint, joint sand as above $2,500 – $4,500; your surface labor at 20 – 25 hours × $25/hr = $500 – $625. Total: $5,400 to $8,925.
- Full professional: $7,500 to $12,500 depending on paver grade, site access, drainage complexity, and whether the existing surface needs removal. Includes written scope, warranty, and documentation.
Read those ranges honestly. Full DIY is $2,000 to $4,000 cheaper than professional only if your time is truly free, your body holds up across two weekends of shovel work, and you don’t have to redo the base. Lose the base on the first winter and full DIY lands $2,000 to $4,000 more expensive than professional, with no warranty. Partial DIY is the closest to fair on both sides; it puts the base in professional hands and lets you keep the visible work, which is the part you’ll actually be proud of.
If you’re considering pairing the driveway with a front-yard boundary, the same calculus applies to Fence Installation in Lancaster; posts and base are the parts you don’t DIY.
Common Mistakes to Avoid
- Compacting in lifts thicker than 4 inches. A plate compactor can’t reach through 6 inches of base; the bottom is loose while the top is hard, and the whole layer shears within a season. Compact in 2-inch lifts, always.
- Skipping the proof-roll on native soil. In Lancaster’s sandy stretches, soft spots in the subgrade hide until they show up as a dip in the pavers 18 months in. Proof-roll a fresh plate over the excavated subgrade before a single bag of base goes down.
- Sealing too soon. Efflorescence appears when sealant traps moisture. Wait the full 60 to 90 days, don’t seal right before a rain event, and don’t seal over pavers that have visible haze. Every failed seal job we’ve been called to review here was applied fresh.
- Using sand for drainage. Sand moves. It doesn’t hold a trench drain in position and it doesn’t resist water flow. Use washed aggregate or a proper drainage channel, and keep it away from the foundation zone.
- Cutting pavers with a hammer and chisel. A wet saw is $90 to $130 for a day; a chipped field is a permanent eyesore on a job you’ll look at every morning for 15 years.
- Ignoring the permit question at the apron. The connection to the public street or driveway approach may need a permit in Lancaster even when the driveway itself doesn’t. What you don’t want is a code officer’s note on the property record because a neighbor’s complaint runs the numbers.
- Buying pavers before you know the base. If your probe test shows soft base, the paver grade may need to change, or the excavation depth may need to increase. Order materials after the base test, not before.
When to Call a Professional
Call a licensed contractor when the job involves any of the following: rebuilding or installing a base from scratch; changing the drainage pattern on the lot; any work within 5 feet of the foundation; a driveway that connects to the public street, apron, or sidewalk through a permit; paver installation over soil with visible movement; or any job where you want a written warranty on the finished surface. Those are the scenarios where the cost difference between DIY and professional is real money spent on risk mitigation, not labor you can substitute with your own weekends.
If you’re ready to see a real number rather than a range on a page, Rowan Construction Group Lancaster offers free estimates in Lancaster. Call (844) 797-3312 and we’ll walk the site with you, probe the base, and put a written price in your hands before any work starts. That written price is the point; Clause 1 of the Haven Standard makes it a standing commitment, not a sales tactic.
See the difference
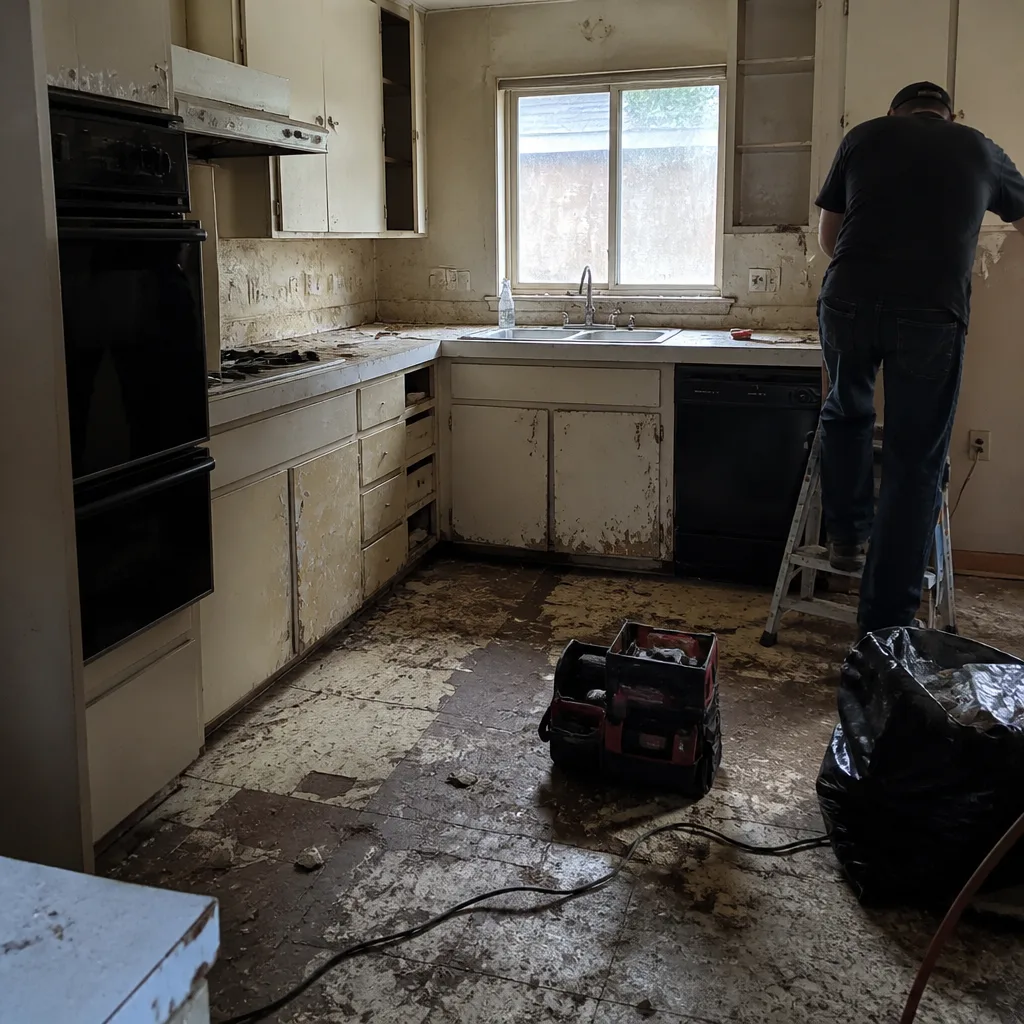
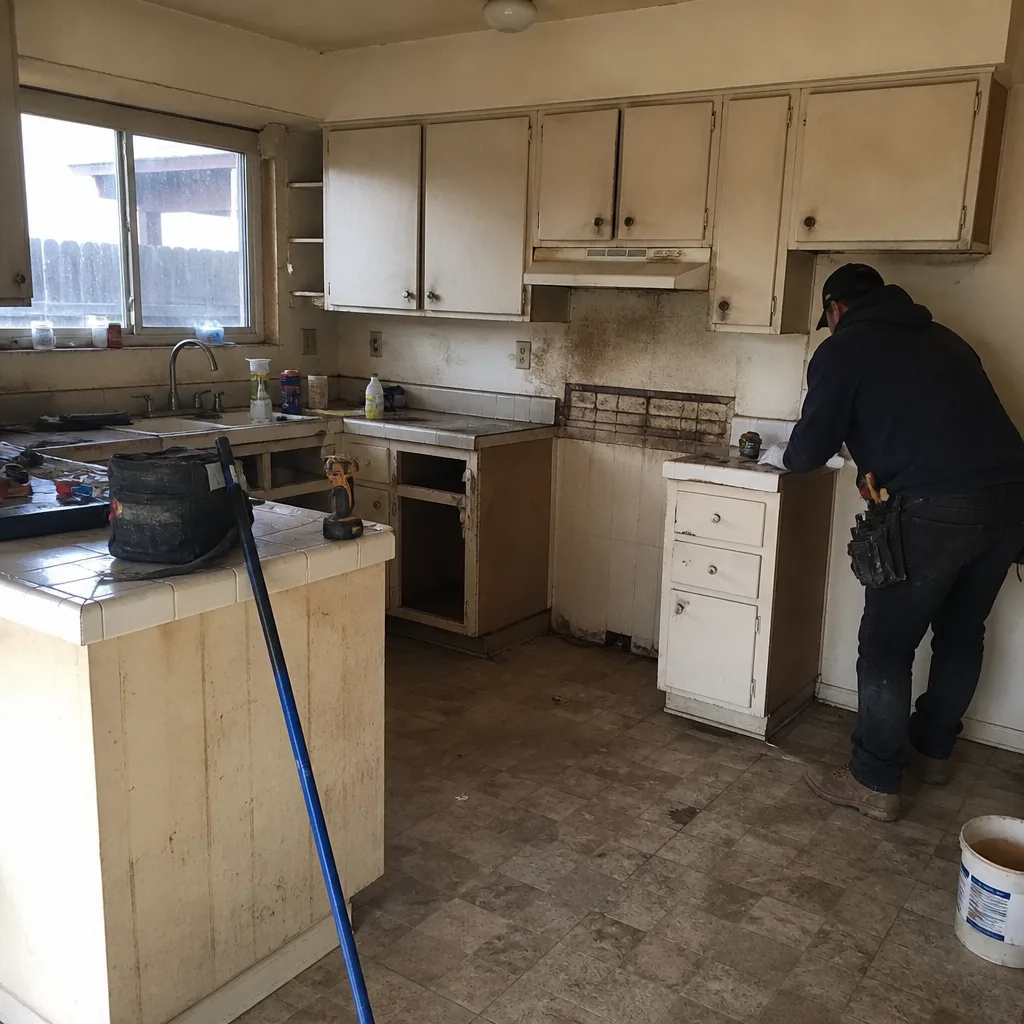 Before
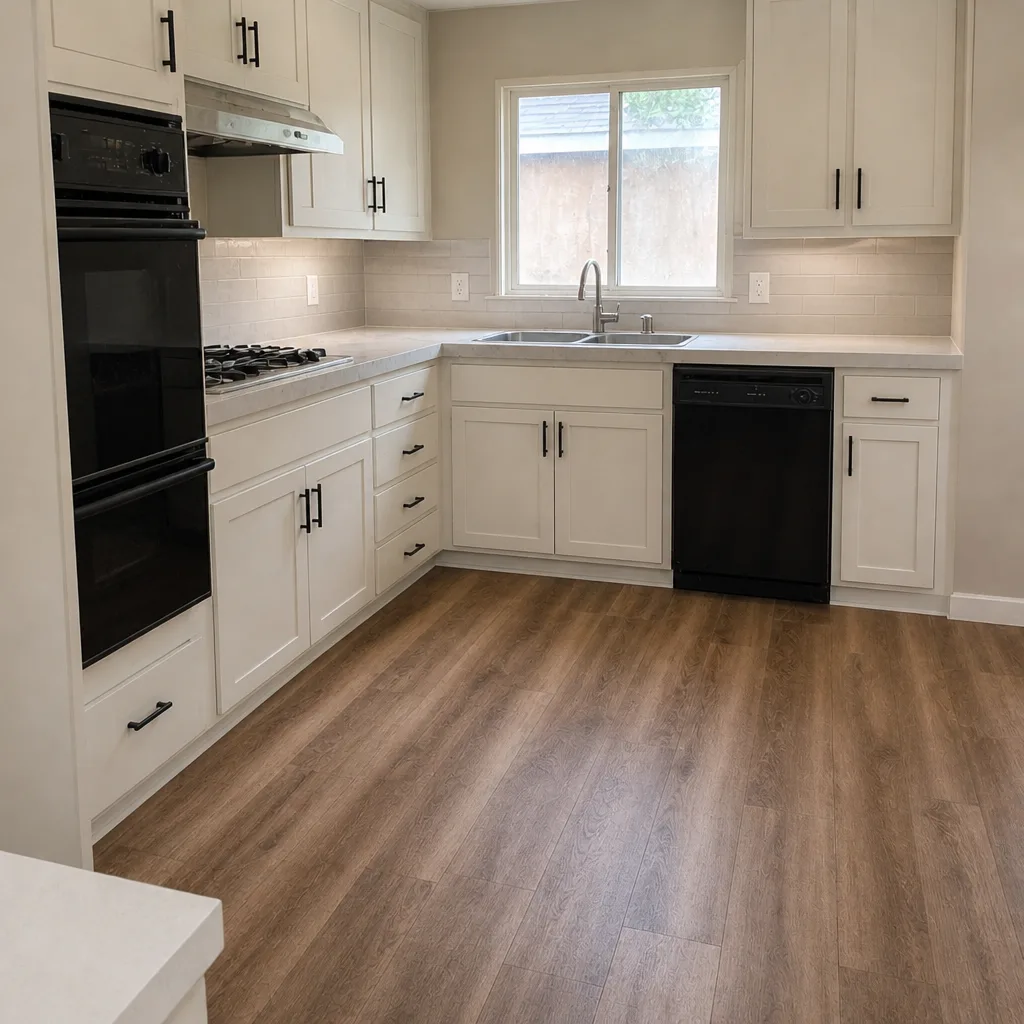
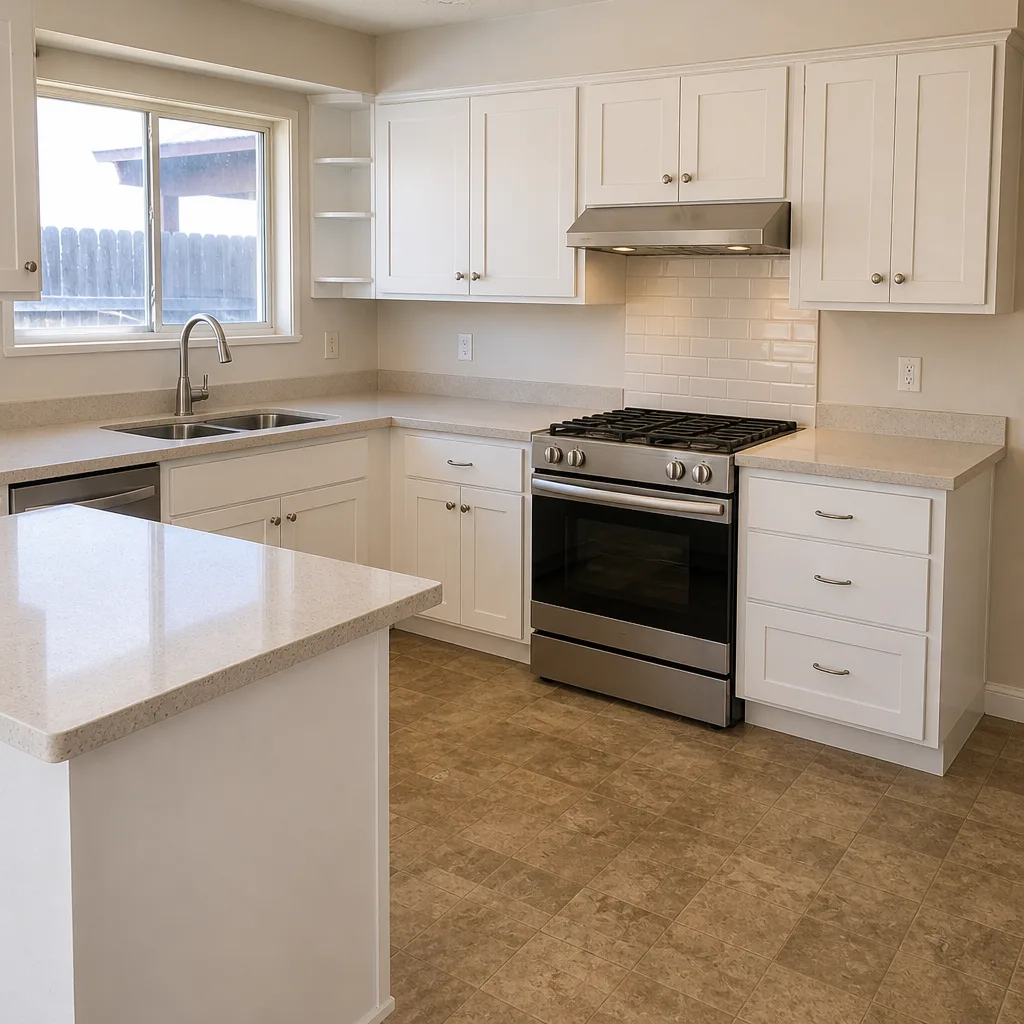 After
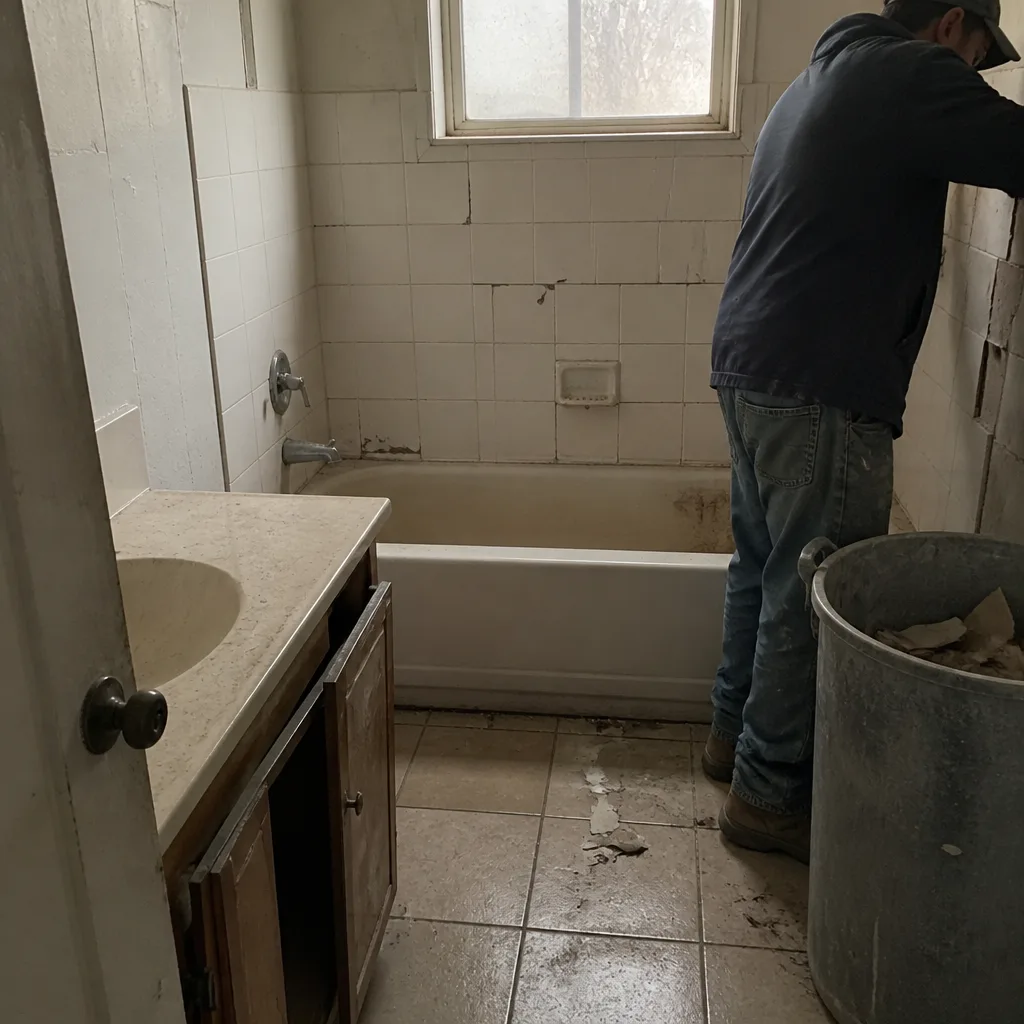 Before
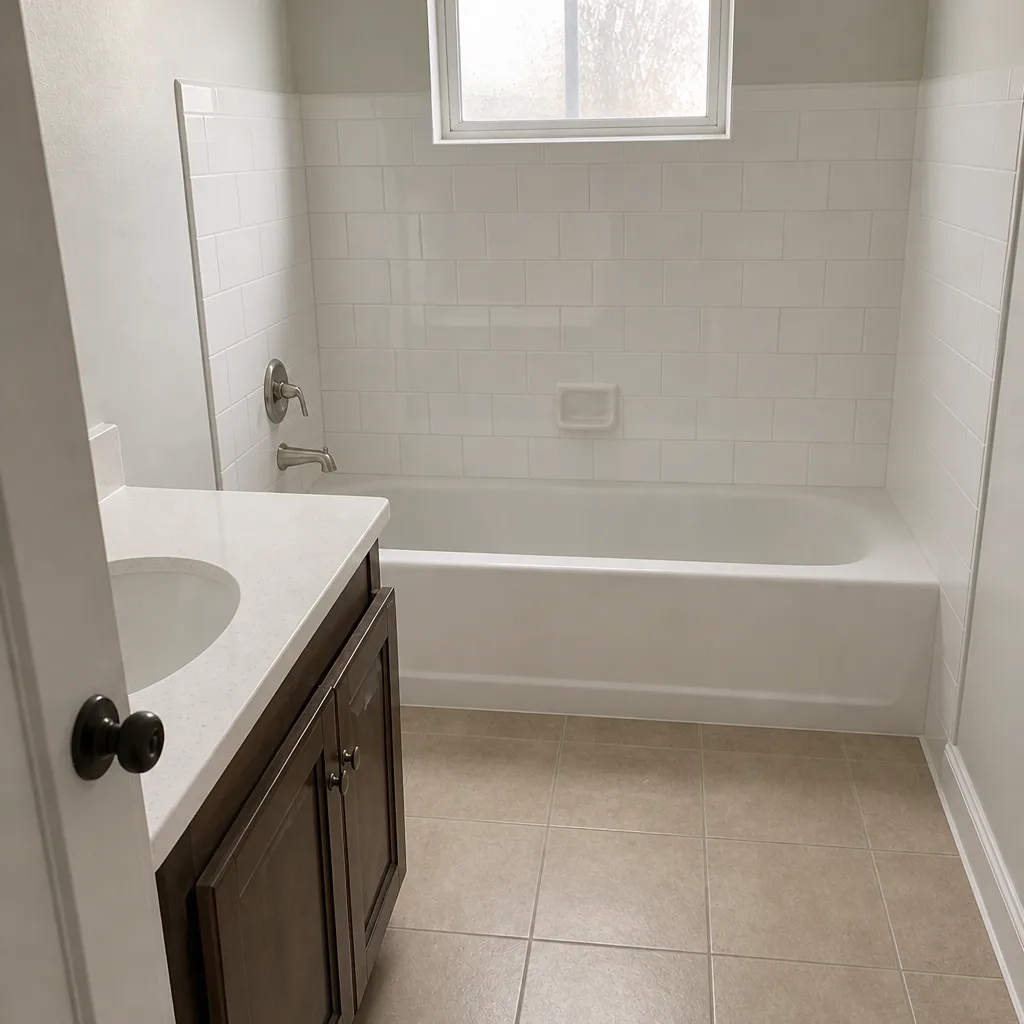 After
 Before
 After
Frequently Asked Questions
A 500 sq ft paver driveway in Lancaster runs $7,500 to $12,500 for full professional installation, depending on the paver grade and site conditions. Full DIY on the same footprint lands between $5,740 and $8,380 once you include equipment rental and your own hours, and partial DIY (hire the base, do the surface) comes in between at roughly $5,400 to $8,925. Call (844) 797-3312 for an exact quote on your driveway; estimates are free.
Sometimes, if the concrete is intact, unfaulted, and drains correctly, and the total finished height still clears the garage slab and any thresholds. In Lancaster, the bigger risk is that a 20-year-old slab has settled somewhere under the field, so you’d need a probe and straightedge test on the concrete before deciding. A contractor’s site walk usually settles the question in 15 minutes. Call (844) 797-3312 to schedule a free assessment.
Yes, in most cases. Belgard, Techo-Bloc, and similar manufacturers condition their pavement warranties on installation to the published spec, which includes specific compaction and base thickness requirements. A DIY base without compaction records gives the manufacturer grounds to deny a claim, and the warranty card is the first thing they ask for. A written scope from a licensed installers protocol is your protection here; call (844) 797-3312 to see what that looks like for your job.
Often yes, specifically when the work changes how the lot drains or when the driveway connects to the public right-of-way through an apron. The permit requirement depends on the parcel and the scope, so confirm on your property before relaying the first stone. Any contractor who won’t discuss the permit status in writing isn’t a contractor you want on your lot. Call (844) 797-3312 and we’ll walk you through what applies in your specific case.
A professional crew typically installs a 500 sq ft paver driveway in 3 to 5 working days including base, drainage, and surface, weather permitting. Most DIY homeowners we’ve talked with spend two full weekends on the surface work alone and another weekend on base, so the total is closer to 7 to 10 calendar days, and the work is often paused for weeks by weather or equipment availability. Time isn’t the reason to hire out, but the disruption to your household is a real cost.
A rented walk-behind plate compactor produces roughly 3,000 to 5,000 lbs of centrifugal force and needs 4 to 6 passes per 2-inch lift to reach spec. A professional ride-on compactor produces considerably more force and moves through the base faster, but more importantly it’s paired with a lift-and-moisture protocol and compaction testing. The difference isn’t the machine, it’s the process. Call (844) 797-3312 for a look at your site if you’re unsure whether the base you have is enough.
The Bottom Line
The DIY question isn’t whether you can lay pavers, because you can. It’s whether you can build the base, and that’s the single variable that separates a driveway that lasts 5 years from one that lasts 30. Surface work (cutting, edge restraint, joint sand, sealing) is a genuine weekend project. Base work, grading, drainage, and any foundation-adjacent zone are not, and in Lancaster’s soil the margin for error is narrow. Full DIY saves money only if the base holds; partial DIY (hire the base, do the surface) is the version that keeps the economics honest most of the time. If you’d rather have a written price and a documented record before the first shovel goes in, call Rowan Construction Group Lancaster at (844) 797-3312. Background-checked, uniformed technicians, a written price before any work starts, and the 365-Day Done Right Promise on every job. Free estimates, always.
Compare costs on a second opinion: we’ll review any competitor’s written quote line by line, free, before you sign anything. Bring it in or call (844) 797-3312. If your project also touches the structure of the home, see Home Additions & ADU in Lancaster; the same written-price discipline applies.
Written by the team at Rowan Construction Group Lancaster.