Last updated November 17, 2026


Free written scope consultation - allowances, timeline, and change-order rules on paper before a single trade is scheduled
DIY vs Professional Windows & Doors: What’s Safe to Do Yourself
In California, you can legally replace a window yourself, with no permit, as long as the new unit is the same size, the same type, and in the same opening as the one you’re removing. Change the size, switch the operating style, or cut a new opening in an existing wall, and the rules flip entirely. That single distinction decides whether your project is a weekend job or a permitted construction scope with energy-compliance paperwork attached. In Lancaster, where stucco is the dominant exterior finish and summer heat punishes every seam and sealant, getting the line wrong is expensive. This guide walks through what the code actually says, which tasks a careful homeowner can genuinely handle, and where the risk stops being worth it.
Quick Answer
Interior work is generally safe to do yourself: trim removal, weatherstripping, sash hardware, caulking, and painting. Exterior installation in a stucco wall is not, because flashing integration has to happen in a specific sequence and a mistake hides inside the wall until moisture damage shows up years later. Anything that changes window size, type, or opening location requires a permit and, in most cases, Title 24 energy compliance documentation that only a licensed contractor can sign off on.
Styles & brands we work with
- Kitchen remodeling
- Bathroom remodeling
- Home additions & ADU
- Roofing
- Windows & doors
- Driveway & pavers
- Fence
Table of Contents
- What California’s Like-for-Like Rule Actually Allows
- The Window Tasks That Are Genuinely DIY-Safe
- Why Stucco Installation Is a High-Failure DIY Job in Lancaster
- The Real Cost Comparison: Labor vs. Remediation
- Doors Are a Different Animal
- The Paperwork You Should Receive and Why It Matters at Resale
- A Step-by-Step Way to Decide
What California’s Like-for-Like Rule Actually Allows
California Building Code Section R105.2 lists work that’s exempt from a building permit. For windows and doors, the practical reading is that a replacement of identical size and type in the same opening generally falls under that exemption. The exemption is narrow. It covers the swap, not a modification.
Where the exemption ends:
- Size changes. Widening or heightening a rough opening alters the structural header and framing. That’s a permit.
- Type changes. Converting a fixed pane to an operable casement, or a slider to a French door, changes the load path and egress calculations.
- New openings. Cutting a window or door into an existing wall is always permitted work.
- Egress windows. Bedroom windows must meet minimum clear opening dimensions. If your replacement changes those dimensions, it’s a code review item.
- Title 24 compliance. California’s energy code applies to alterations. Even a like-for-like replacement may require a CF2R compliance form, depending on scope and jurisdiction.
That last point is where Lancaster homeowners get surprised. A window that meets the exemption for permitting may still need energy documentation, and the form requires a licensed contractor’s certification. The exemption from a permit and the exemption from energy code are two different questions. Answer them separately before you buy a single unit.
The Window Tasks That Are Genuinely DIY-Safe
There is real work inside a window project that a careful homeowner can do without touching the parts that fail. These are the tasks we’d hand a competent DIYer without hesitation, because a mistake here is visible and cheap to correct.
- Interior trim removal and reinstallation. Pulling casing and stool molding with a trim bar and reinstalling it after the unit is set is finish carpentry, not structural work. It’s the last step and the safest one.
- Weatherstripping replacement. Worn bulb seals and fin seals on older units are a common source of Lancaster draft complaints. Replacement kits are inexpensive and the fix is straightforward.
- Sash hardware swaps. Locks, keepers, cranks, and rollers are bolt-on parts. Match the brand and model and the swap takes minutes.
- Caulk application. The final bead of exterior sealant around a frame is a homeowner-safe job once the unit is correctly installed and flashed. We recommend a high-quality polyurethane sealant rated for the temperature swings here, not a cheap acrylic.
- Painting and staining. Interior and exterior finish work on wood-clad units, provided the manufacturer’s finish warranty allows it.
Notice what’s absent from that list: setting the unit in the opening, shimming, fastening, and flashing. Those are the steps that determine whether the window performs. If you handle trim and caulk yourself and hire out the installation, you can genuinely save money on the project without carrying the risk.
Why Stucco Installation Is a High-Failure DIY Job in Lancaster
Most homes in Lancaster and the surrounding Antelope Valley are finished in stucco over a weather-resistive barrier and sheathing. That assembly is a system, and windows are where systems fail. The flashing sequence is not optional and it is not intuitive.
A correct stucco window installation runs roughly in this order: cut back the stucco to expose the rough opening and the weather barrier, install the sill pan flashing with the correct slope and end dams, integrate the new unit’s nailing fin and factory flashing tape with the weather barrier in shingle-lap order (upper layers over lower), then reinstall lath, weep screed, and the stucco finish. Every layer must overlap the one below it. Skip one or install it out of order and water finds a path behind the stucco.
That failure is invisible. The wall doesn’t leak on day one. It leaks after a few winters, and by the time you see a stain on interior drywall or bubbling paint, the sheathing behind it has been wet for a while. In our experience, the repairs that follow an incorrectly flashed window cost more than the original installation. Old-timers here blame sun and wind, and they do accelerate the damage, but the cause is almost always the flashing sequence, not the climate.
If you’re planning a larger exterior scope alongside window work, see what a properly sequenced exterior project looks like in our guide to Driveway & Pavers in Lancaster. The same water-management logic applies: manage the water at the edges and the middle takes care of itself.
The Real Cost Comparison: Labor vs. Remediation
Professional window installation labor typically runs $150 to $400 per window, depending on unit size, access, and how much stucco has to be opened. That’s the number to compare against your own time and risk, not against the retail price of the unit, which is the same either way.
The other side of the ledger is the callback and remediation cost when exterior flashing fails. That runs $800 to $2,500 per opening once you’re into cutting back stucco, replacing wet sheathing, and redoing the finish. If three windows leak from the same failed installation, you’re looking at the remediation cost three times over, plus the interior repairs.
Simple way to frame it:
- DIY trim, weatherstrip, hardware, and caulk: saves a few hundred dollars across a whole house, near-zero risk.
- DIY exterior installation to save labor: saves $150 to $400 per opening, against a remediation exposure of $800 to $2,500 per opening. The math only works if you’re confident enough to be right the first time.
- Professional installation plus DIY trim: the honest middle. You pay for the part that carries risk and keep the part that doesn’t.
If you’re building an exterior budget, the Fence Installation in Lancaster guide covers the same tradeoff for fencing, where the wind load and post-setting depth matter more than most homeowners expect.
Doors Are a Different Animal
Doors get grouped with windows because they share a trade, but the installation diverges. An exterior entry door is a heavier, structurally more demanding unit, and the consequences of a bad install are different.
An entry door swap in an existing opening, same size and type, is the closest thing to a like-for-like exterior replacement you can do. The catch is weight. A solid-core or fiberglass door in a prehung frame runs a hundred pounds plus, and setting it plumb and square in a wall while controlling the seal is a two-person job. Brands like Therma-Tru are forgiving in the sense that the frame is factory-squared, but the wall has to be too.
Patio doors, sliding or French, are more complicated. They’re larger, they need a precisely level sill and a correctly sloped threshold pan, and the flashing integration is the same stucco sequence on a wider opening. We treat those as professional work. Interior doors are a different story entirely. A prehung interior door, hung plumb in a properly squared opening, is a reasonable DIY project for anyone who owns a level and a shim set.
If you’re adding a door where none existed, or expanding an opening, you’re into framing, header sizing, and permits. For what that scope involves, our guide to Home Additions & ADU in Lancaster covers the structural side honestly.
The Paperwork You Should Receive and Why It Matters at Resale
This is the part most homeowners don’t think about until they’re selling. A window installation is only as good as the paper that follows it, and Lancaster buyers are getting more diligent about asking for it.
What a professional installation should produce:
- A permit, if required. Size changes, type changes, and new openings need one. If your contractor offers to skip it, that’s a signal.
- A manufacturer installation certificate. Manufacturers like ES Windows and ECO Window Systems condition their product warranty on installation to their published instructions. A certificate or a signed installation statement protects that warranty. Without it, a warranty claim can be denied on installation grounds.
- A Title 24 CF2R compliance form. This certifies the installed unit meets the energy code for the alteration. It’s usually required for the final inspection and increasingly requested in resale disclosure packages.
- A written scope and warranty. The same written price and written scope you should receive before work starts. Under the Haven Standard, no work proceeds on a change until the change order is signed, which means the paper trail matches what actually got built.
Under our 365-Day Done Right Promise, if something we installed isn’t right, we make it right. That’s a written commitment on the page, not a handshake after the fact. This is also why we offer a free second opinion on any written estimate. Bring a competitor’s quote and we’ll review it line by line at no charge, whether or not you hire us.
A Step-by-Step Way to Decide
Work through these in order. The first question often settles it.
- Is the new unit identical in size and type to the old one? If yes, you may be in the permit-exempt band. If no, stop: you’re in permitted territory.
- Are you in a bedroom? Check egress dimensions before anything else. A correctly sized egress window is a life-safety item, not a style choice.
- Does the wall face stucco? Plan for the flashing sequence even if you decide to do the interior yourself. If you can’t describe the sequence accurately, hire it out.
- Can you get the manufacturer’s installation instructions for your specific unit? Get them before you decide. If you can’t follow them step by step, hire the install.
- Who signs the Title 24 CF2R form? If the answer is “no one,” that’s a problem to resolve before purchase.
- Decide which tasks you keep. Trim, weatherstrip, hardware, and caulk are safe to keep. Setting and flashing are the ones to hand over.
One more consideration if you’re planning a broader exterior project. Windows and doors are one envelope decision, but the same water-management and permitting questions come up in driveway and hardscape work. If you want the full picture of where your home’s envelope and site work intersect, the Rowan Construction Group Lancaster home page lays out the seven trades and how they connect.
Common Mistakes to Avoid
- Assuming “no permit” means “just replace it.” It doesn’t. The exemption is narrow, and a size or type change pulls you out of it immediately.
- Skipping the sill pan. It’s the first line of defense against water, and it’s the step most often omitted when a homeowner installs a unit themselves. You won’t see the failure for a couple of seasons.
- Installing flashing out of shingle-lap order. Layers have to overlap the way shingles do, upper over lower. Out of order and the water has a path.
- Caulking over a problem. Sealant is the last step, not the fix. If the flashing is wrong, caulk buys you a season at most.
- Losing the manufacturer installation certificate. Brands like Mr-Glass and ES Windows condition warranty coverage on proper installation. Having the paper is the difference between a covered claim and a denied one.
- Making the change without a written change order. If scope shifts mid-project and nothing is signed, you lose the protection you paid for. Clause 1 of the Haven Standard is the whole point: the price is written before anyone starts.
- Installing windows ahead of a larger project. If you’re planning an addition or a re-sided wall, sequence the windows into that scope rather than installing them twice.
See the difference
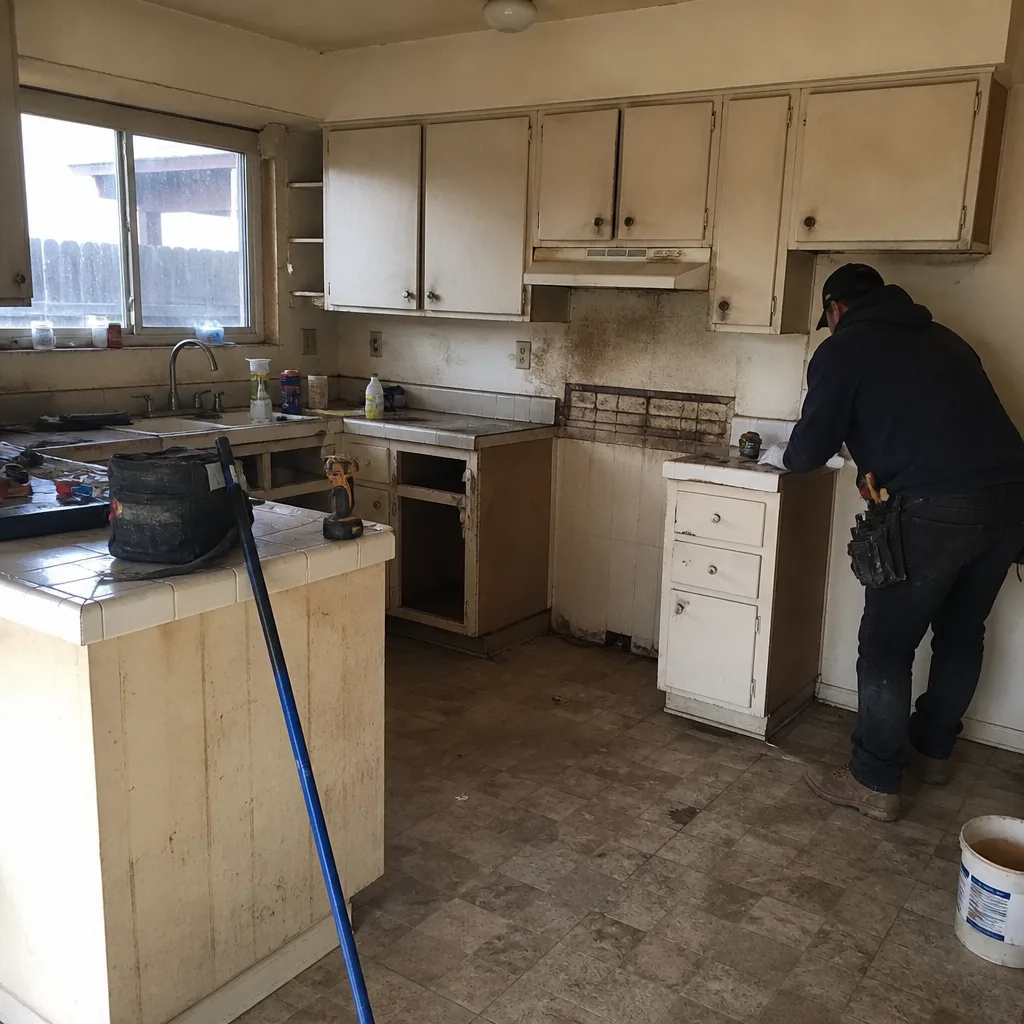 Before
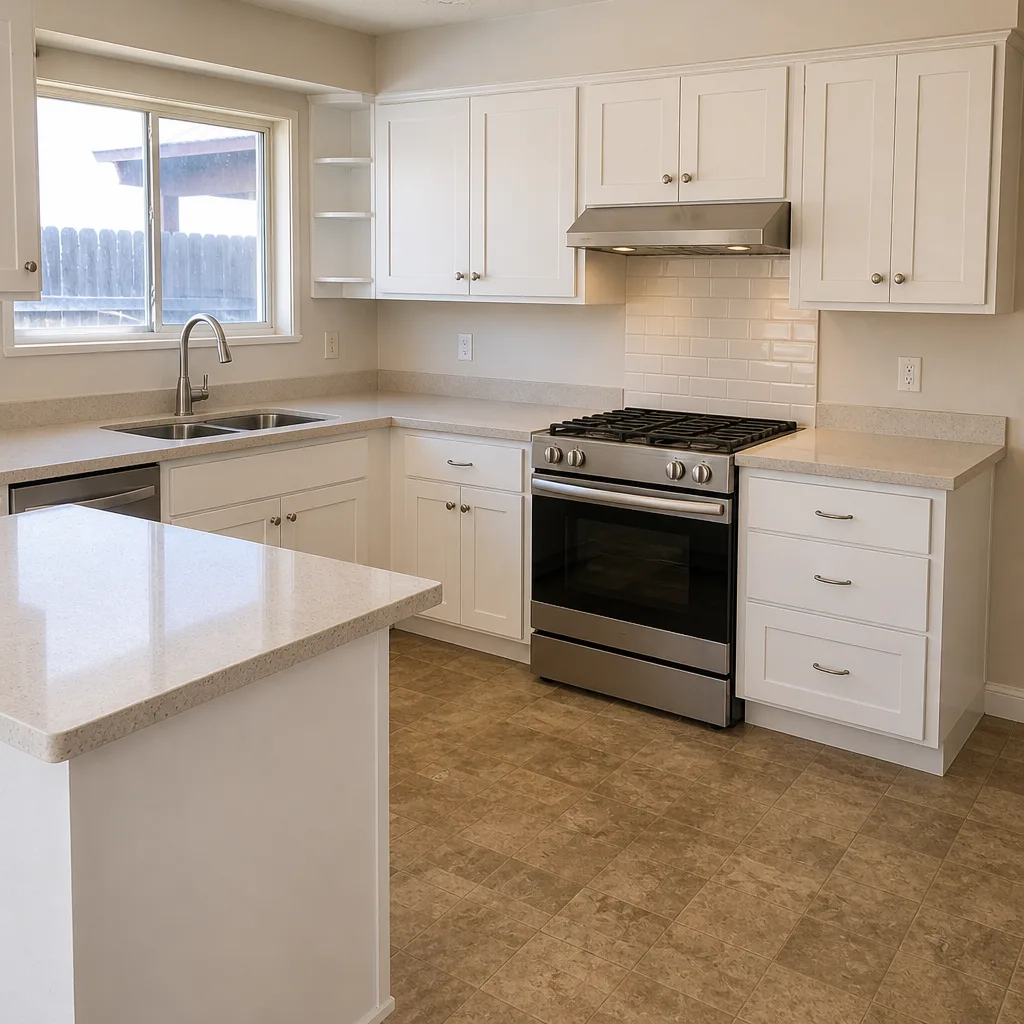 After
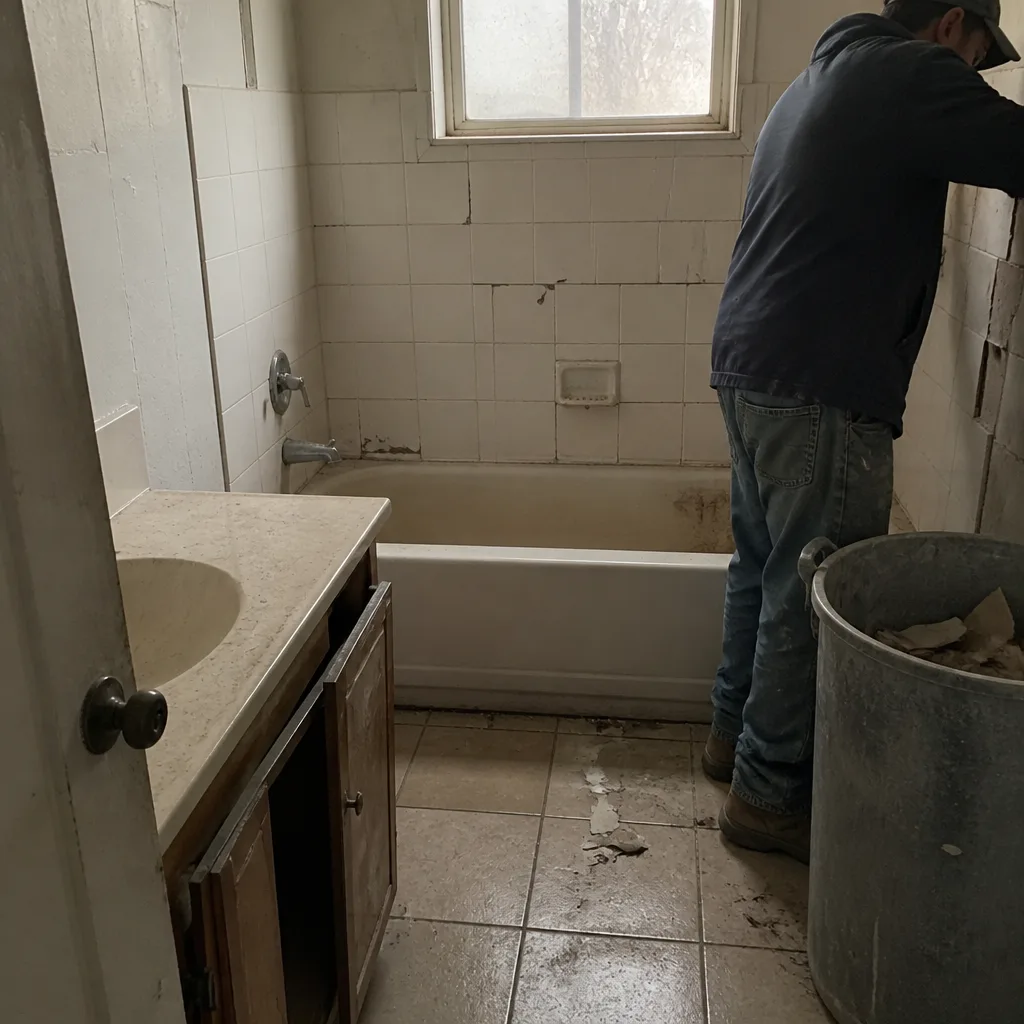 Before
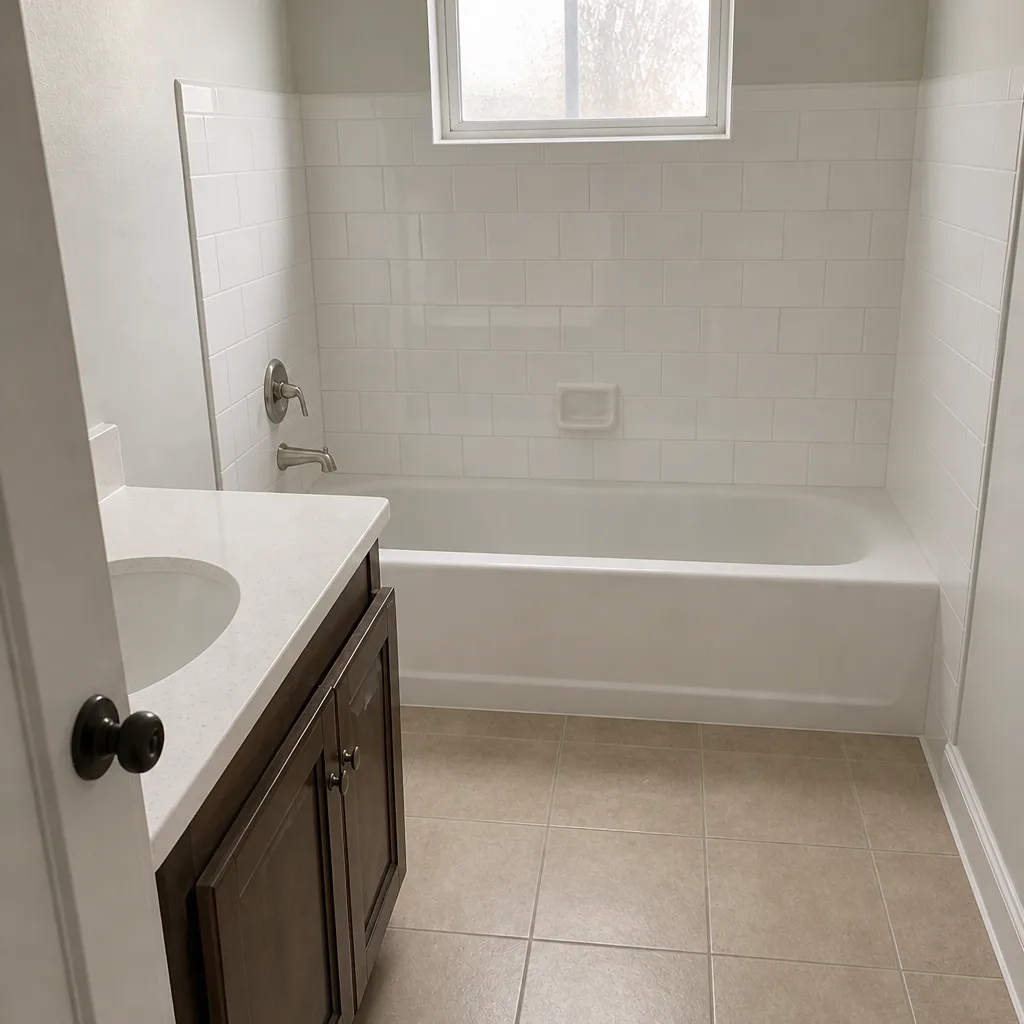 After
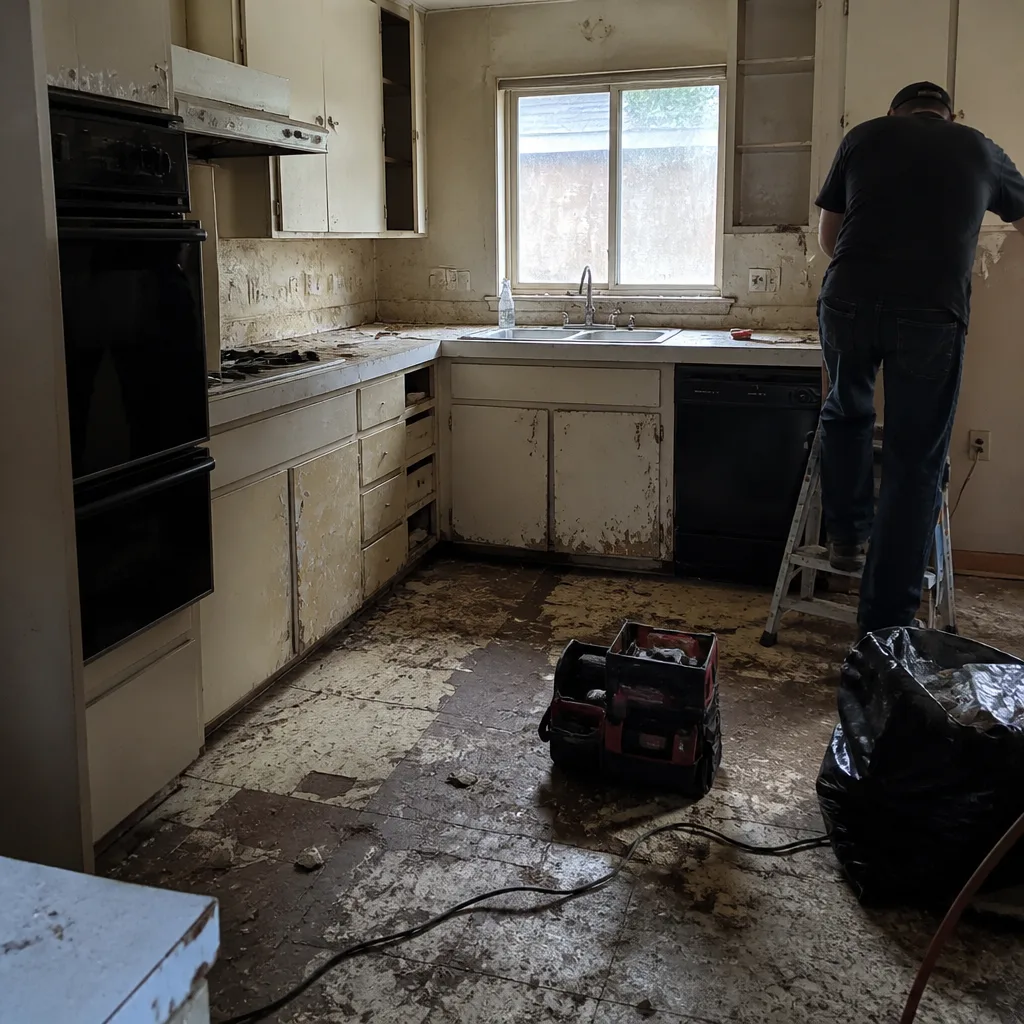 Before
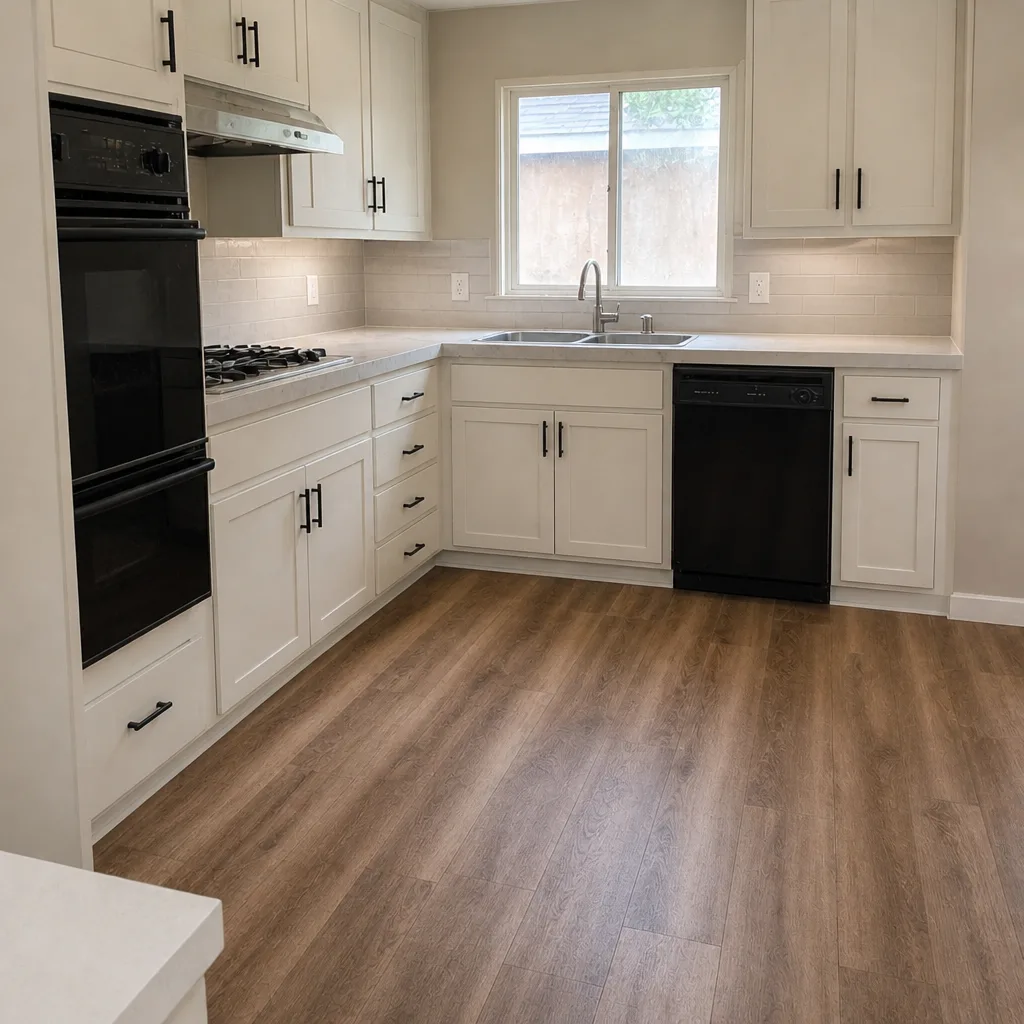 After
When to Call a Professional
Call a licensed contractor whenever the work changes size, type, or opening location, whenever you’re in a stucco wall, and whenever an egress window is involved. Call for any patio or French door, any new door opening, and any installation where you can’t get the manufacturer’s instructions and follow them step by step. If you’re selling in the next couple of years and you want the CF2R and installation certificate in the disclosure package, call. These are the situations where a mistake costs more than the labor you were trying to save.
Rowan Construction Group Lancaster offers free estimates in Lancaster, with a written price and written scope before any work starts. We answer calls 24/7 with a live person, our technicians are background-checked and uniformed, and every visit includes a documented photo record as standard. Call (844) 797-3312 to schedule your free estimate.
Frequently Asked Questions
Usually not, if the new window is the same size and same type in the same opening under the like-for-like exemption. If you change the size, switch from a fixed to an operable unit, or cut a new opening, you need a permit. Call (844) 797-3312 for a free estimate and we’ll confirm which side of the line your project is on.
You can, but the flashing sequence is the reason most homeowners shouldn’t. The sill pan, the weather-barrier integration, and the shingle-lap order all have to be right or the failure stays hidden inside the wall until moisture damage surfaces. That risk is why we treat stucco installation as professional work.
Installation labor typically runs $150 to $400 per window, depending on unit size, access, and how much stucco has to be opened. The unit price is the same whether you or a contractor buys it. Call (844) 797-3312 for a written estimate on your specific windows – estimates are free.
No. We provide a written price and written scope before anyone picks up a tool, and no change proceeds until a change order is signed. That discipline is the reason our projects finish within a few percent of the number the customer agreed to.
It’s a compliance form that certifies the installed window or door meets California’s energy code for the alteration. It’s frequently required for the final inspection and increasingly requested at resale. If your installation didn’t produce one, that’s worth resolving before you sell.
Interior doors yes; exterior and patio doors usually no. An exterior entry door is heavy, has to be set plumb in a wall that may not be square, and needs the same flashing sequence as a window. Patio doors add a sloped threshold pan on top of that.
The Bottom Line
The line between DIY and professional window work in California is narrower than most homeowners expect. Like-for-like replacement can be permit-exempt, but any change in size, type, or opening location pulls in permits and Title 24 energy compliance. Inside the project, trim, weatherstripping, hardware, and caulk are safe to keep. Setting a unit and flashing it into a stucco wall is where the honest risk lives, and the remediation cost of $800 to $2,500 per opening dwarfs the $150 to $400 per window you’d save on labor. Get the paperwork, sign the change orders, and keep the parts that carry no risk. Call (844) 797-3312 for a free estimate.
Written by the team at Rowan Construction Group Lancaster.