Last updated November 17, 2026


Free written scope consultation - allowances, timeline, and change-order rules on paper before a single trade is scheduled
Driveway & Pavers Warning Signs Every Homeowner Should Know
A single rocking paver isn’t a cosmetic problem. It’s evidence that the base beneath it has moved, and in Lancaster’s expansive soil, one rocking paver typically means a 10 to 20 square foot section is already compromised underneath. Catching it costs about $150. Missing it costs $2,000. That gap is the whole point of this guide. Paver driveways fail slowly and visibly, and every failure mode has an early indicator that shows up 6 to 18 months before the expensive repair becomes unavoidable. We’ll walk through the physical signs, the Lancaster climate and soil factors that drive them, and how to build a 10-minute inspection log that catches trouble while it’s still cheap.
Quick Answer
The earliest warning signs of paver driveway failure are rocking pavers, water pooling where it used to drain, a visible wave across a straight run, joint lines wider than 3/8 inch, and edge restraints pulling away from the border. Catching these within the first 6 to 18 months usually means lifting and resetting a small section for a few hundred dollars. Ignoring them means base reconstruction, which runs several times higher. In Lancaster, the two accelerants are clay soil that swells and shrinks with the wet-dry cycle and summer heat that bakes moisture out of joint sand.
Styles & brands we work with
- Kitchen remodeling
- Bathroom remodeling
- Home additions & ADU
- Roofing
- Windows & doors
- Driveway & pavers
- Fence
Which Physical Signs Mean the Base Has Moved, Not Just Worn?
Surface wear is cosmetic. Base failure is structural. The five signs below tell you which one you’re looking at. If you can check even two of them in the affirmative, the problem is under the pavers, not on them.
- Rocking pavers. Press one foot on a corner and shift your weight. If the paver tips, the bedding sand under it has washed out or migrated. One or two rocks after a decade is normal settling. Three or more across a 20-foot run means the base layer has lost compaction.
- Pooling water in a spot that used to drain. Pavers are laid on a slope, usually around 1 to 2 percent away from the house. If water now stands where it used to run, the surface has lost pitch, which only happens when the base shifts.
- A visible wave pattern. Stand at one end of a straight run, crouch down so your eye is at paver height, and sight down the line. A rhythm of high and low spots is compaction loss. It’ll read as a gentle roller coaster.
- Joint lines wider than 3/8 inch. Measure at several points with a tape. Sand-filled joints should sit around 1/8 to 1/4 inch. When joints open past 3/8 inch, the interlock is gone and water goes straight down into the base.
- Edge restraints pulling away. The border course should be locked tight by a plastic or aluminum edge restraint, spiked into the ground. If you can see a gap between the border pavers and the restraint, or the restraint is lifting, the whole field can spread.
We usually find these in clusters near a downspout or where a vehicle parks tires in the same spot every night. Tire scrubbing on an unsealed joint is one of the fastest routes to rutting.
Efflorescence vs. Spalling: How Do You Tell Them Apart?
Efflorescence is a white, powdery haze on the paver face, and spalling is flaking of the paver surface itself. Efflorescence is usually cosmetic and comes back after rain; spalling is a structural warning that moisture is getting in and freezing or expanding.
Here’s the field test. Efflorescence brushes off with a stiff broom and washes away temporarily with water. Spalling does not brush off because the top layer of the paver is shed like a sunburn peel, exposing a rougher body beneath. If you can flick a chip loose with a fingernail, that’s spalling.
Why it matters: efflorescence happens when mineral salts migrate to the surface with water and evaporate. It’s a symptom of water moving through the paver, but in Lancaster’s dry heat it often resolves on its own after the wet season. Spalling happens when the paver itself is saturated and the surface plane fails. The cure isn’t a wash. It’s finding where the water is entering, usually a failed joint, a low spot, or a missing edge restraint.
If the white powder keeps returning in the same 10 to 15 square feet after every rain, that’s your signal that the joints near it deserve a closer look.
What Do Lancaster’s Soil and Heat Do to a Paver Driveway?
Lancaster sits on expansive clay soils, the kind that swell when wet and shrink hard when dry. A paver driveway here goes through dozens of wet-dry cycles a year. Every cycle lifts and drops the subgrade underneath, and a base that was perfectly compacted when it was installed can develop voids in a few seasons.
The heat adds a second pressure. Surface temperatures on pavers in direct Lancaster sun reach well past 140°F in July and August. Joint sand dries and blows out faster than in cooler climates, opening the joints that hold the whole system together. Once sand is gone, water enters the base and the cycle accelerates.
What we see in practice, block by block:
- Trouble concentrates on the sun-facing half of a driveway, where sand dries first.
- Driveways installed before 2015 in older neighborhoods tend to have thinner base layers than current practice calls for, which makes them more vulnerable to clay movement.
- Downspout discharge is the most common single cause we trace. One downspout pointed at the driveway edge will erode a 20-square-foot section of base in about three wet seasons.
- Desert landscaping upslope channels surface runoff more aggressively than a lawn does, which is why homes backing onto native scrub often see water tracking across pavers that were dry a decade ago.
If you’re also noticing settling along your property line, the same clay movement often shows up in retaining walls and fence posts. Our guide to Fence Installation in Lancaster covers how we set posts to account for expansive soil.
How Does Lancaster Vegetation Damage Paver Joints?

Invasive grasses and desert scrub roots travel through joint sand and lift pavers from underneath. The first sign is a fine green fuzz along a joint, not a weed poking up.
Bermuda grass and Johnson grass are the two worst offenders here. Their rhizomes run horizontally through the sand layer at 2 to 4 inches deep, loosening pavers as they go. You’ll see a green line of new growth following a joint, then the paver next to it starts to rock. Native desert scrub sends taproots down looking for moisture, and they follow the same sand channels that water uses.
How to identify root infiltration before it lifts a paver:
- Walk the driveway after rain and look for green lines along joints, especially near planting beds or lawn edges.
- Pull on a green sprig gently. If it resists hard, it’s connected to a root system under the pavers, not a surface weed.
- Press on the pavers on each side of the green line. Any rocking here confirms the root has lifted the interlock.
- Look for a slight mound or “tent” along the joint line. That’s the paver being pushed up from below.
Pulling the green shoots does nothing; the rhizome is still under the pavers. Hand-pulling is a stopgap. The honest fix is resetting the affected pavers and installing a root barrier along the planting edge.
Which Drainage Warnings Only Show Up When It Rains?
Water tracking toward the foundation, standing water that takes more than 30 minutes to drain, and erosion channels at the driveway edge. These are the three that only appear during or after rain, and they’re the fastest, cheapest warnings to catch if you know where to look.
Grab a raincoat the next time it storms and watch your driveway for 15 minutes. Do this once in the wet season and once in the dry season if you can, because the dry-season storm is often the more revealing test.
- Water tracking toward the house. If the paving slope has settled, water that used to shed to the street now runs back toward the garage sill. Over time, that water finds the foundation. A visible damp line inside the garage wall is the downstream symptom; the driveway pitch is the upstream cause.
- Standing water that takes over 30 minutes. A few puddles that fade within 20 to 30 minutes are normal for a well-built driveway after a hard storm. Puddles that stay for hours mean a low spot has developed, and low spots only come from base movement.
- Erosion channels. Look at the outer edges where the driveway meets soil or landscape. Channels of washed-out dirt, or an exposed base layer showing between the border pavers and the yard, mean water is escaping under the pavers and taking the fines with it.
Drainage fixes on an existing driveway often mean adjusting grade, adding a channel drain, or extending a downspout. In our experience, homeowners who catch this in month three spend a few hundred dollars. Homeowners who catch it after the foundation is involved spend several thousand.
How Do You Build a 10-Minute Annual Inspection Log?
You photograph, measure, and note the conditions every 12 months on the same date, and you keep the photos on your phone in a dedicated album. That’s the whole system. It creates a baseline so you can see change year over year instead of guessing.
This is the same documentation standard we include in every project handoff packet at Rowan Construction Group Lancaster, because written evidence beats memory every time.
Here’s the checklist. Block out 10 minutes on a weekend each spring.
- Stand at the garage door and take a wide photo. Same spot, same angle every year. Feet at the threshold line, phone at chest height.
- Crouch at the street edge and sight down the widest straight run. Take a photo down the line to capture the wave pattern, if any.
- Press a foot on each corner paver of the border course. Write down any that rock, then photograph the rocking paver with a coin next to it for scale.
- Measure the three widest joint lines with a tape. Write down the numbers.
- Photograph each edge restraint at the border. Note any gap or lifting.
- Note the weather for the last 48 hours in your log (“rained Tuesday, dry since”) so you can interpret any efflorescence.
- Note any green lines along joints and photograph them close-up.
- After the first storm of the season, film a 30-second video of water running off the driveway so you have a record of drainage direction.
Keep all of it in one phone album named “Driveway Inspection” with a year prefix. Two years of photos gives you the real story. If the same paver has been rocking for two years and the joint beside it has widened by a quarter inch, that’s not settling; that’s movement, and it deserves a professional look.
If the log ends up pointing to a bigger project, our guide to Driveway & Pavers in Lancaster walks through the replacement decisions, from material choice to the brands we source from, including Belgard and Techo-Bloc.
See the difference
 Before
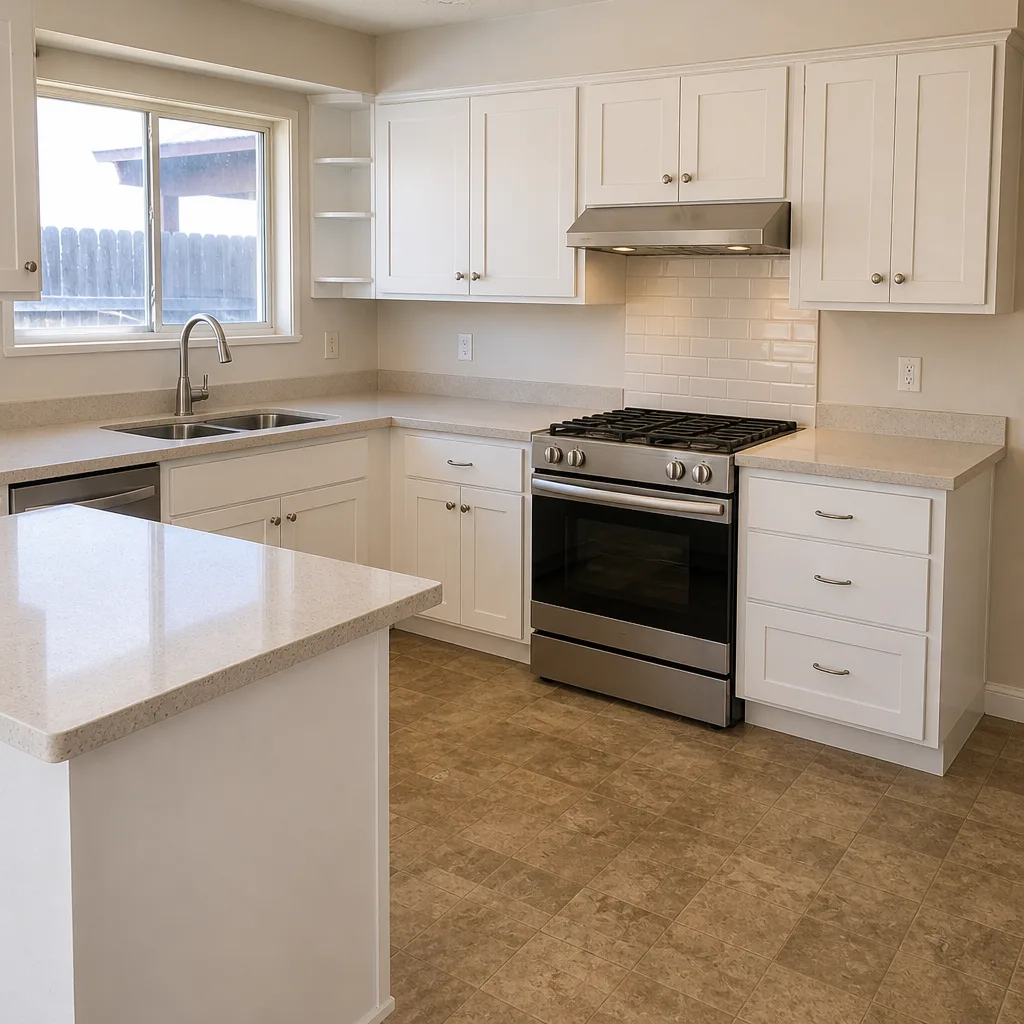 After
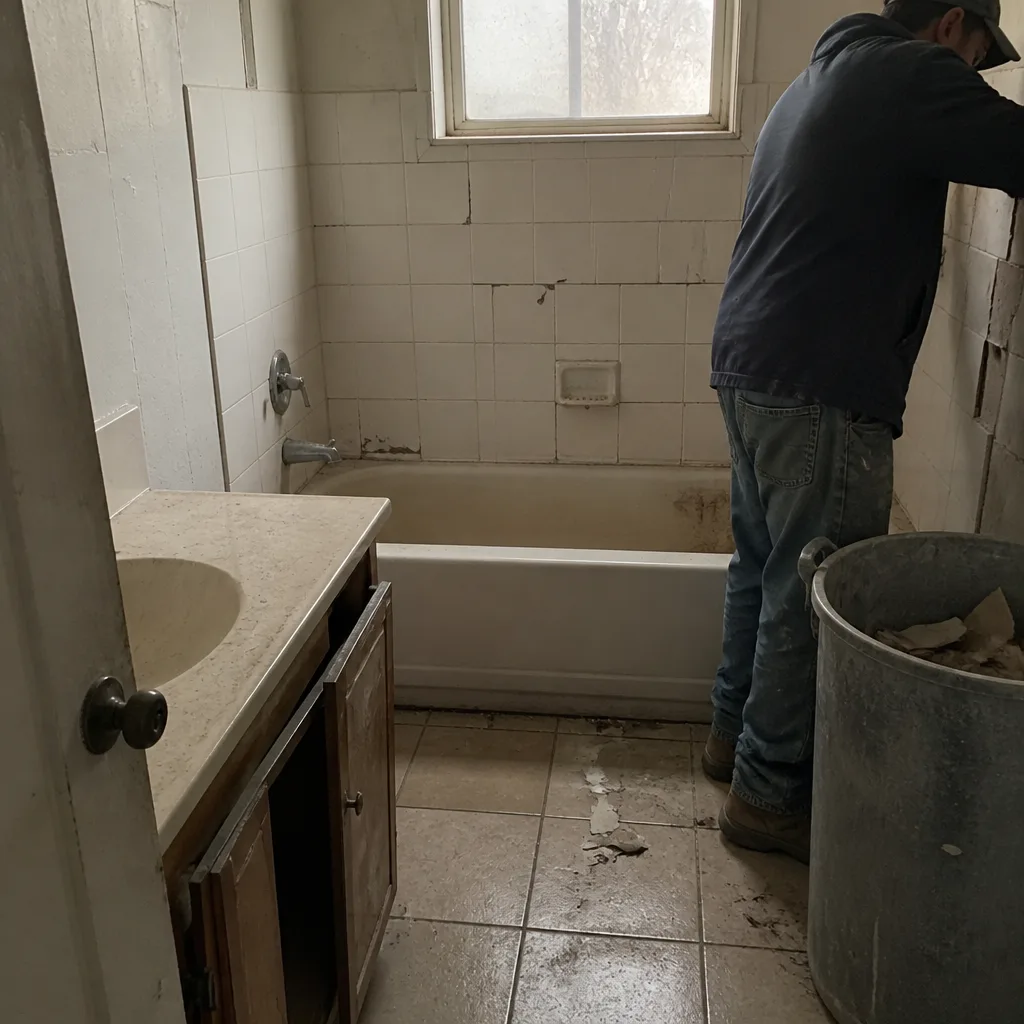 Before
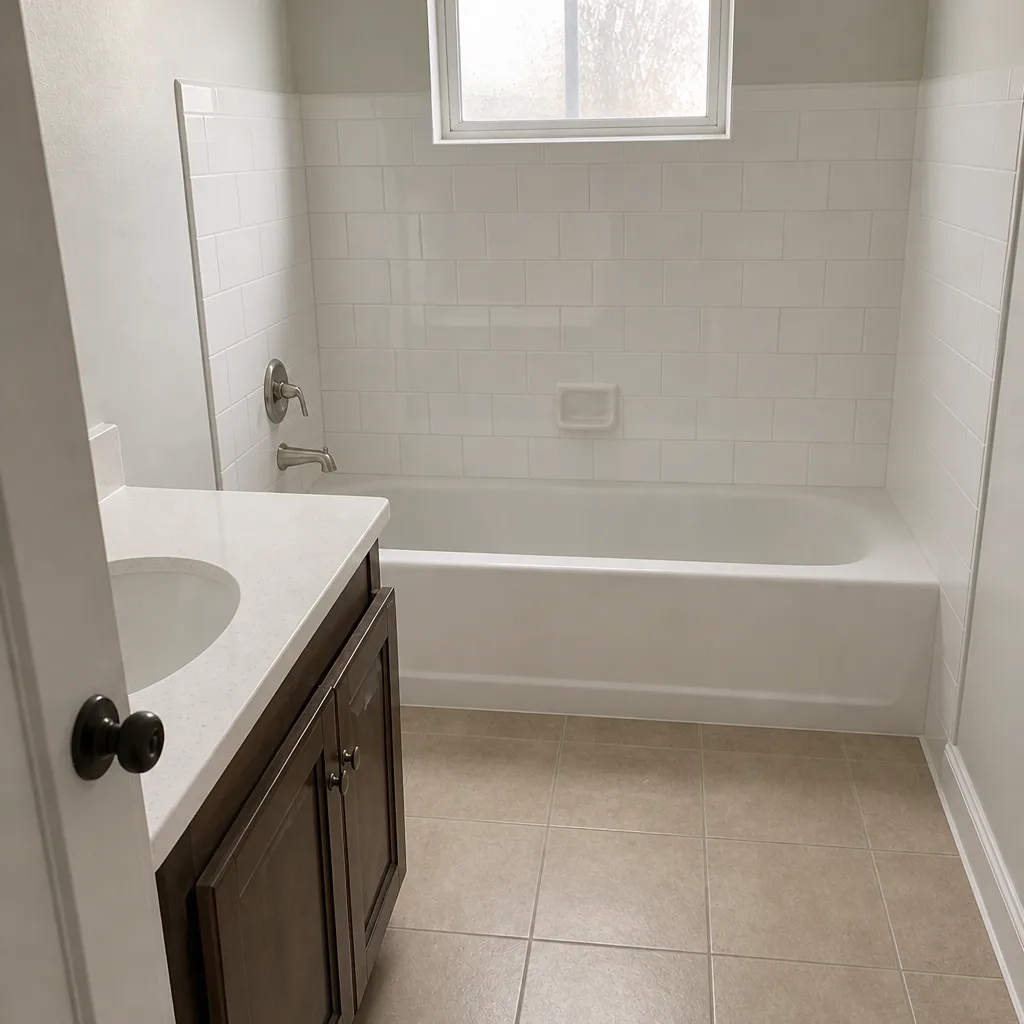 After
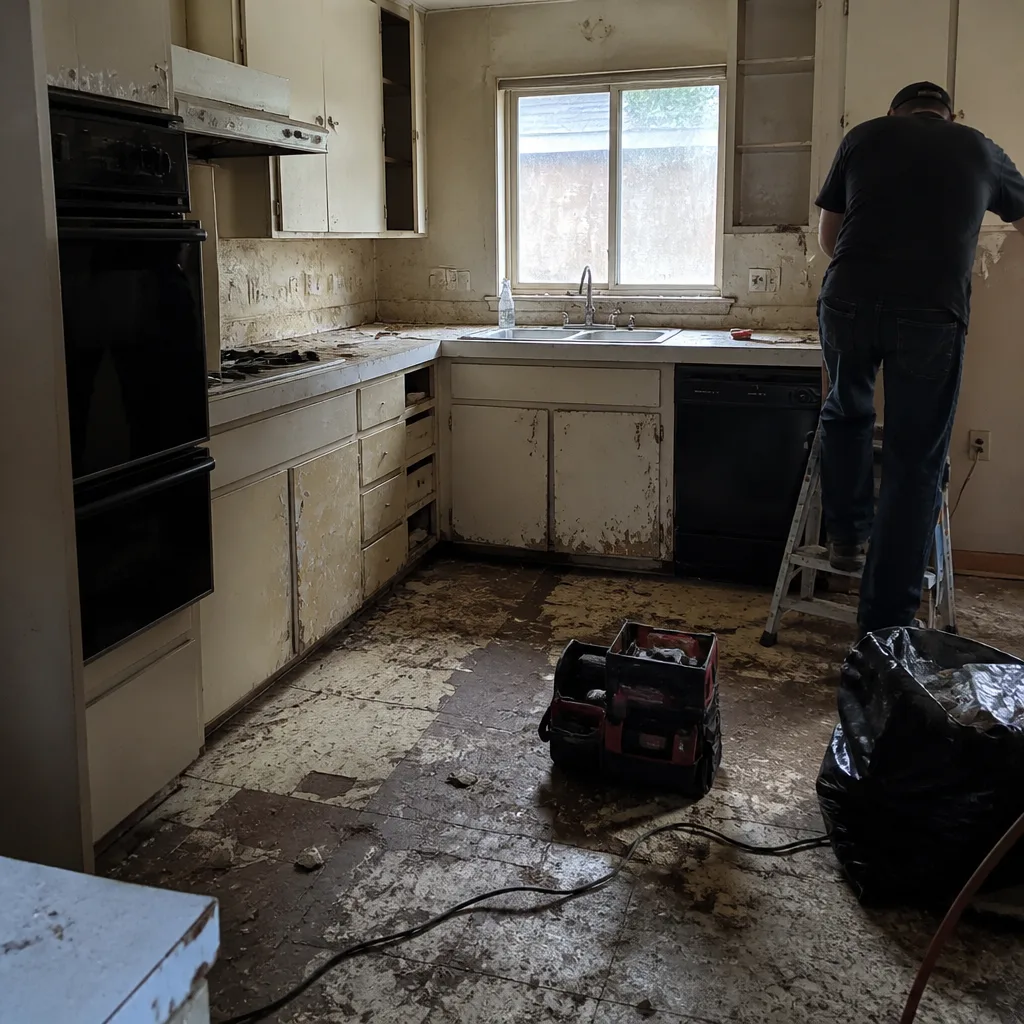 Before
 After
What to Look for in a Paver Installation Before It Fails
Most failures we inspect were set up by something that happened on install day. The base depth, the compaction passes, and the edge restraint are the three things you can’t see once the pavers are down, which is why they’re the three things a written scope should lock down before work begins.
Ask for the written scope to state: base depth in inches, compaction method, joint sand specification, and edge restraint type and spike spacing. Those four lines account for most of the long-term durability. A scope that says “proper base prep” without numbers is not a scope; it’s a hope.
Brand matters, but brand is downstream of base. We source pavers from Belgard and Techo-Bloc for the majority of our Lancaster driveway projects because their dimensional tolerance is tight enough for the joints to stay consistent. A perfect paver on a two-inch base still fails, and a mid-range paver on a properly compacted six-inch base with a spiked edge restraint looks good for fifteen years.
The other habit worth building before the crew shows up: ask for the photo record. Every project we run ends with a documented photo record of what was under the surface, because that’s the evidence you’ll want in year seven if the driveway ever needs a warranty conversation. The 365-Day Done Right Promise is printed on every page and backed by our terms, not an asterisk, but the photos are what make it verifiable on day one.
Common Mistakes to Avoid
- Treating a rocking paver as cosmetic. One rocking paver usually means 10 to 20 square feet of base has already shifted. Resetting it now costs a couple hundred dollars. Resetting a 20-square-foot section after the base has fully failed costs several times that.
- Power-washing the joints. Blasting water at a 1/8-inch joint blows out the sand that holds it together. If you’re cleaning Lancaster dust off the pavers, use a low-pressure nozzle and re-sand the joints immediately.
- Filling efflorescence with sealer. Sealing over a white mineral haze traps the salts under the sealer, where they blister into a much bigger removal job. Test with a broom first and only seal when the surface is dry and clear.
- Pointing a downspout at the driveway edge. This is the single most common cause of base erosion we see in Lancaster. Extend the downspout three to four feet past the paving or discharge it into a planted bed.
- Planting a lawn or groundcover right up against the border. Grass and groundcover roots find joint sand and follow it. Leave a 6-inch gravel or mulch gap along the border, and install a root barrier if you’re planting adjacent to the paving.
- Skipping the annual photo log. Memory is not evidence. A two-year photo comparison showing a joint widening from 1/4 to 5/8 inch is what wins a warranty claim and what tells a professional exactly how to fix it.
- Assuming a new driveway means the old one was bad. If a previous install failed, find the drainage cause before installing a replacement. A new base on the same water path fails the same way.
When to Call a Professional
Call a professional when any of these are true: three or more pavers in a 20-foot run are rocking; a joint has widened past 3/8 inch; water stands on the surface for more than 30 minutes after rain; water is tracking toward the foundation; edge restraints have separated or lifted; or you’ve seen the same white powder return to the same 10 to 15 square feet three wet seasons in a row. Those are base-level issues that simple re-sanding won’t fix. Sand-filled joints and a re-sand are a homeowner-level task; lifting and resetting a paver field with underdrain and edge restraint is not. If the driveway sits over a utility line or next to a retaining wall that’s moving, that’s a job for a trained crew, because a deep lift that goes wrong pulls the whole wall.
Rowan Construction Group Lancaster offers free estimates in Lancaster, and our technicians have up to 19 years of experience reading exactly these signs. Call (844) 797-3312 to schedule a walk-through and get a written price before any work begins.
Frequently Asked Questions
Most small paver repairs in Lancaster run $150 to $600 for under 20 square feet, and base reconstruction for a larger section typically starts in the low thousands. The precise number depends on how far the base has moved and whether underdrain or edge restraint work is needed. Call (844) 797-3312 for an exact quote; estimates are free and we put the number in writing before any work starts.
If the paver is rocking within the first two years and it’s isolated to one or two units, it’s likely minor settling that a paver professional can reset quickly. If multiple pavers are rocking in the same zone, or the rocking appeared after a single storm, it’s usually base or drainage. The photo log from your annual walk-through is the fastest way to tell the difference; documented change over time is what a contractor’s warranty process uses.
Efflorescence is a white crystalline powder that brushes off; mold is a dark green or gray film that smears when you touch it. Efflorescence is a mineral salt, so it returns after each wet cycle until the paver stops releasing salt. Mold in Lancaster is uncommon on pavers because the sun-dry cycle is fast, but it can form in shaded areas near a north-facing wall or under heavy tree cover. Neither is a structural emergency on its own, but recurring efflorescence near the same joints points to water entering the base.
Only if the joints are the sole problem. Re-sanding restores interlock in the top 1/2 inch of the joint, but it does nothing for a paver that’s rocking or a base that has lost compaction. If you re-sand and within one wet season the joints are open again, that’s your signal that water is still entering through the base and the fix is below the pavers. Call (844) 797-3312 for a free second opinion if you’ve had a contractor tell you re-sanding is enough.
It can if the base and drainage aren’t built for it. Expansive clay soil and hot summers mean a well-built driveway on a properly compacted base with an edge restraint lasts 25 to 30 years, and a driveway on a marginal base can show failure signs in five to eight years. The materials themselves handle Lancaster sun well; it’s the subgrade and the water path that determine lifespan.
Only if the original scope documents what was under the surface. Ask for a written scope that states base depth, compaction method, joint sand spec, and edge restraint type, and ask for the photo record of the base before the pavers went down. Rowan’s 365-Day Done Right Promise backs every project with written terms, and our handoff packet includes that photo record as standard so you have the evidence if the driveway ever needs a warranty conversation. Call (844) 797-3312 to walk through the written scope before you sign.
The Bottom Line
Paver driveways fail in slow motion. If you catch one rocking paver, one widening joint, one persistent puddle, or one patch of returning efflorescence in the first year, you’re looking at a few hundred dollars. If you wait until the driveway waves, ruts, or sends water at the foundation, you’re looking at multiple thousands. In Lancaster, the two accelerants to watch are expansive clay soil and summer heat that empties your joints of sand. Build the 10-minute annual photo log. Read rock, pitch, joint width, and drainage honestly. Let the log point you to a professional at the right moment. When the log does point there, we’re glad to walk it with you and put a written price on the fix before anything gets moved.
Ready for a Written Price on Your Driveway?
If your annual inspection turned up more than one warning sign, or you’ve had a written estimate and want a free second opinion before you commit, call Rowan Construction Group Lancaster at (844) 797-3312. We bring a written scope and a flat written price before any work starts, backed by the 365-Day Done Right Promise and a documented photo record as a standard part of every visit. Whether the fix is a 20-square-foot reset or a full driveway rebuild, you’ll know the number before anyone picks up a tool. Our technicians have up to 19 years of experience and crews are background-checked and uniformed, with a live person answering calls 24/7. For the broader picture of our construction work across Lancaster, start at Rowan Construction Group Lancaster home, and if the driveway project is part of a bigger plan, our team can walk you through options for Home Additions & ADU in Lancaster in the same visit.
Written by the team at Rowan Construction Group Lancaster.