Last updated November 17, 2026








Free written scope consultation - allowances, timeline, and change-order rules on paper before a single trade is scheduled
Bathroom Remodeling Troubleshooting: Common Problems and How to Fix Them
Grout cracking in a newly tiled shower within six months of completion is not a grout problem. It’s a movement problem. The substrate flexed, and the most common cause is a subfloor that wasn’t stiff enough for large-format tile. Regrouting without fixing the substrate produces the same crack within another six months, usually along the same line. We’ve walked into Lancaster bathrooms where a homeowner has regrouted the same corner three times, convinced each time that the last contractor used bad grout.
What follows maps the eight most common bathroom remodel failures back to their real cause, so you can tell whether a symptom has one fix or three – and whether you or the contractor should be paying for it.
Quick Answer
Most bathroom remodel problems trace back to a chain of small decisions where each trade assumed the previous trade had handled the underlying issue: a tiler sets tile on a subfloor that the framer should have stiffened, an electrician sizes a fan for the room’s square footage but not its cubic volume, a plumber leaves a supply valve half-closed. Failures within one year of completion are usually contractor workmanship issues under California licensing rules; failures after homeowner modification, chemical damage, or skipped maintenance generally fall outside the warranty. Diagnosing the symptom correctly before anyone picks up a tool is what determines who pays.
Styles & brands we work with
- Kitchen remodeling
- Bathroom remodeling
- Home additions & ADU
- Roofing
- Windows & doors
- Driveway & pavers
- Fence
Table of Contents
- Why does grout crack in a new shower?
- What is the white powder on my tile and what does it mean?
- Why is my new drain slow?
- Why is the new toilet running constantly?
- Why is the bathroom ceiling paint peeling?
- Why does caulk at the tub surround keep failing?
- Why is water pressure low at new fixtures?
- Why is the vanity door misaligned?
- How do I know if the contractor pays for this?
- How do I check for water damage behind tile without opening a wall?
- What does a correct repair look like on the two most destructive failures?
Why does grout crack in a newly tiled shower?
Cracking grout almost always signals movement in the substrate or the wrong grout type for the application. Three causes account for nearly every case we see:
- Substrate deflection. Wood subfloor that hasn’t met the tile industry’s minimum stiffness standard flexes underfoot. Large-format tile (12×24 or bigger) amplifies the movement. The grout line takes the stress and cracks first.
- Wrong grout type. Cementitious grout in a wet shower area shrinks as it cures and has almost no give. Epoxy grout or a urethane-modified grout flexes with minor movement. If the spec called for epoxy and the crew used cementitious, that’s a workmanship issue.
- Grout cured too fast or used too soon. Tile set and grouted in the same week, then used as a shower two days later, prevents full cure. Most cementitious grouts need 72 hours minimum before water exposure. Epoxy needs 24. Skipping this step shortens the grout’s life dramatically.
How to tell which one you have: press firmly on the tile near the crack. Any give or hollow sound underneath means substrate deflection. If the tile feels solid, look at the crack pattern – a single linear crack along one grout line usually points to deflection at that joist; a spiderweb of fine cracks across the field often means grout cure failure. In Lancaster’s dry climate, grout dries fast, and a crew that didn’t pre-wet the tile before grouting can leave cementitious grout short of full hydration. A moisture meter on the substrate tells you more than looking at the grout line.
What is the white powder on my tile and what does it mean?
White mineral deposits – efflorescence – on tile or grout indicate water is moving through the tile assembly from behind and evaporating at the surface, leaving salts behind. It is not a cleaning problem and it will not stop with a stronger cleaner. It means the waterproofing layer behind the tile has failed or was never installed correctly.
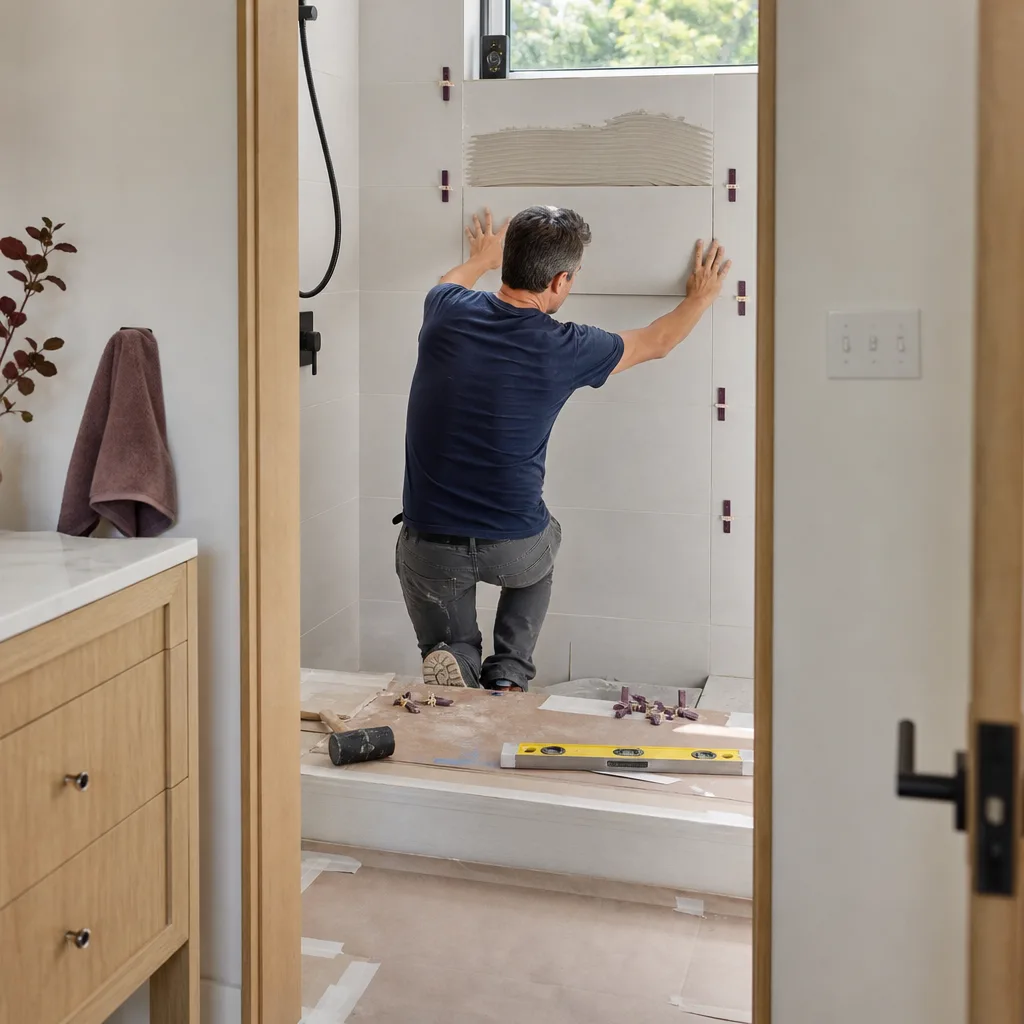
On a shower wall, the waterproofing membrane (either a sheet membrane like Schluter Kerdi or a liquid-applied membrane like RedGard, applied to the correct thickness in the correct number of coats) is the barrier that keeps water out of the substrate. When that barrier is breached – at a corner, at the curb, at a penetration for a shower valve – water enters the substrate and migrates. The efflorescence is the visible symptom of an invisible problem that’s also feeding mold growth in the wall cavity.
- Powder appears only at the base of the shower or along one wall: localized membrane breach, often at the shower pan-to-wall junction. Repairable without removing the whole shower in some cases.
- Powder appears across multiple walls or on the ceiling: widespread waterproofing failure. The shower needs to come out.
- Powder appears on the bathroom floor tile outside the shower: water has escaped the shower assembly entirely and reached the floor system. This is the most serious presentation.
Don’t clean it and wait. Efflorescence on a shower interior in Lancaster typically appears six to eighteen months after completion, right as the original contractor’s one-year workmanship warranty window is closing or has closed. Document it with dated photos the day you first notice it.
Why is my new drain slow?
A slow drain in a newly remodeled bathroom is almost never a clog. It’s a slope, trap, or vent problem – and that’s a workmanship issue, not maintenance.
- Incorrect drain line slope. Drain pipe must fall at a quarter inch per foot. Too flat and water pools and drains slowly; too steep and water runs ahead of solids. A drain line roughed in without checking slope will drain – just not well.
- Hair trap omitted. Some installations skip the accessible cleanout or hair trap for space. That means the first hair clog is a wall-opening project.
- Vent stack connection issue. A lavatory sink that gurgles as it drains, or a shower that drains slowly and then bubbles, usually has a venting problem. Without a working vent, the drain line creates a vacuum that fights the water. This is invisible until you use the fixture, and it’s 100% a rough-in issue.
The test: fill the sink or tub to the brim, pull the stopper, and listen. If it drains slowly but never clogs, slope or vent. If it backs up with a gurgle, vent connection. If it drains fine but the trap under the sink holds water below the weir level, trap installation. Bring a plumber’s level to any exposed drain line under the vanity or in an accessible crawl space and check slope in five minutes. A Lancaster slab-on-grade home built before 1980 often has plumbing in the slab, so any under-slab slope problem is a major scope item – and one that an inspector will flag at rough-in if the permit process is correct. Getting the permit pulled and the rough-in inspected matters more than homeowners sometimes realize; it’s the check that catches a drain line built wrong before the tile goes down.
Why is the new toilet running constantly?
A running toilet after a new installation is one of the most fixable problems on this list – usually a five-minute adjustment. Three causes:
- Flapper mismatch with the flush valve seat. Moen and American Standard toilets ship with flappers matched to their valve seats. Mixing brands, or reusing an old flapper on a new valve seat, prevents the seal from seating and lets water run past the flapper continuously. If you hear water refilling every 10 minutes, check the flapper first.
- Fill valve float set too high. The fill valve controls refill height and shuts off when the water hits the set level. If the float is set too high, water spills into the overflow tube and runs continuously. Correct level is roughly one inch below the top of the overflow tube.
- Angle stop valve not fully open. On the supply side, a partially open angle stop valve can produce the hollow running sound some homeowners associate with a tank issue. It’s not running in the tank; it’s restricted at the wall. Check both angle stops under the toilet and open them fully.
Delta and American Standard have both published toilet troubleshooting guides worth bookmarking. If the fix requires pulling the toilet to examine the closet flange or wax ring, that’s a plumber call – and if the toilet was installed in the last year, it’s a warranty call.
Why is the bathroom ceiling paint peeling?
Bathroom ceiling paint peels because the exhaust fan can’t clear the moisture the room produces. A shower produces half a gallon of airborne moisture per hour at 105°F water temperature. If the fan can’t move that volume of air, it condenses on the coolest surface in the room – the ceiling – and paint adhesion fails from below.
Fan sizing is a calculation, not a standard install. The industry rule is one CFM (cubic feet per minute) per square foot of floor area for rooms up to 100 square feet, plus a bump for wet areas. But the more accurate method uses the room’s cubic volume. A 5×8 bathroom with 8-foot ceilings is 320 cubic feet of air. An 80 CFM fan replaces that air in four minutes – adequate. The same 80 CFM fan in a 5×10 bathroom with a shower stall is borderline; it needs to run long enough after the shower ends to clear the moisture, and most people turn it off the moment they step out. Run the fan for 20 minutes after showering. That habit alone extends ceiling paint life substantially in Lancaster, where our dry air often convinces homeowners that a fan is unnecessary – the moisture still peaks during showers.
The peel you’re seeing might also be paint applied over a moisture-damaged ceiling that should have been sealed with a shellac-based primer first. If the ceiling has a powdery white bloom under the peeling paint, that’s the failure: the previous paint job was applied over a wet surface. Fix the fan first, then the paint, or the new coat peels within a year.
Why does caulk at the tub surround keep failing?
Caulk at a tub surround fails when it’s applied over uncured grout, applied over grout at all, or applied without accounting for movement. A bathtub filled with water drops half an inch; empty, the tub rises. That’s an intentional movement joint at the tub-to-wall seam, and 100% silicone (or a comparable elastomeric sealant) is the correct material. Cementitious grout there will crack.
Two common mistakes:
- Caulk applied over fresh grout. Grout releases water as it cures. Caulk applied over uncured grout traps that moisture behind the seal, and the caulk bond fails as the grout cures and shrinks. Standard practice is to wait for the grout to fully cure before the caulk goes on – often 72 hours minimum.
- Caulk applied over grout at all. Some installers grout the tub-to-wall seam and then caulk over grout. This defeats the movement joint. The proper detail is a gap left at the tub and filled with elastomeric sealant only. If you’re scraping at the tub line and finding hard cementitious grout under the caulk, the correct repair is to remove both.
Caulk movement joint failure shows up within three to six months as a separation at the tub line or a black mold line behind the caulk. When the caulk fails, the water behind it goes into the wall. Fix the caulk – all of it, remove, clean, dry, replace – or you’re growing a mold problem behind the wall.
Why is water pressure low at new fixtures?
New fixtures with low pressure are almost always restricted by the aerator, by a partially closed angle stop, or by a kinked supply line inside the wall. Test in this order:
- Clean the aerator. Sediment from new pipe work catches in the aerator screen. Remove it, rinse, reinstall. This fixes a surprising share of low-pressure complaints after a remodel.
- Check the angle stop. The shutoff valve under the sink may be partially closed. Open it fully – most are quarter-turn ball valves or multi-turn stops that need a full open.
- Look for a kinked supply line. Braided stainless supply lines kink when they’re forced around a bend. If the sink was set in an awkward spot, a supply line may be kinked inside the cabinet or inside the wall. This is a warranty call – it’s an installation error if the line is kinked as installed.
- Check the shower valve cartridge. Moen cartridge failures from debris inside the valve produce reduced flow, not zero flow. A plumber can flush the valve and replace the cartridge in under an hour.
If pressure is low at every fixture in the house, not just the ones in the remodeled bathroom, the problem is upstream of the bathroom – it’s a whole-house issue, not a workmanship issue. Isolate by testing at every tap before blaming the remodel.
Why is the vanity door misaligned?
Vanity doors that drag, misalign, or won’t close flush after a remodel are cabinet-leveling issues. A floor-mounted vanity must be shimmed level in all directions before it’s fastened to the wall. If the cabinet isn’t level, the doors hang out of square and the hinges – even well-made hinges – can’t correct the misalignment.
The second cause is subfloor deflection beneath tile. Tile installation is done on a substrate that’s supposed to be stiff; if the subfloor flexes underfoot after the tile is set, the cabinet legs move with it and the door alignment shifts. That’s a substrate problem, not a cabinet problem. If you set a level on the floor in front of the vanity and it rocks or reads out of level, you’ve found the cause.
Before calling the contractor, do a quick check. Open all doors. If they sit differently open as opposed to closed, it’s a hinge or leveling issue. If they sit the same regardless of position, the cabinet itself is out of square. That’s a manufacturer defect or an installation issue – either one should be addressed under warranty if the work was done within the last year.
How do I know if the contractor pays for this?
Failures within one year of completion are typically contractor workmanship issues – unless a homeowner modification, chemical damage, or deferred maintenance caused them. That’s the general dividing line. Everything on this list falls into the first category unless a homeowner involved themselves in the work.
What’s covered by workmanship: substrate preparation, waterproofing installation, tile setting, grout type, caulk joints, drain slope, fan sizing, plumbing connection quality, cabinet leveling. What’s not: stains from bleach-based cleaners on stone, damage from neglecting a slow drain until it fails, deterioration from skipping the fan, cracking caused by a homeowner-installed fixture.
California’s Contractors State License Board (CSLB) runs a formal complaint process for workmanship disputes with licensed contractors. Before filing, ask the contractor in writing to come inspect and correct. The CSLB requires a reasonable inspection window before formal arbitration. Getting the written response from the contractor matters as much as the fix itself when the complaint goes to the CSLB. Under Rowan’s 365-Day Done Right Promise, we make it right if something isn’t done correctly within the first year – and every project starts with a written scope that includes the warranty, so there’s no ambiguity about who’s responsible when a symptom shows up mid-way through the first year.
How do I check for water damage behind tile without opening a wall?
Use a non-invasive moisture meter on the drywall adjacent to the shower or tub. These meters cost $40-80 and measure. Careful readings take more attention than the meter itself.
- Read an unaffected wall first – a dry interior wall 10 feet from the bathroom – to establish a baseline. Wood-framed drywall in a dry Lancaster house typically reads 8-12%.
- Read the wall adjacent to the shower or tub surface at three heights: 6 inches above the floor, at mid-wall, and at 6 inches below the ceiling. Readings above 20% in a wood substrate indicate active moisture in the wall cavity – not condensation, actual water movement.
- Read the wall directly behind the shower valve and behind the shower bench or niche if you can locate them. These are the most common membrane-breach points.
- Check the baseboard and the floor adjacent to the shower. Read above 15% in either means water has reached the floor structure.
Readings above 20% on any wall surface mean you have active moisture and need to open the wall to assess. If visible mold (black or green streaking) or a musty smell is present along with elevated readings, a licensed mold assessor should confirm the extent before remediation. If the readings are high but there’s no visible mold and no smell, remediation can often proceed without a formal mold assessment – the material removal process protects the area during demolition.
What does a correct repair look like on the two most destructive failures?
Two bathroom failures are catastrophic rather than cosmetic: a waterproofing breach behind the shower tile, and a subfloor saturated enough to need replacement. Here’s what a proper repair sequence looks like on each.
Shower waterproofing breach
- Full tile removal from the affected shower section or the entire shower, depending on the extent of the moisture readings.
- Substrate inspection: cement board, drywall, and framing checked for rot, mold, and moisture content.
- Damaged substrate and framing removed and replaced.
- New waterproofing membrane installed – sheet membrane or liquid-applied membrane applied to manufacturer’s specified thickness and coat count.
- Tile set on the new membrane with the correct thin-set for the substrate, grouted with the specified grout type, and left for the full cure window before water exposure.
- Flood test the shower pan before the tile goes on the floor – 24 hours with water to check for leaks – and document the test.
Realistic Lancaster cost range for a shower waterproofing repair with full retile: $3,800 to $9,200, depending on shower size and whether framing replacement is needed.
Subfloor water damage
- Toilet removal and flooring removal in the affected zone.
- Subfloor sistering (adding new joist material alongside the existing joist to restore stiffness) or full subfloor replacement, depending on the extent of the rot.
- Moisture treatment – drying equipment and treatment of any mold present.
- Subfloor replacement with the correct sheathing rated for wet areas.
- All finishes replaced: new floor covering, new toilet flange, new baseboard, and any adjacent finishes that were removed for access.
Realistic cost range for a subfloor water damage repair with finish replacement: $4,500 to $11,000 depending on the size of the affected floor area and the extent of joist damage. Both repairs are ones we’d flag before they get worse through a free second opinion on any written estimate – bring a contractor’s quote to us and we’ll read it line by line with you at no charge. For broader scope like a full bathroom remodel, see what we do under Rowan Construction Group Lancaster home as a starting point. If the water damage has also affected the surrounding rooms, some homeowners discover that work in adjacent trades – a Driveway & Pavers in Lancaster project, for example, or a Fence Installation in Lancaster – is easier to sequence at the same time as the interior work. When the damage has reached the structure, a Home Additions & ADU in Lancaster scope review can catch problems a bathroom-only repair would miss.
Common Mistakes to Avoid
- Regrouting over cracked grout without investigating the substrate. If the grout cracked in the first place, the underlying movement is still there. New grout cracks again within the same window. Diagnose first.
- Cleaning efflorescence with an acid cleaner and calling it fixed. The white powder is the symptom of water moving through the assembly. Acid cleaners remove the visible sign and reduce the grout’s lifespan, without addressing the waterproofing breach behind it.
- Waiting on a slow drain for months. A slow drain caused by incorrect slope can drip beneath the floor assembly for months before visual damage appears. In slab-on-grade Lancaster construction, once water is trapped under a slab it’s a major removal-and-replace project instead of a fixable slope correction.
- Setting a higher float level on a running toilet instead of checking the flapper. Adjusting the float on a mismatched flapper just moves the continuous flow location. Check the flapper first – the diagnostic takes two minutes.
- Running the exhaust fan for only 30 seconds after a shower. The fan’s job is to move the moisture out of the room before it condenses. 20 minutes of fan run time after the shower is the difference between ceiling paint that lasts a decade and one that peels in two years – more so in Lancaster’s dry season when it’s tempting to leave the fan off entirely.
- Applying silicone over uncured grout or over grout at all. The tub-to-wall seam is a movement joint, not a grout joint. Grout first, cure, then caulk – or leave the movement joint ungrouted and caulk the joint. Over-applied caulk traps moisture and fails in three to six months.
- Not documenting the failure on day one. Photographs with timestamps, a written record of when you first noticed the symptom, and the manufacturer’s installation instruction for the failed component – these are what the CSLB complaint process runs on. Without them, the contractor’s account stands.
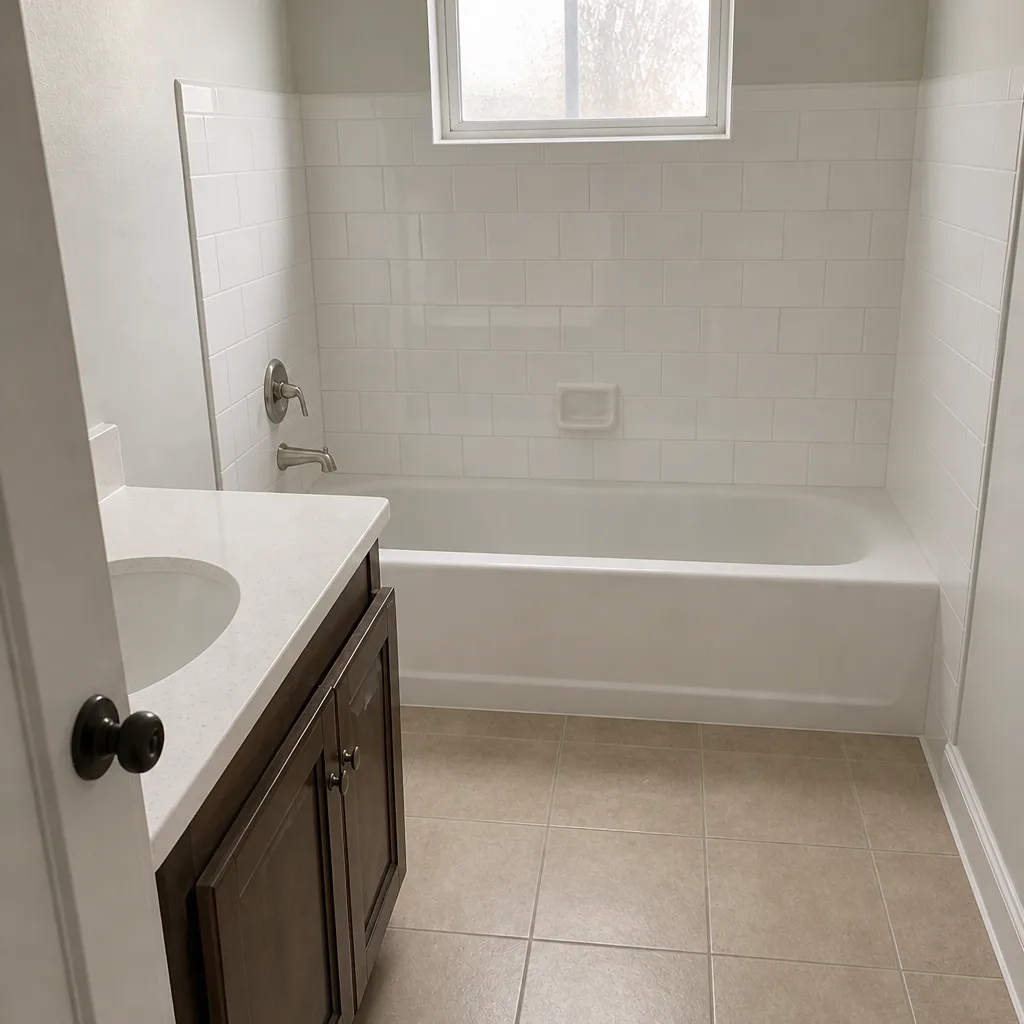
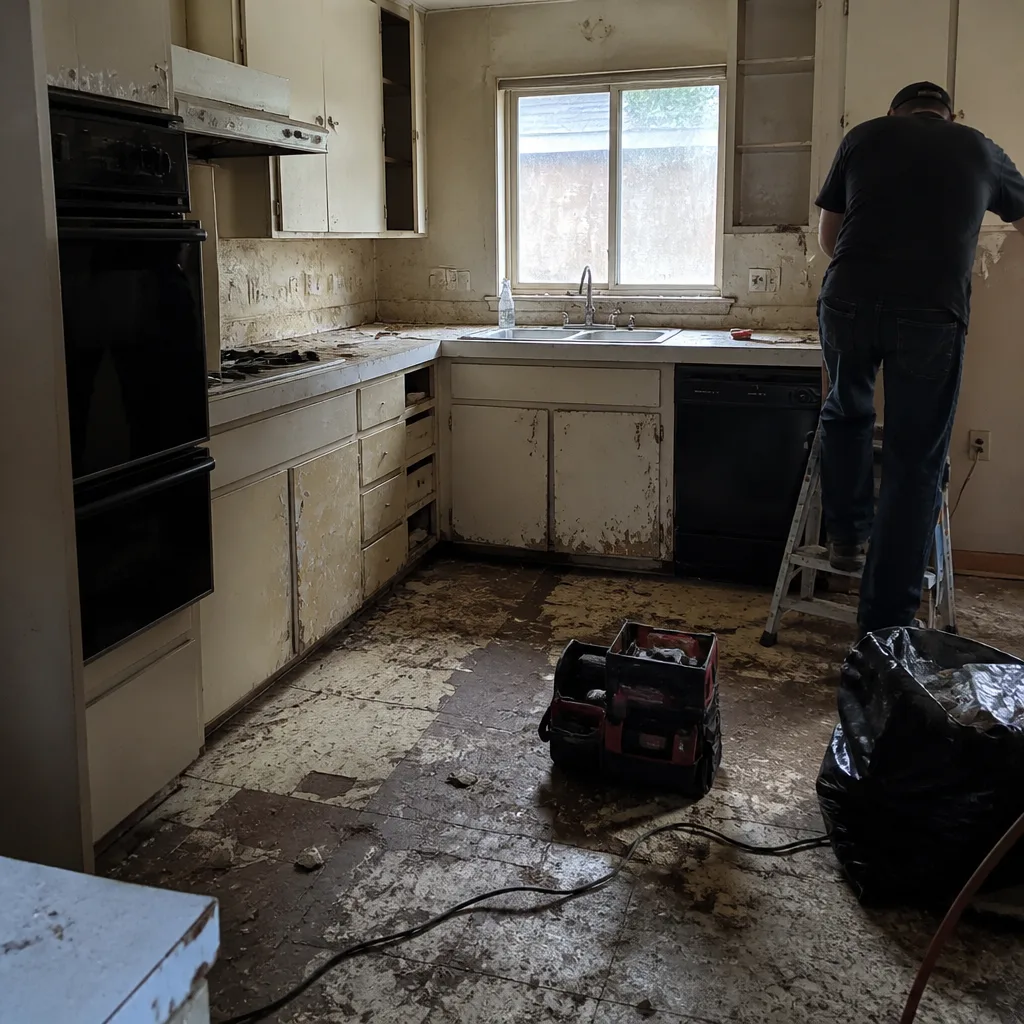
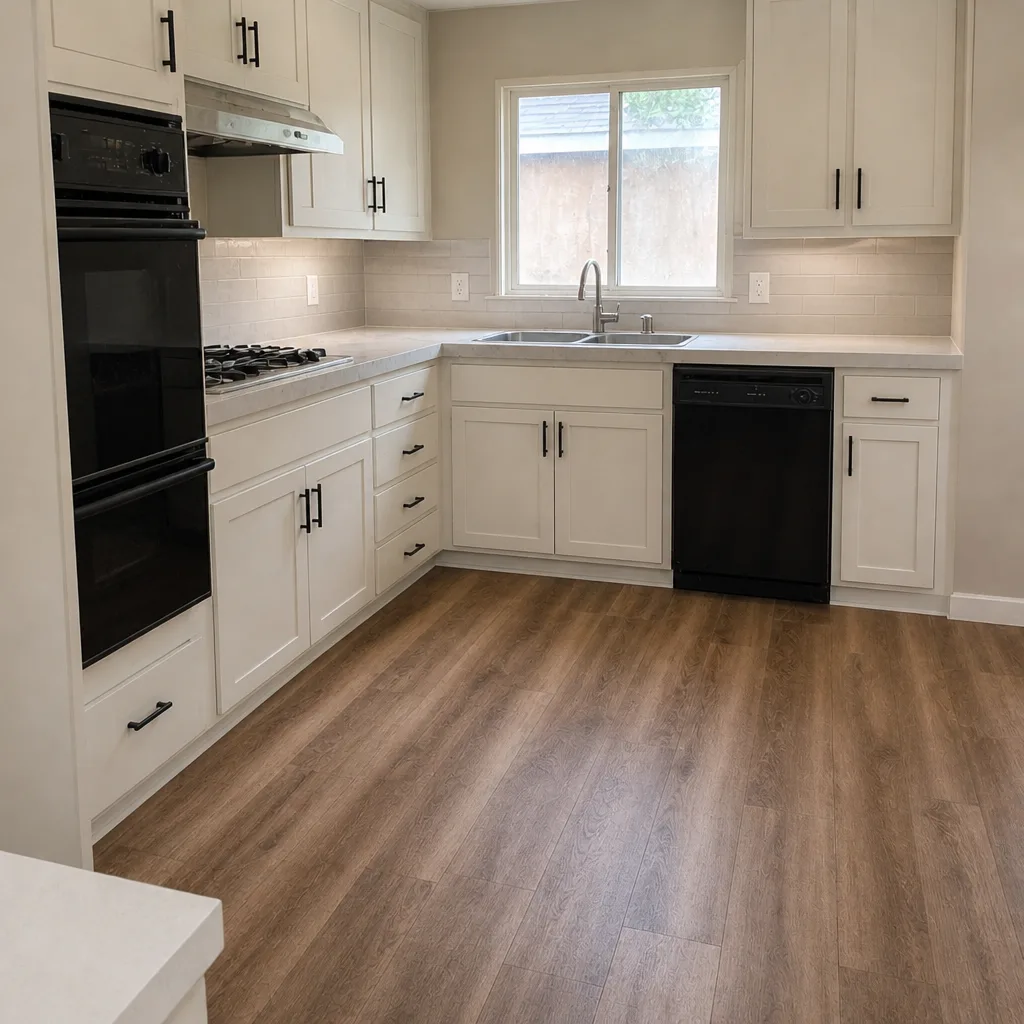
See the difference
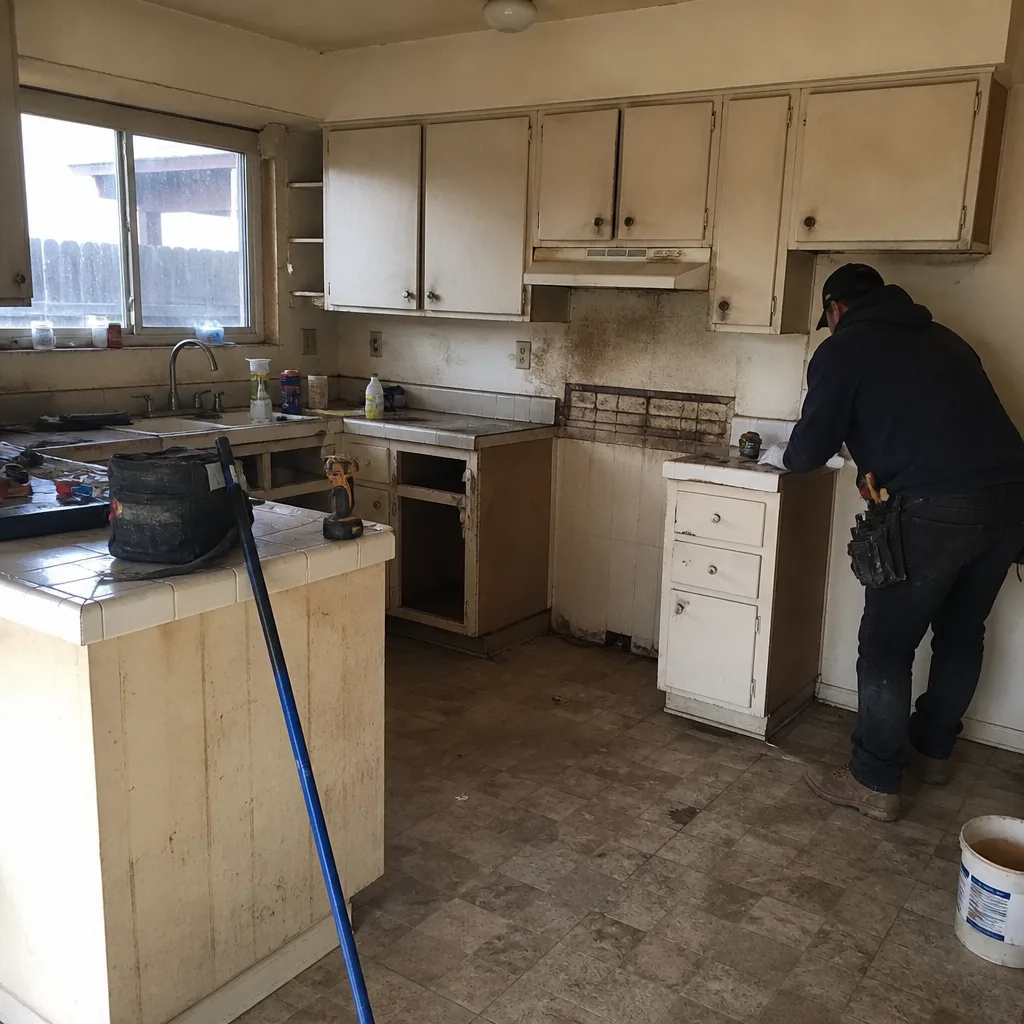 Before
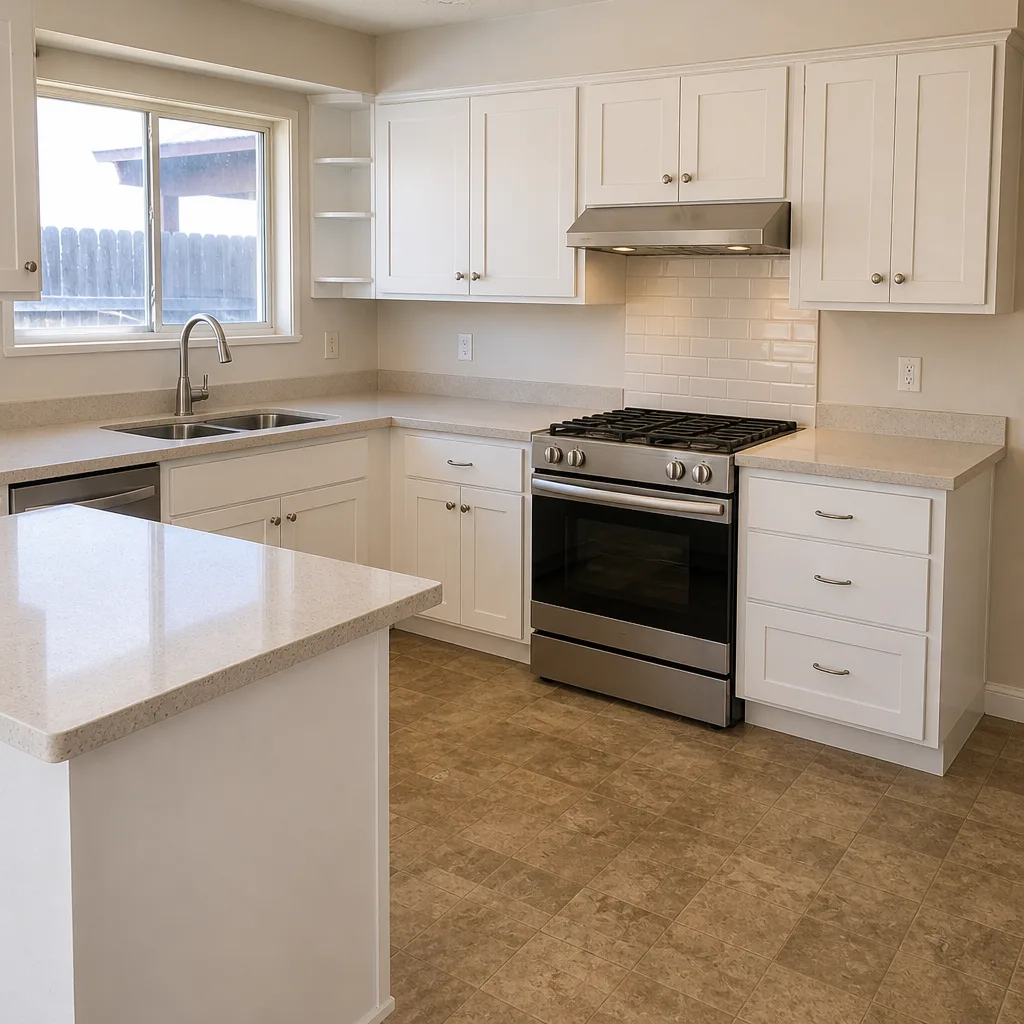 After
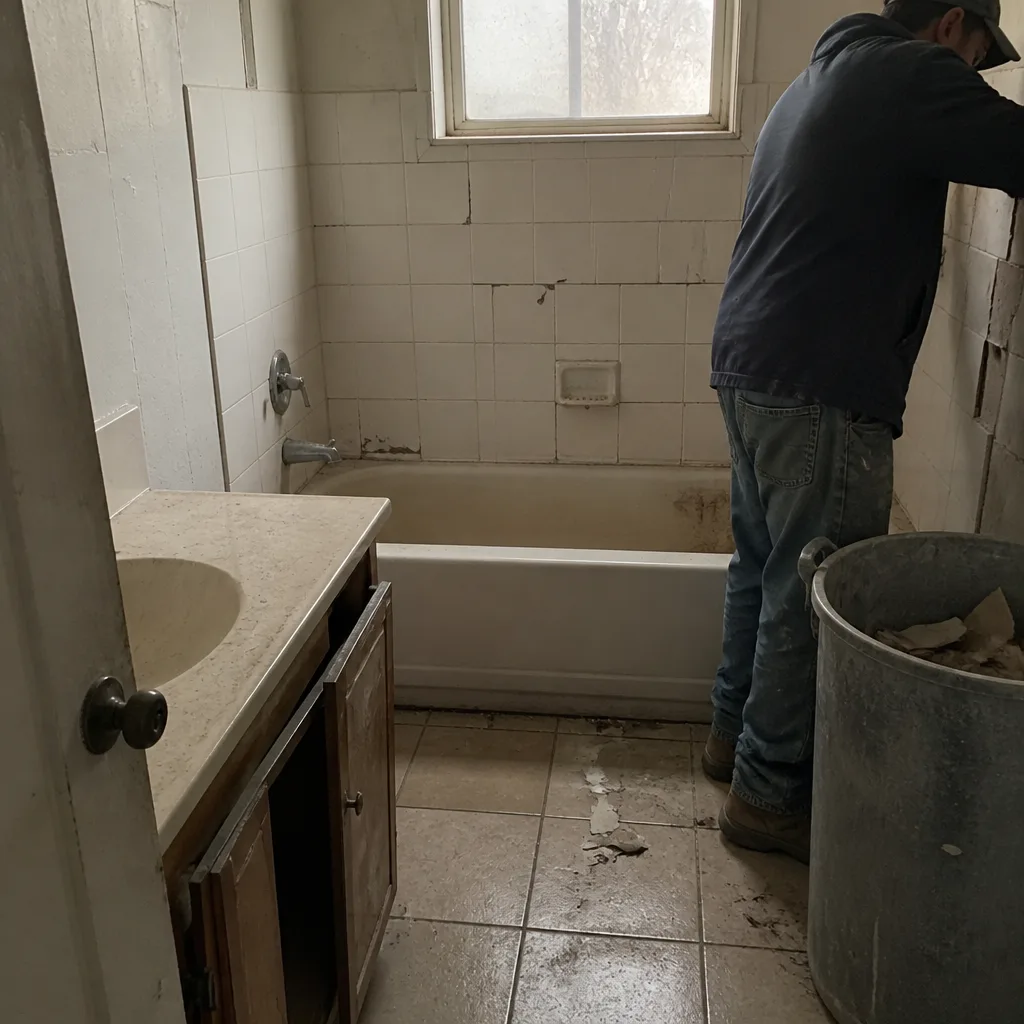 Before
 After
 Before
 After
When to Call a Professional
Call a licensed contractor when the failure involves water intrusion behind a wall, a drain line that needs slope correction, a waterproofing membrane breach, an electrical component such as the exhaust fan or GFCI outlet, or any subfloor damage. These failures can cause structural damage if delayed, and each requires a permit and inspection in most California jurisdictions. Call sooner rather than later – a waterproofing breach found in the first six months is often a warranty repair; found in the third year, it’s a full replacement on the homeowner’s bill. If you’re unsure whether you’re looking at a one-fix symptom or the visible end of a three-part failure chain, get a second set of eyes on it before you authorize any work. Rowan Construction Group Lancaster offers free estimates in Lancaster – call (844) 797-3312.
Frequently Asked Questions
Diagnostic costs (moisture meter visit, plumbing inspection, drain scope) typically run $150-$400. Repair costs vary widely by failure type; the most expensive category is subfloor water damage at $4,500-$11,000, and the least expensive are toilet and fixture adjustments that often run under $150 if the contractor’s still within a workmanship warranty window. Call (844) 797-3312 for an exact quote – estimates are free, and we’ll read any competitor’s written estimate line by line at no charge under our Free Second Opinion.
It’s a contractor problem if it appears within one year of completion and the cause is substrate deflection, wrong grout type, or insufficient cure time before use – all three are workmanship issues. It’s a homeowner problem if the crack appeared after a homeowner alteration, chemical cleaner damage, or deferred maintenance. Photograph the crack with a timestamp on the day you notice it and notify the contractor in writing.
White mineral deposits – efflorescence – mean water is moving through the tile assembly from behind. In almost every case it indicates the waterproofing membrane behind the tile has failed or wasn’t installed correctly. It is not a cleaning problem and it does not resolve with cleaner; the fix is at the membrane level, behind the tile.
Contact the contractor in writing first and request an inspection. Most contractors, including us, respond to a written notification. If the contractor doesn’t respond or disagrees, the CSLB formal complaint process exists specifically for workmanship disputes with licensed contractors. Bring photographs with timestamps, the original signed contract with material specs, the permit number and inspection records, and the specific code section or manufacturer installation instruction the contractor failed to follow.
Use a non-invasive moisture meter on walls adjacent to the shower or tub, reading at three heights and comparing to a baseline wall in another part of the house. Readings above 20% in a wood substrate indicate active moisture. If readings are high, open the wall; if they’re high and there’s visible mold or a musty smell, have a mold assessor confirm scope before remediation proceeds.
Yes, if you want ceiling paint to last. The fan clears moisture by cycling room air; for a standard 5×8 bathroom with an 80 CFM fan, 20 minutes of run time removes the moisture produced by a shower before it condenses on the ceiling. In Lancaster’s dry months, it’s tempting to skip; the moisture peak during the shower is the same. A slightly oversized fan with a timer switch handles this automatically.
The Bottom Line
Bathroom remodel failures almost never come from one dramatic error. They come from small decisions in sequence, where each trade assumed the previous one had solved the underlying problem. The word “substrate” appears more in this guide than any other because it’s the quiet failure point in nearly every case – a subfloor that wasn’t stiff enough, a wall that wasn’t waterproofed correctly, a floor that wasn’t rigid enough to hold tile, a cabinet that wasn’t leveled. Diagnose the symptom against its underlying cause before authorizing a repair, keep dated photographs from day one, and know that on California work performed within the last year, workmanship responsibility is generally on the contractor. Under Clause 1 of the Haven Standard, every project Rowan Construction Group Lancaster takes on has a written price and a written scope before anyone picks up a tool, a signed change order before any change proceeds, and a 365-Day Done Right Promise if something isn’t right. Call (844) 797-3312 for a free estimate – and if you already have a competitor’s written estimate, we’ll read it line by line at no charge.
Written by the team at Rowan Construction Group Lancaster.