Last updated November 17, 2026

Free written scope consultation - allowances, timeline, and change-order rules on paper before a single trade is scheduled
Windows & Doors Troubleshooting: Common Problems and How to Fix Them
A drafty window in Lancaster is not usually a failed window. It’s usually a $12 strip of weatherstripping that hasn’t been touched since the house was built. We’ve walked through hundreds of homes across the Antelope Valley, and the pattern holds: the problems homeowners assume mean “replace everything” mostly trace to three root causes. Thermal movement, failed weatherstripping, and hardware wear. This guide is built to help you diagnose by symptom and resolve by task, so you pay for the actual fix rather than a replacement reflex.
Quick Answer
Most window and door problems in Lancaster come down to weatherstripping that has compressed or dried out, hardware that has drifted out of alignment, or the normal expansion and contraction caused by the valley’s 40-degree day-to-night temperature swings. Drafts at the frame edge are usually sealant gaps, drafts at the sash are usually weatherstripping, and sticking doors are usually hinge or strike plate issues before they’re ever a foundation problem. The right fix costs anywhere from $5 to a few hundred dollars in most cases, and knowing which symptom you’re looking at is the whole game.
Styles & brands we work with
- Kitchen remodeling
- Bathroom remodeling
- Home additions & ADU
- Roofing
- Windows & doors
- Driveway & pavers
- Fence
Table of Contents
- The Symptom-to-Cause Matrix: Read Your Home Before You Buy Parts
- How to Locate Air Infiltration for Under $5
- Weatherstripping Identification and Matching Specs for Lancaster’s Climate
- Door Hardware Diagnostics: Strike Plate vs. Foundation Settlement
- Fogged Double-Pane Glass: Reseal or Replace the IGU?
- Why Windows and Doors Stick in Summer but Not Winter
- Condensation Between Panes vs. on the Surface: Two Different Problems
- What Lancaster’s Climate Does to Windows and Doors Over Time
The Symptom-to-Cause Matrix: Read Your Home Before You Buy Parts
Before you spend a dollar on hardware or sealant, figure out which of these symptom clusters you’re actually looking at. Two houses on the same block in Lancaster can have identical complaints and completely different causes. The location of the symptom is the diagnostic tool.
- Draft at the frame edge (the joint between the window frame and the wall). This is a perimeter sealant failure, not a weatherstripping failure. The fix is exterior caulk and, if the gap is wide, backer rod. Cost: typically $10 to $30 in materials.
- Draft at the sash (the moving part of the window). This is weatherstripping wear or compression set. Cost: $8 to $25 per window for the material.
- Draft under the door (the threshold). This is a door sweep or threshold gasket issue. Cost: $12 to $40.
- Condensation between the panes. The seal on the insulated glass unit (IGU) has failed. Weatherstripping won’t help. This is a glass replacement decision.
- Condensation on the interior surface. This is a humidity problem inside the house, not a window failure. Fixing the window won’t stop it.
- Sticking operation in summer, easy in winter. Thermal expansion of the frame or sash. This is often a $5 alignment adjustment or a sign the gap was set too tight at install.
- Sticking operation in winter, easy in summer. Wood swelling from moisture intrusion, or a sash that has warped. This one needs more investigation.
Write down where the symptom is before you do anything else. Every fix below depends on identifying the location first. Rowan Construction Group Lancaster installs and services windows and doors across the valley, and the symptom-first approach is how we keep small problems from turning into replacement quotes.
How to Locate Air Infiltration for Under $5
Your hand is a terrible draft detector. It senses temperature, not airflow, so a cold patch of drywall next to a perfectly sealed window feels like a draft. Use a visual test that shows the air moving. You’ll spend under $5 at any dollar store in Lancaster and get a precise read on exactly where the leak is.
- Pick a test day. A windy afternoon or the coolest part of the evening works best. Windy days are easier in Lancaster because the pressure difference across the window is larger. A 10 to 15 mph afternoon breeze is ideal.
- Light an incense stick and hold it 2 inches from the frame edge. Move it slowly down the joint between the window frame and the wall. Watch the smoke trail. If it wavers toward the interior, you’ve found a perimeter leak. Mark the spot with painter’s tape.
- Move to the sash perimeter. Hold the stick along every edge of the movable sash, at the lock side, the hinge side, the top and the bottom. Note where the smoke pulls toward you.
- Test the meeting rail on double-hung windows (the horizontal joint where the two sashes meet) and the threshold on exterior doors. These are the two highest-failure points in most Lancaster homes we see.
- Fold a tissue over a pencil if incense isn’t available. A single-ply tissue catches even low-velocity air and shows you the direction clearly. Run the same route.
- Photograph what you find. Take a photo at each tape mark so you have a record of the problem locations and can price the work without re-testing.
The air test almost always surprises homeowners. It’s rarely every window that leaks. Usually it’s one or two, and they leak at predictable places. That inventory is the right starting point for a written quote. If you’d rather have a crew run the test with real leak-detection equipment, we do that as part of a free estimate.
Weatherstripping Identification and Matching Specs for Lancaster’s Climate
Weatherstripping is where most window and door money gets wasted in Lancaster. The wrong material fails within one summer. The right material lasts a decade. The difference is almost entirely in three specs: material type, pile height or thickness, and durometer (which is the material’s hardness, measured on the Shore A scale).
Lancaster’s climate is the culprit. Interior temperatures in a west-facing room can hit 105°F while the exterior wall face is exposed to 20°F on a winter night. That’s a 60 to 85 degree swing annually, and weatherstripping that wasn’t chosen for that range will compress, harden, or split prematurely.
Weatherstripping types and where each one belongs
- Pile weatherstripping (the fuzzy strip used in sliding windows and doors). Match the original pile height within 1mm, no more. If the original is 4.8mm, do not use 7mm or 3.5mm. Pile too tall won’t slide; too short won’t seal. Choose polypropylene or silicone pile for Lancaster; skip the cheapest nylon options that crush in heat.
- Foam tape weatherstripping. Good for thresholds and compression seals on doors. Look for closed-cell EPDM foam with a durometer around 20-25 Shore A. Lower than that and it flattens and never springs back; higher than that and the door won’t close easily. The $3 rolls at hardware stores are usually open-cell and last one season in Lancaster heat.
- V-strip (tension seal). Excellent for the jambs of sliding windows and double-hung sashes. Use bronze or stainless spring V-strip in Lancaster if the window is in direct sun; the plastic versions can soften at the joints in summer.
- Compression seal (usually a bulb or D-profile). Best for entry doors. Match the bulb diameter to the existing stop groove; oversizing the bulb is the number one cause of a door that won’t latch after a weatherstripping replacement.
Check the end of the existing strip before you shop. Every profile has a cross-section that needs to match. If the existing strip is intact enough to read, take a photo. If it isn’t, match the gap size at the seal point with a feeler gauge or a strip of cardstock. The rule we use in the field: measure the gap, then match the weatherstripping to the gap, not to the label on the package. That’s the difference between a ten-dollar fix and a ten-dollar fix that has to be redone in eight months.
Door Hardware Diagnostics: Strike Plate vs. Foundation Settlement
A door that won’t latch is one of the most common calls we get in Lancaster, and it’s also the one most often misdiagnosed. Homeowners jump to foundation concerns. The actual cause is a strike plate issue about 80% of the time, and strike plate issues cost under $5 to fix. Here’s how to tell the difference.
Test 1: The latch alignment test
Open the door slowly. Watch the latch bolt (the spring-loaded part of the lockset that shoots into the strike plate) as it approaches the strike plate on the jamb. If the bolt is clearly above or below the opening in the strike plate, the strike plate has drifted. Mark the height difference with a pencil. Ten minutes with a screwdriver and one or two wood shims, and the door latches cleanly. Total cost: under $5.
Test 2: The reveal test
Close the door and look at the gap (the reveal) between the door slab and the jamb on all four sides. If the reveal is even and consistent, the door frame is square and the problem is hardware. If the reveal is visibly wider at the top or bottom, or dramatically wider on one side, the frame itself has moved. That’s the point where a foundation evaluation comes in.
Test 3: The movement test
Push on the top of the door frame with moderate force. If the whole frame moves more than an eighth of an inch, or if the door jamb is visibly loose from the wall, you may be looking at settlement above a threshold that warrants a contractor evaluation. In Lancaster, that’s sometimes the first sign of expansive-soil movement, which is worth investigating before you spend more on cosmetics.
The fix for a strike plate problem
- Remove the two screws from the strike plate with a screwdriver.
- Look at the screw holes. If the top screw hole is stripped, insert a wooden matchstick or golf tee dipped in wood glue and break it off flush. This gives the screw fresh material to bite into.
- Reinstall the strike plate. If the latch is hitting below the opening, move the plate up. If above, move it down. Use a thin cardboard shim behind the plate to push it out, or a file to enlarge the opening. Move it in tiny increments and test between each adjustment.
- Test the latch at least ten times in a row. A latch that works once often fails on the third try, so test for repeatability.
- If the door still doesn’t latch and you’ve done the three tests above, look at the hinges next. Bent hinges are the second most common cause after strike plate drift, and a pair of $4 replacement hinges usually solves it.
What we won’t do is drill out a strike plate on a door that hasn’t been tested for frame movement. That’s how a small hardware problem becomes a structural question. For doors in the valley’s older homes, we’ve seen strike plate issues masking actual frame settlement more than a few times. Get the diagnosis in that order, and the fix is usually cheap. Get it backwards, and the fix can be expensive.
Fogged Double-Pane Glass: Reseal or Replace the IGU?
Fogged glass between the panes is one of the most misunderstood window problems in Lancaster. It happens when the perimeter seal of the insulated glass unit (IGU, the sealed sandwich of two panes with the gas or air gap between them) fails. Moisture gets into the gap and condenses. The glass itself hasn’t failed. The seal has.
Homeowners often ask if resealing is possible. On some makes and models, it is. On most, it isn’t a durable fix, and the honest cost comparison usually favors replacement of the IGU rather than resealing. Here’s how to think about the decision.
The moisture-in-glass test
Look at the fogged area. If the fogging is between the panes (visible from the inside and outside, and you can’t wipe it off with a cloth from either face), the IGU seal is broken. That’s a reseal or replace decision. If the fogging wipes away from the inside face, you have condensation on the interior surface, which is a humidity problem in the house, not a glass problem. Those are two completely different fixes.
Reseal vs. replace: realistic cost ranges
| Approach | Typical Lancaster cost range | Realistic outcome |
|---|---|---|
| Reseal the failed IGU | $80 to $180 per unit | Rarely warranted by IGU makers; fix is often temporary and can fail within 1 to 3 years. |
| Replace the IGU only (glass pack) | $150 to $350 per window for standard sizes | Restores the thermal seal and eliminates fogging. Keeps the existing frame and sash. |
| Replace the full sash | $250 to $600 per window | Appropriate when the sash itself is warped, rotted, or out of square. |
| Replace the whole window unit | $450 to $1,200 per opening | Warranted when the frame is failing, the window is single-pane, or energy performance is the primary goal. |
The resealing question usually comes down to warranty. If the IGU is still within the manufacturer’s seal warranty period (often 10 to 20 years on quality units), the correct move is the warranty claim, not a reseal. Check the paperwork first. If the window is out of warranty, replacing the glass pack is usually the honest choice. Look for any window on your home where the fogging covers more than a few square inches; those are the ones to price first.
If the glass is the problem and not the frame, we can give you a written price for a glass-pack replacement in Lancaster without touching the surrounding trim. If the whole window or door needs replacing because the frame has failed alongside the glass, that’s a different repair and a different number. The Rowan Construction Group Lancaster home page has the full scope of what we handle.
Why Windows and Doors Stick in Summer but Not Winter
Seasonal sticking is thermal movement. Every material in your home expands when it warms and contracts when it cools. Aluminum frames move the most, vinyl moves less, and wood moves in a way that depends on moisture. In Lancaster’s inland climate, the difference between a January night and a July afternoon at the same window can be 55°F or more. That’s enough to close a working gap to zero, and a window that was tight in winter will bind in summer if the gap was set too small.
Here’s how to tell what you’re dealing with:
- Sticks hard in July, glides in December. Thermal expansion. Usually the frame is fine; the clearances at the sash or the sliding track are tight. A small adjustment to the sash roller or the jamb guide can restore operation without any replacement.
- Sticks hard in December, glides in July. Wood swelling from moisture, or a sash that has warped permanently. Needs investigation before any sealant goes on.
- Sticks year-round on a specific corner. Frame twist from an original installation that was set out of level. This one is the case for a contractor evaluation, because it won’t resolve with weather changes.
- Sticks after a recent paint job. Paint bridging the gap. Cut the paint line with a utility knife along the edge of the sash, then test.
The simplest weather test: open the window in the cool of the morning and again in the heat of the afternoon on the same day. If the operation changes with temperature, thermal movement is the cause. That’s usually a small fix, not a window replacement. We’ve returned more than one “needs new windows” quote to a two-hour adjustment in Lancaster after running this test.
Condensation Between Panes vs. on the Surface: Two Different Problems
Condensation is the symptom that causes the most confusion. Homeowners see water on the window, assume the window has failed, and price a replacement. About half the time, that assumption is wrong.
Condensation on the interior surface
This is moisture in the air inside the house, condensing on the coldest surface in the room. It’s a ventilation or humidity problem, not a window problem. Fixing it means reducing interior humidity (range hood use, bathroom fan, houseplants moved away, or a whole-home dehumidifier) rather than touching the window. Newer dual-pane low-E windows are actually more prone to interior condensation than older single-pane windows, because the interior glass is warmer and moisture that used to condense on the glass now condenses on the colder single-pane units. That’s counterintuitive but it’s the physics.
Condensation between the panes
Visible moisture inside the sealed gap of the IGU. Seal failure. The window hasn’t failed as a physical unit; the seal has. That’s the reseal-or-replace decision covered above.
Condensation on the exterior surface
Dew on the outside glass in the morning. This actually means the window is performing well, because it’s keeping the interior heat inside and the exterior glass is cold enough to condense early morning humidity. Some Lancaster homeowners call us worried about it. No action needed.
Match the location of the water to the cause before you spend anything. If you’re not sure which one you have, we can look at it as part of a free estimate. Windows and doors are one of seven trades we handle, the same way we handle Driveway & Pavers in Lancaster.
What Lancaster’s Climate Does to Windows and Doors Over Time
Lancaster sits in the Antelope Valley, east of the Sierra Pelona ridge, where the desert influence is real but the winter lows still drop into the 30s. That combination is unusual. Homes here see:
- Afternoon highs over 100°F from June through September. Vinyl frames soften slightly and gap clearances close. Weatherstripping foam type matters more here than in coastal climates, because the mid-range foam that works in Long Beach compresses permanently in Lancaster summers.
- Wind events that push fine sand and dust into every gap. Pile weatherstripping in exterior sliding doors degrades faster here than in most climates because the dust abrades the pile fibers and eventually packs them flat. That’s the reason we recommend silicone-pile on the valley’s windward sides and standard polypropylene on the sheltered sides.
- Winter nights near freezing, followed by 75°F afternoons. Perimeter sealant (the exterior caulk around the frame) moves more than in a stable climate and cracks sooner. The crack line usually opens up on the hottest-facing side (west or south) first. That’s the perimeter sealant gap most homeowners mistake for a window failure.
- Low average humidity. Wood doors are generally stable here compared to wet coasts, but the same dry air shrinks the jamb and swells less, which means the clearance you set in winter may need adjusting the following summer. The valley’s seasonal swing is why new doors are set with a slightly larger reveal than coastal installations.
The practical upshot: exterior perimeter sealant in Lancaster needs inspection every two to three years, not the five or six years most manufacturers suggest for stable climates. The other thing that matters is material match. Roofing and flashing around window tops is often done with Fence Installation in Lancaster-grade materials by the wrong trade on remodels, and the resulting water intrusion goes into the wall cavity rather than the glass. If your window has water staining at the top of the interior opening, that’s the roof or flashing at the header, not the window.
Common Mistakes to Avoid
- Replacing windows that only need weatherstripping. Most Lancaster homes we see with “drafty windows” have 80% of the problem traced to a $12 weatherstripping fix at the sash and one perimeter sealant crack. Price the diagnostic first, the replacement second.
- Buying the cheapest foam weatherstripping on the shelf. The $3 open-cell rolls collapse permanently after one Lancaster summer. Spend $8 to $12 on closed-cell EPDM rated for high temperature and save yourself a redo next season.
- Assuming a door that won’t latch means the foundation is failing. Run the three tests first. A strike plate shift costs under $5; a foundation evaluation is a different conversation entirely. Diagnose in the right order.
- Resealing fogged glass without checking the warranty. Many IGUs carry a seal warranty of 10 to 20 years. If your window qualifies, a reseal voids a fix you would have gotten for free. Check the paperwork first.
- Caulking over a moisture problem. If the perimeter crack is wet, caulk won’t hold. Find the water source first. Sealing over active moisture traps it inside the wall cavity and moves the damage rather than stopping it.
- Matching weatherstripping by label rather than by measurement. Pile height, foam durometer, and bulb diameter all need to match the existing profile. Measure the gap before you shop. The package is the last thing you should rely on.
- Ignoring the summer-stick pattern. A window that sticks in July and glides in December is a thermal fitting issue. A window that sticks year-round is a frame problem. Treating the first like the second costs hundreds of dollars you don’t need to spend.
See the difference
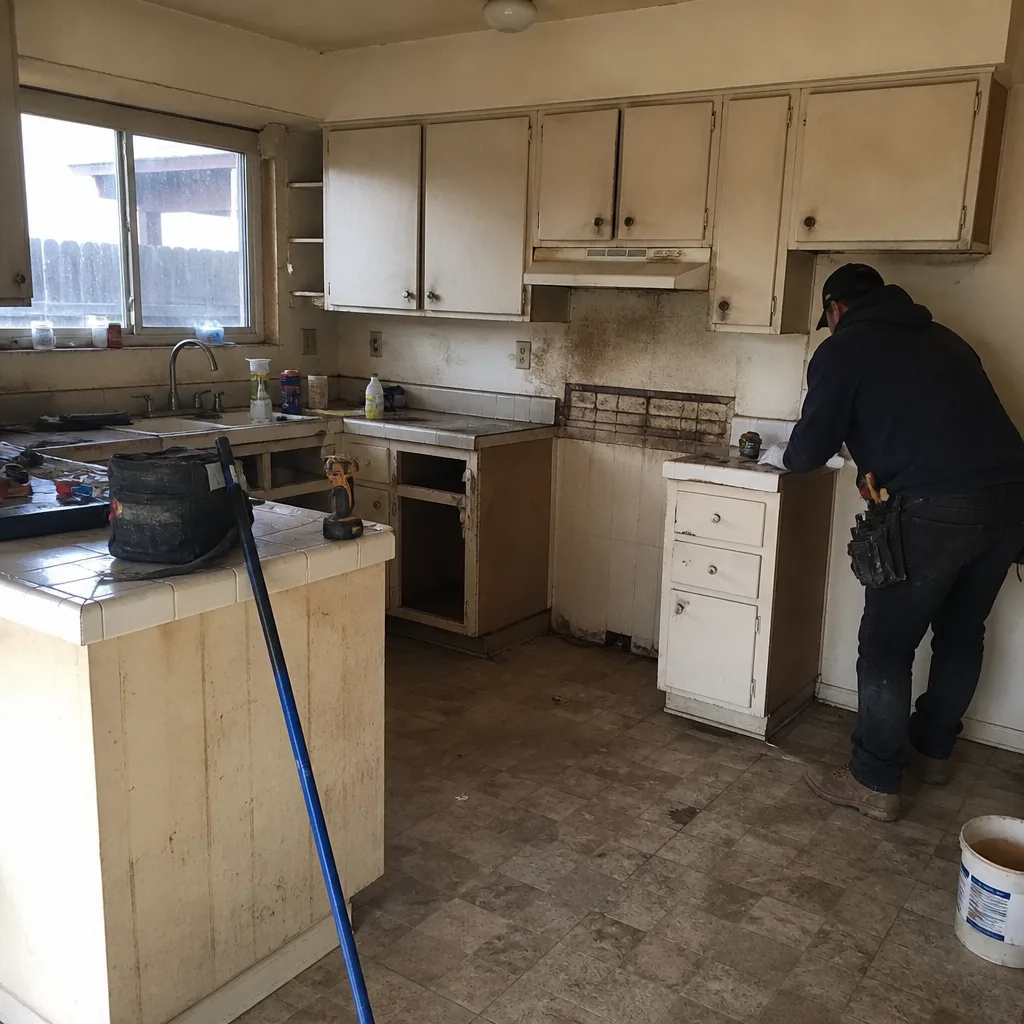 Before
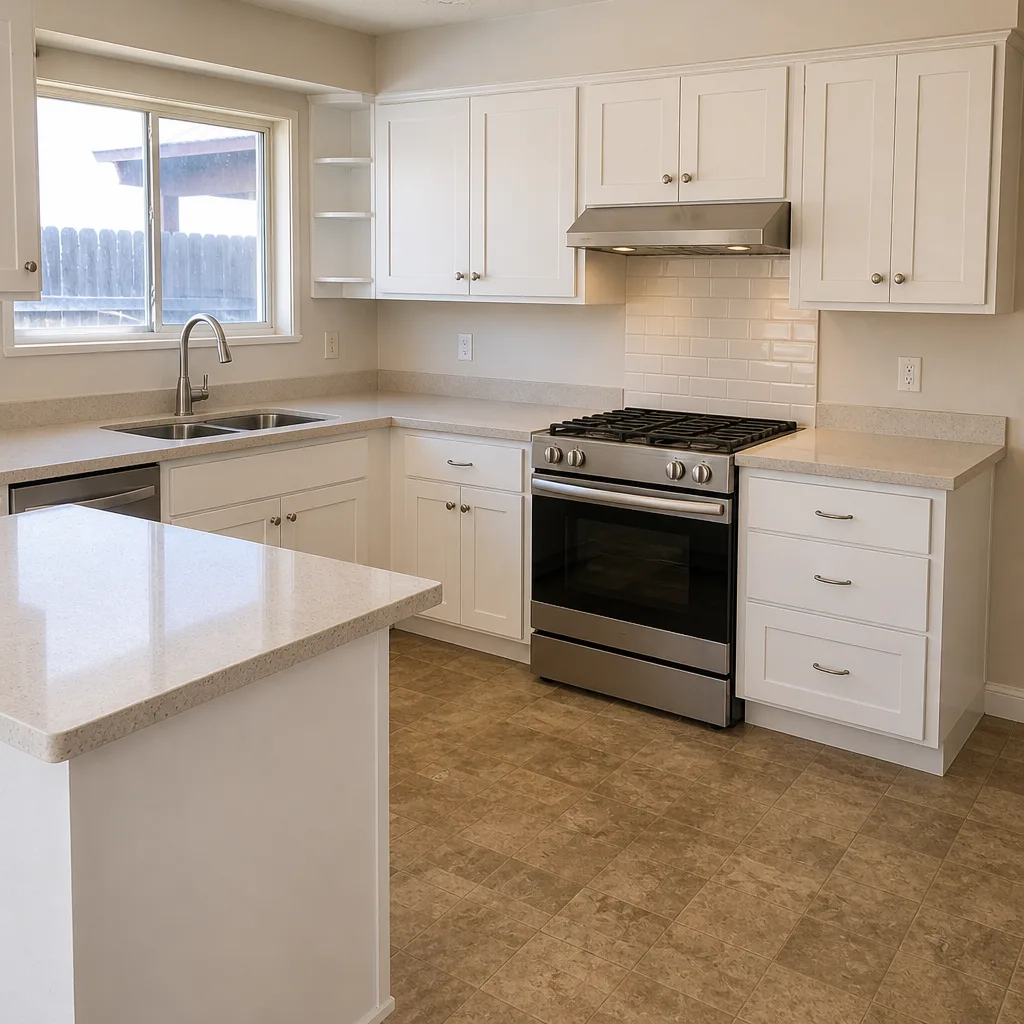 After
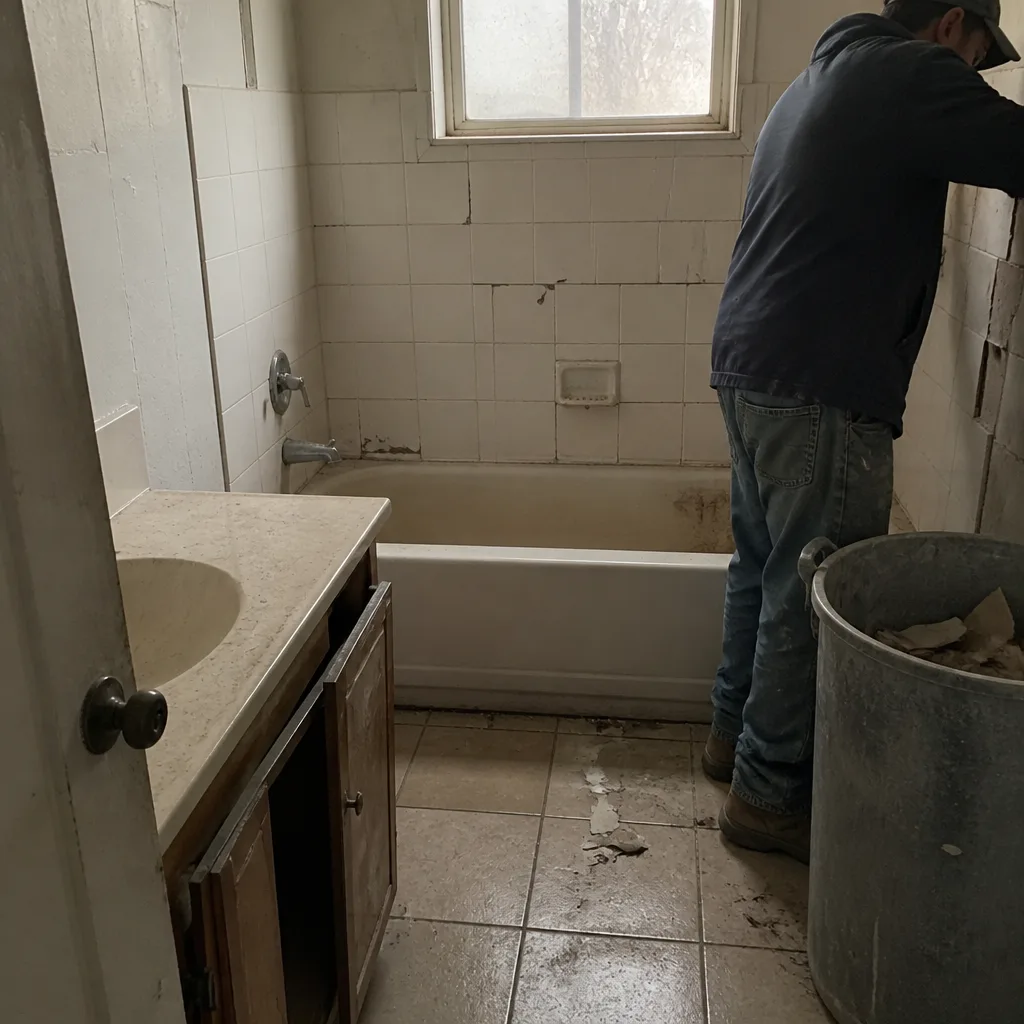 Before
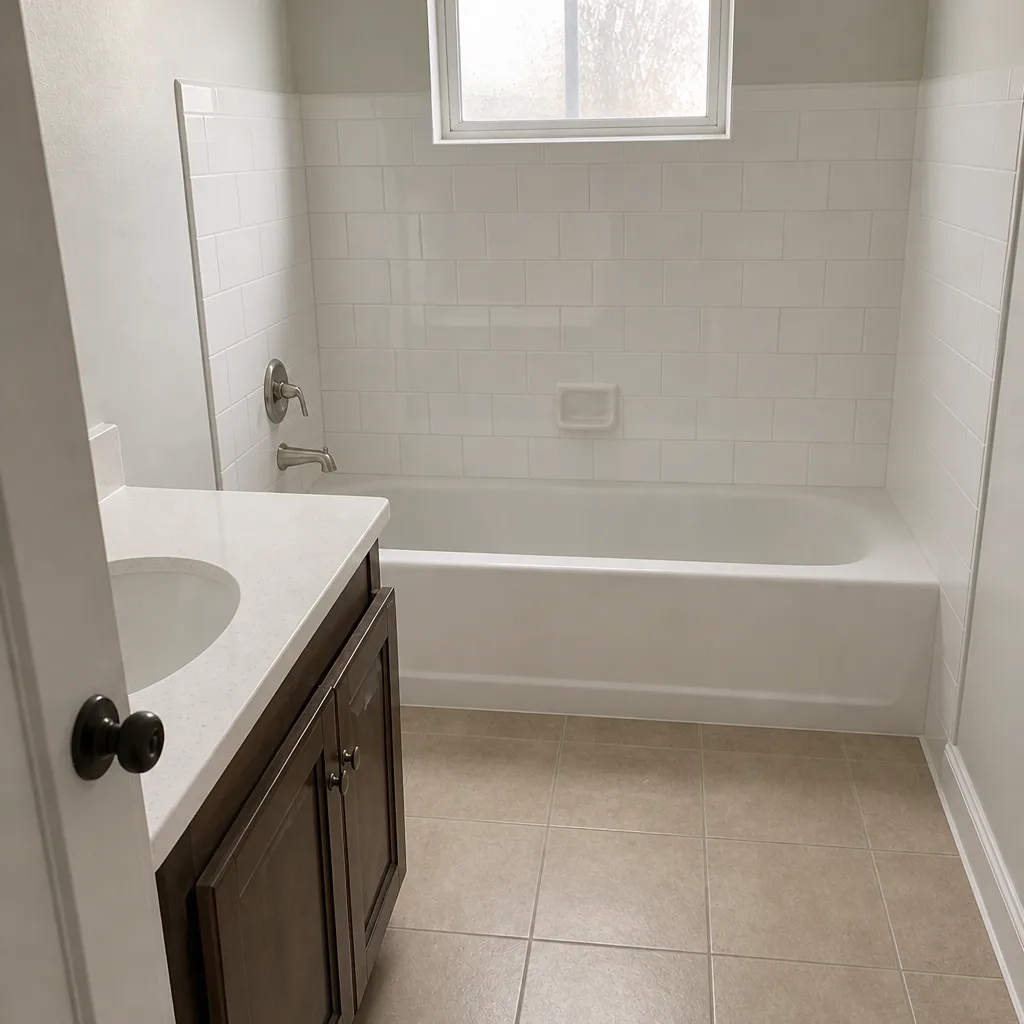 After
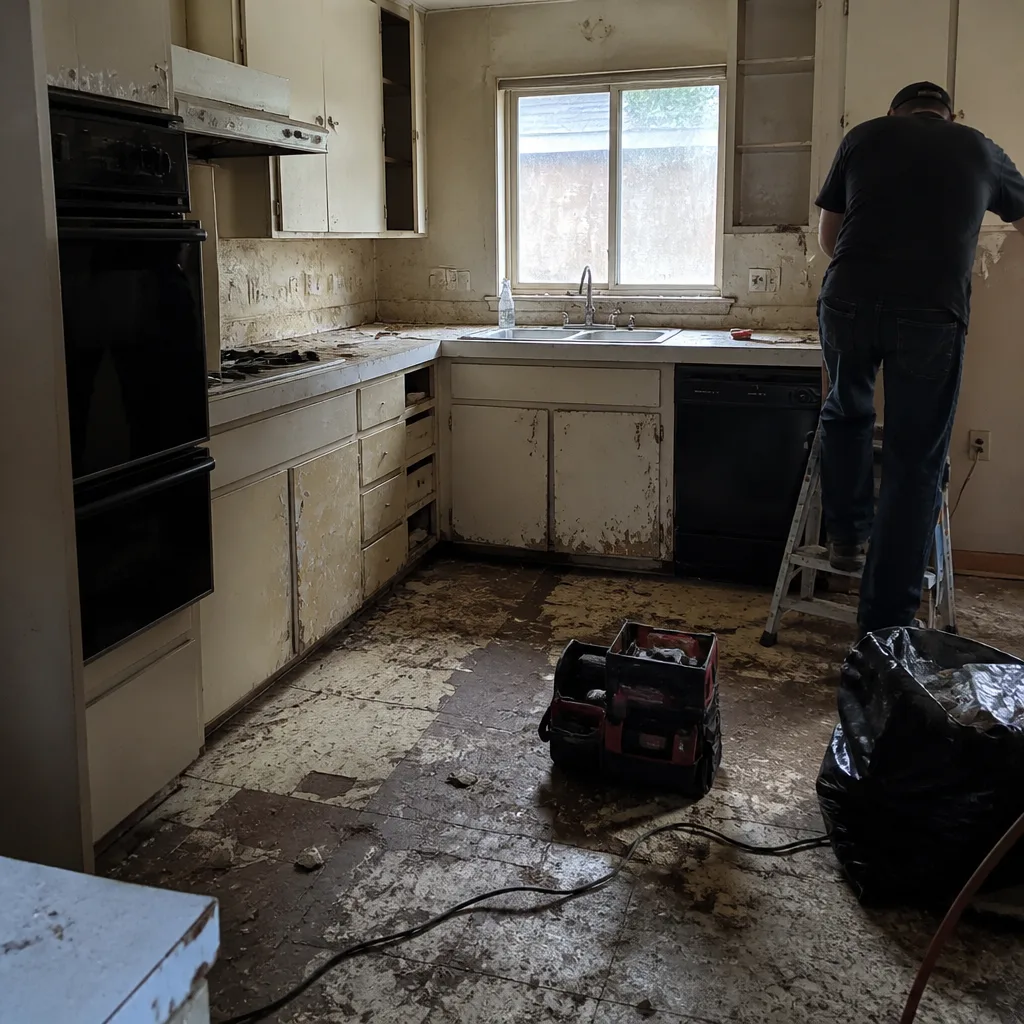 Before
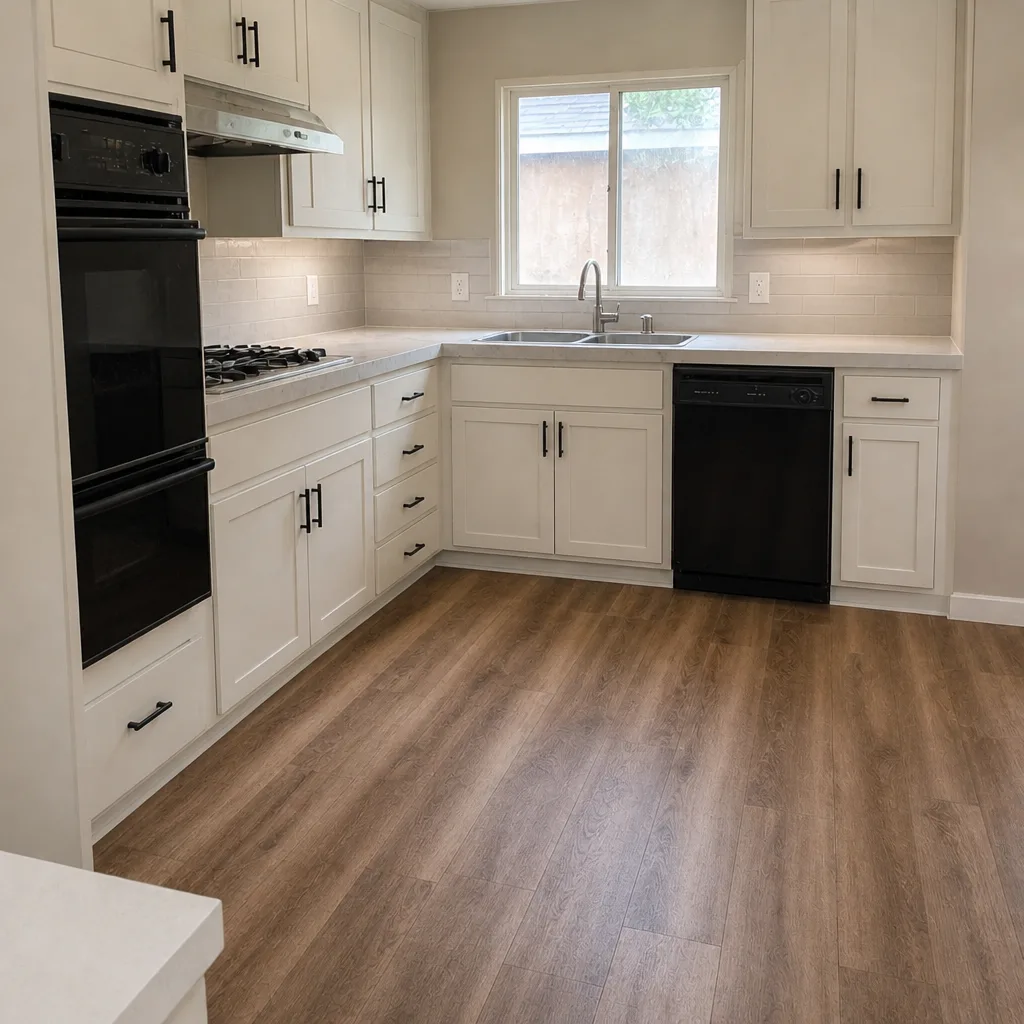 After
When to Call a Professional
Some of these fixes are homeowner tasks, and we’ll say so plainly. The incense test, the strike plate shim, the sash roller adjustment, and the perimeter caulk inspection are all things a careful homeowner can handle with a screwdriver and an afternoon. But four situations warrant a trained set of eyes, and we’re not doing anyone a favor by pretending otherwise.
Call a professional when the frame itself is out of square, when fogged glass spans more than a small area and the seal warranty has expired, when a door frame is moving more than an eighth of an inch with hand pressure, or when water intrusion is showing on the interior wall around a window opening. Those four signs point to a repair that goes beyond weatherstripping or hardware, and a written quote is the right first move.
Rowan Construction Group Lancaster offers free estimates in Lancaster. Every quote is a written price with a written scope before anyone picks up a tool, and every visit includes a documented photo record of what we found. Call (844) 797-3312 to schedule an appointment. Our technicians have up to 19 years of experience across windows and doors, and we’re equally happy to look at a door that needs a shim as one that needs replacing. For larger openings or window work tied to an addition, see Home Additions & ADU in Lancaster.
Frequently Asked Questions

Most drafty window repairs in Lancaster cost between $10 and $150 per window, depending on whether the fix is weatherstripping at the sash (typically $10 to $25 in material) or perimeter sealant along the frame joint ($30 to $150 for a crew to do correctly). Replacement quotes start around $450 per opening, so the diagnostic step is worth twenty minutes of your time. Call (844) 797-3312 for an exact quote on your windows; estimates are free.
Fogging between the panes means the insulated glass unit (IGU) perimeter seal has failed and moisture has entered the sealed gap. The glass itself is intact; the seal around it is not. That’s a reseal-or-replace decision, and for most units the honest answer is glass-pack replacement because resealing is rarely durable. Call (844) 797-3312 to have the window priced; estimates are free.
Sometimes, but not usually. About 80% of the “door won’t latch” calls we see in Lancaster trace to a strike plate that has drifted out of alignment, a bent hinge, or a lock that’s working against an oversized weatherstripping bulb installed by a previous owner. Foundation issues show up in the reveal test (the gap around the door slab is visibly uneven) and in frame movement. Run the three tests above before calling a contractor. Call (844) 797-3312 if the reveal test points to frame movement; estimates are free.
Thermal expansion. Frames and sashes move with temperature, and Lancaster’s 40- to 55-degree day-night swing is enough to close working clearances in a window that was fitted tightly. A sticking window in July that glides in December is usually a small sash or jamb adjustment, not a replacement. Call (844) 797-3312 if the adjustment is beyond what you’d tackle yourself; estimates are free.
Most weatherstripping in Lancaster needs replacing every 4 to 7 years on exterior doors and sliding windows, and faster on the west- and south-facing sides of the house where thermal stress is highest. Cheaper open-cell foam weatherstripping fails in 1 to 2 seasons. Closed-cell EPDM foam, silicone-pile, and bronze V-strip typically last 6 to 10 years in this climate. Call (844) 797-3312 if you want the correct type matched to your existing profile; estimates are free.
No. Condensation on the interior surface of the glass is a humidity problem inside the house, not a window failure. Reducing interior moisture (bathroom and kitchen fans, a whole-home dehumidifier, or moving houseplants away from the glass) resolves it. Only moisture between the panes indicates window seal failure. Call (844) 797-3312 if you’re not sure which type you have; estimates are free.
The Bottom Line
Most windows and doors trouble in Lancaster traces to three things: weatherstripping that has compressed or dried out, hardware that has drifted out of alignment, or thermal movement that closes correct clearances. Diagnose by location first, then match the fix to the symptom, then buy parts. A $12 weatherstripping strip and a $5 strike plate shim solve the majority of what most homeowners think requires a replacement quote. The four situations that genuinely need a professional are frame movement, failed IGU seals out of warranty, thermal binding that doesn’t resolve with adjustment, and water intrusion at the interior wall. For any of those, a written price is the right starting point, and that’s what we provide. Rowan Construction Group Lancaster is here for all seven trades, from a stuck door to the full exterior, whenever you need a second look.
Written by the team at Rowan Construction Group Lancaster.